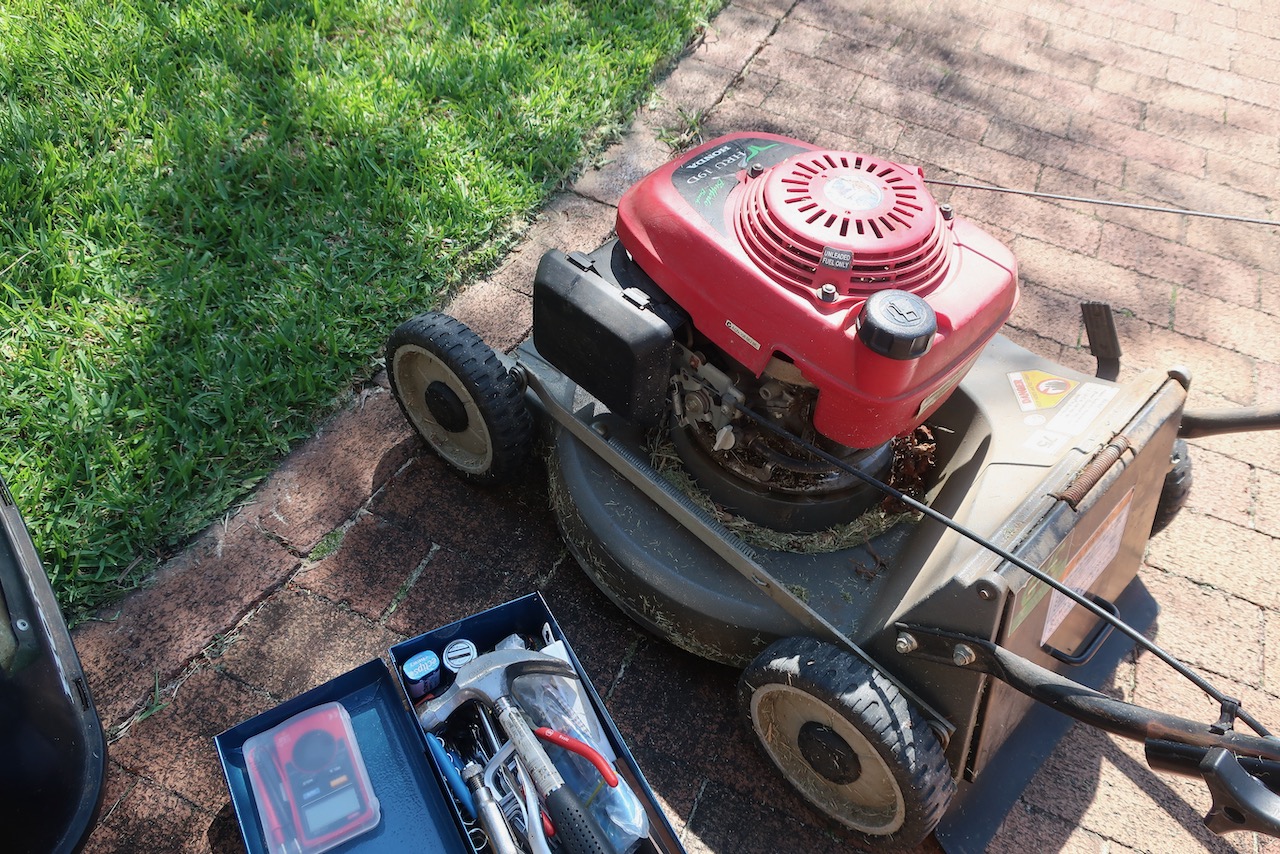
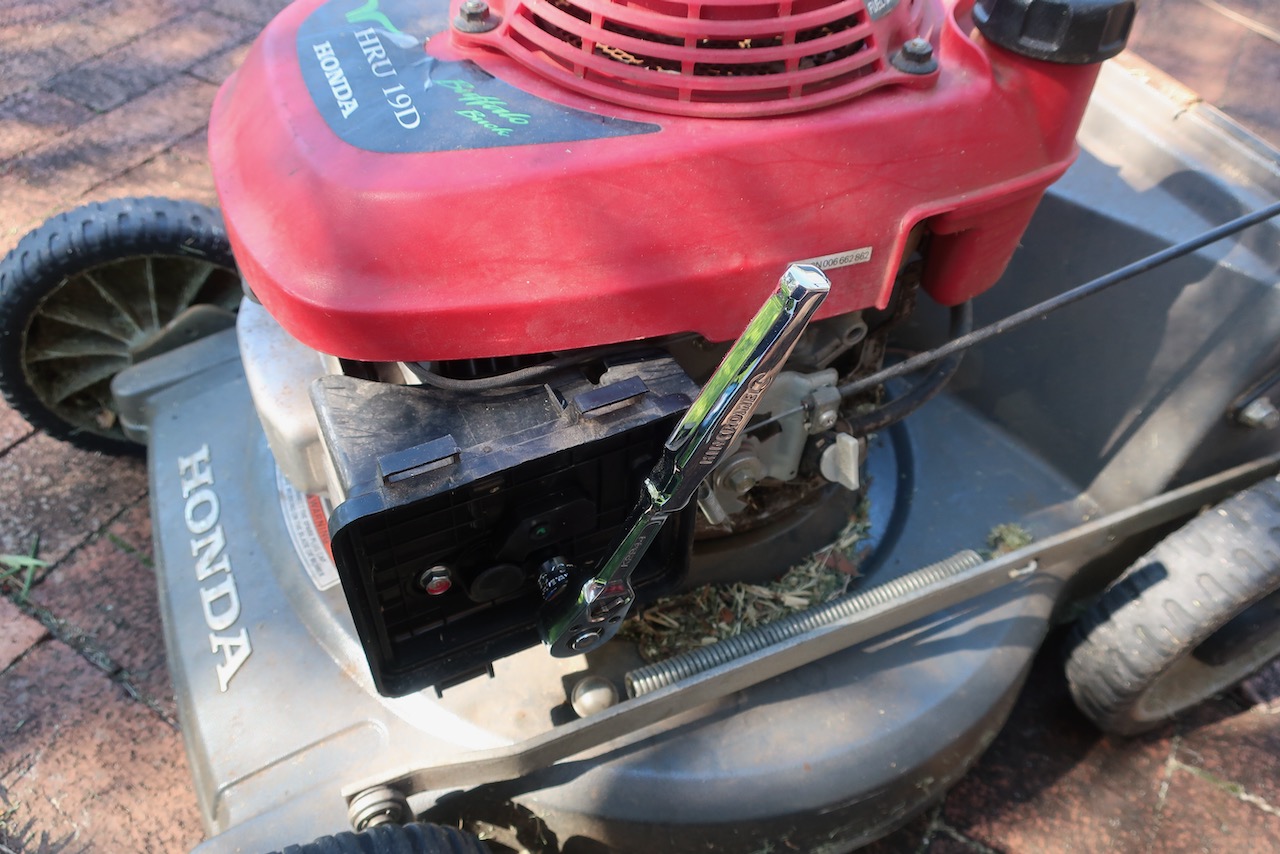
Honda HRU19D Lawnmower Full Service (Carburettor, Oil, Spark Plugs, Blades)
My Honda HRU19D has gone 10 years without a service.
The closest manual I could find is the one for the HRU19K1. While there are lots of good videos on this (such as eReplacementParts.com, Steve’s Small Engine Saloon and Bruce Pender), for those of us that prefer to read, here are step by step instructions.
In the past year, this mower has become hard to start. Needs a carby clean and while I’m at it, might as well service everything.
Carburettor and Air Filter
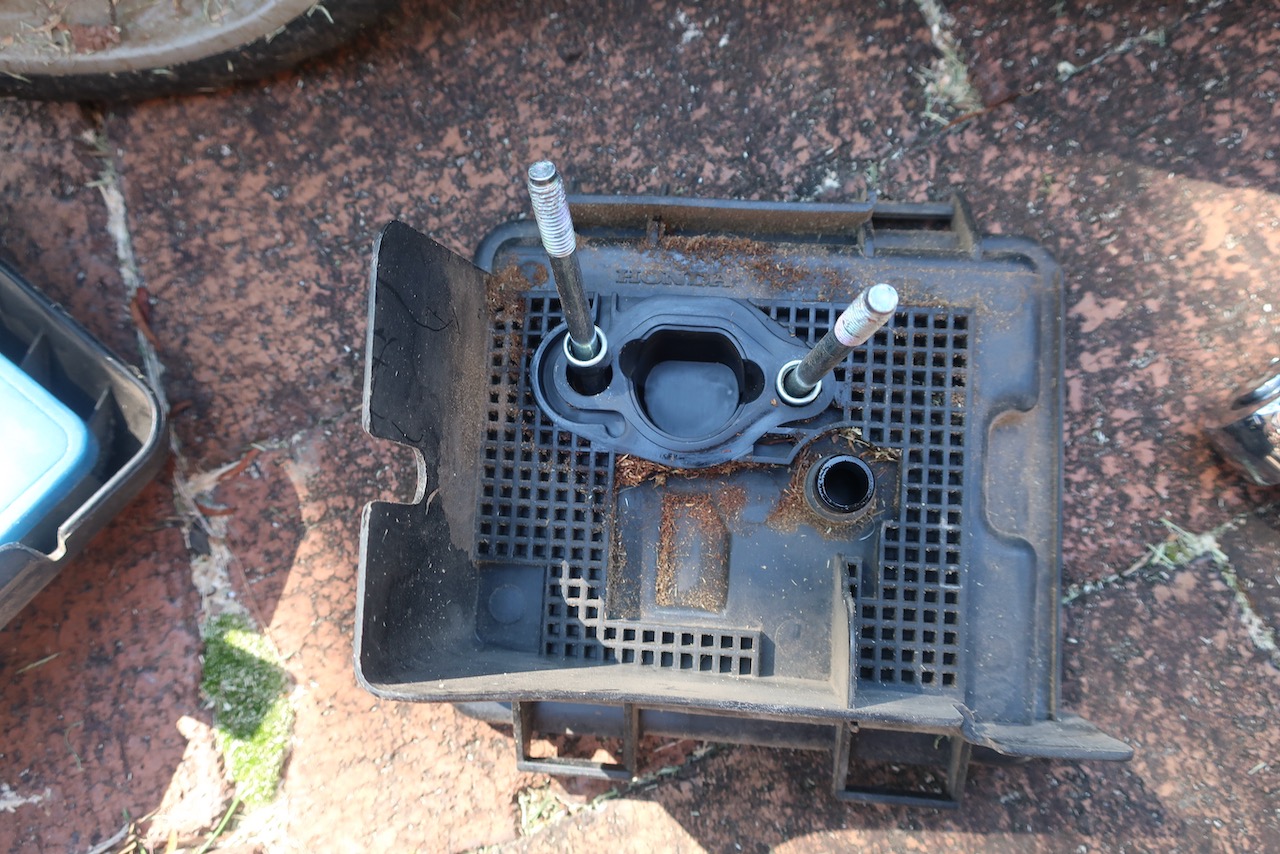
Step 1 Air filter
Shut off the fuel valve on the hose that runs into the carby. Take off the air filter cover and the 2x 10mm bolts that go into the engine. Examine air filter and replace if bad.

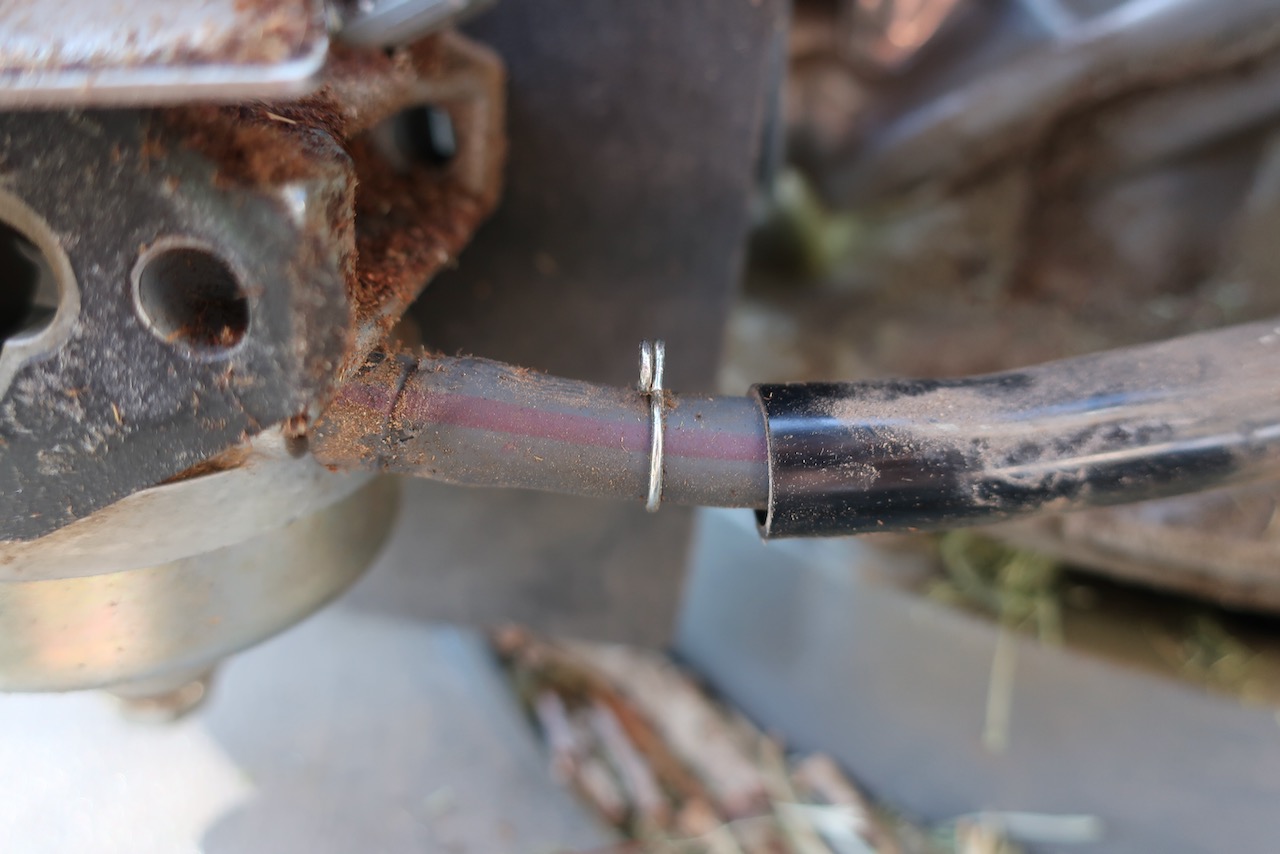
Step 2 Fuel Hose
Undo the hose underneath (fuel line). You need to pull the retaining clip out of the way with pliers and then slide off the hose.

Step 3 Linkages
Tilt the carby and undo the 3 linkages.
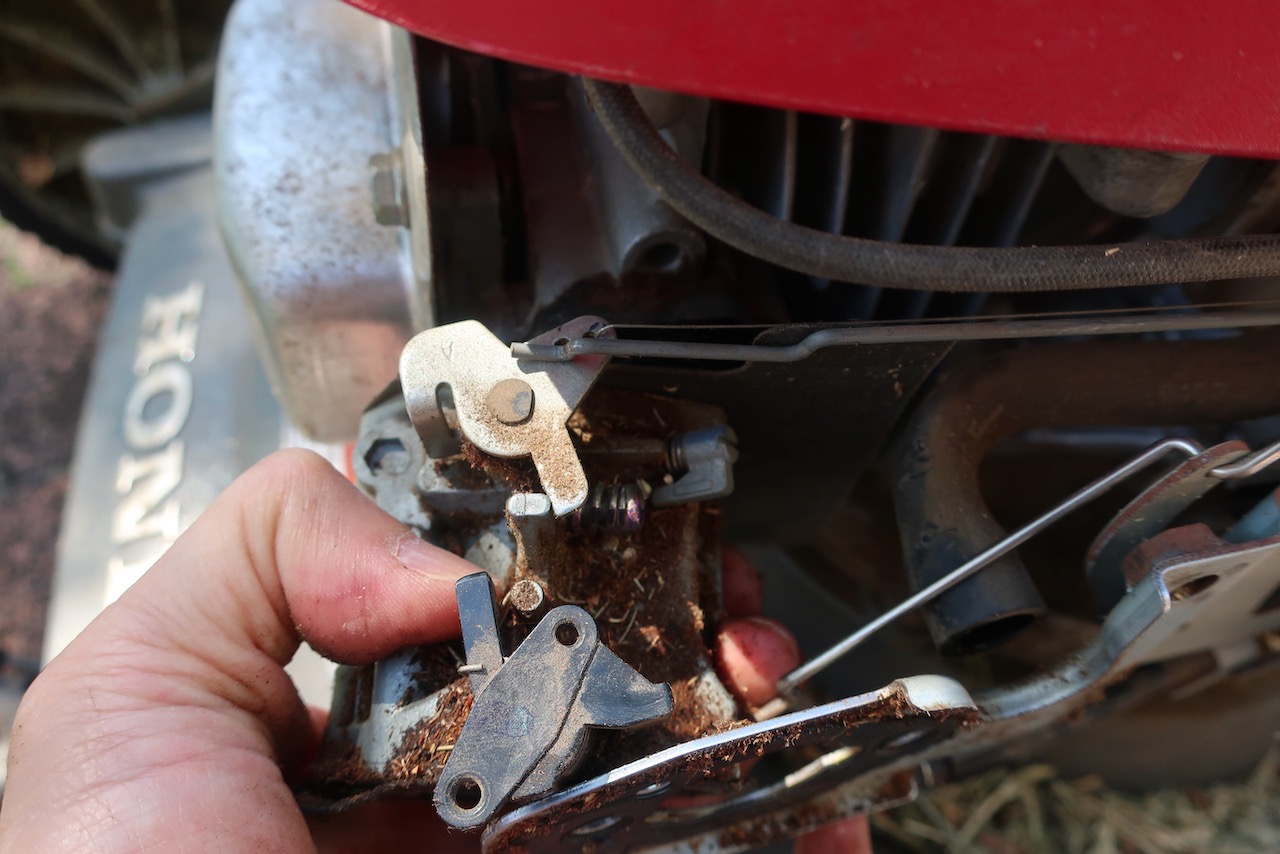
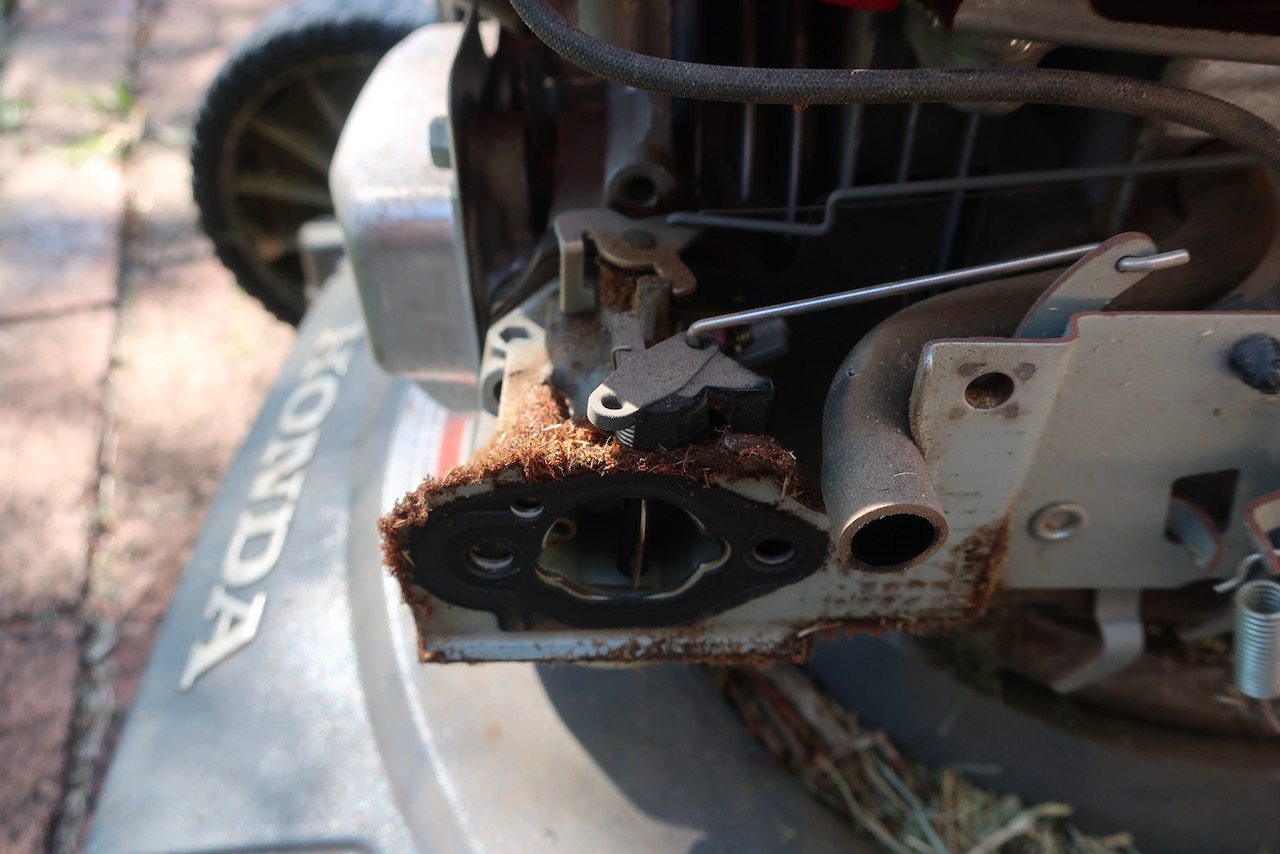
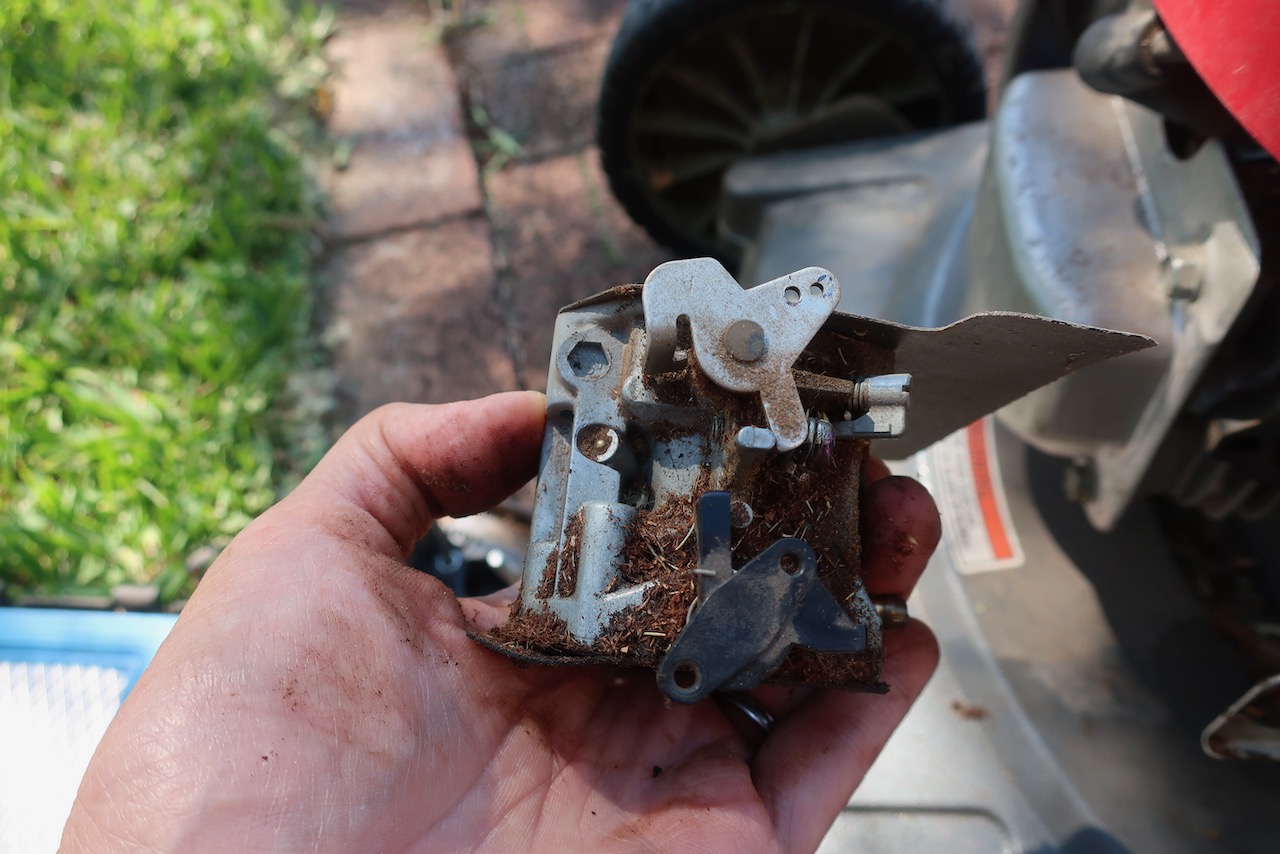
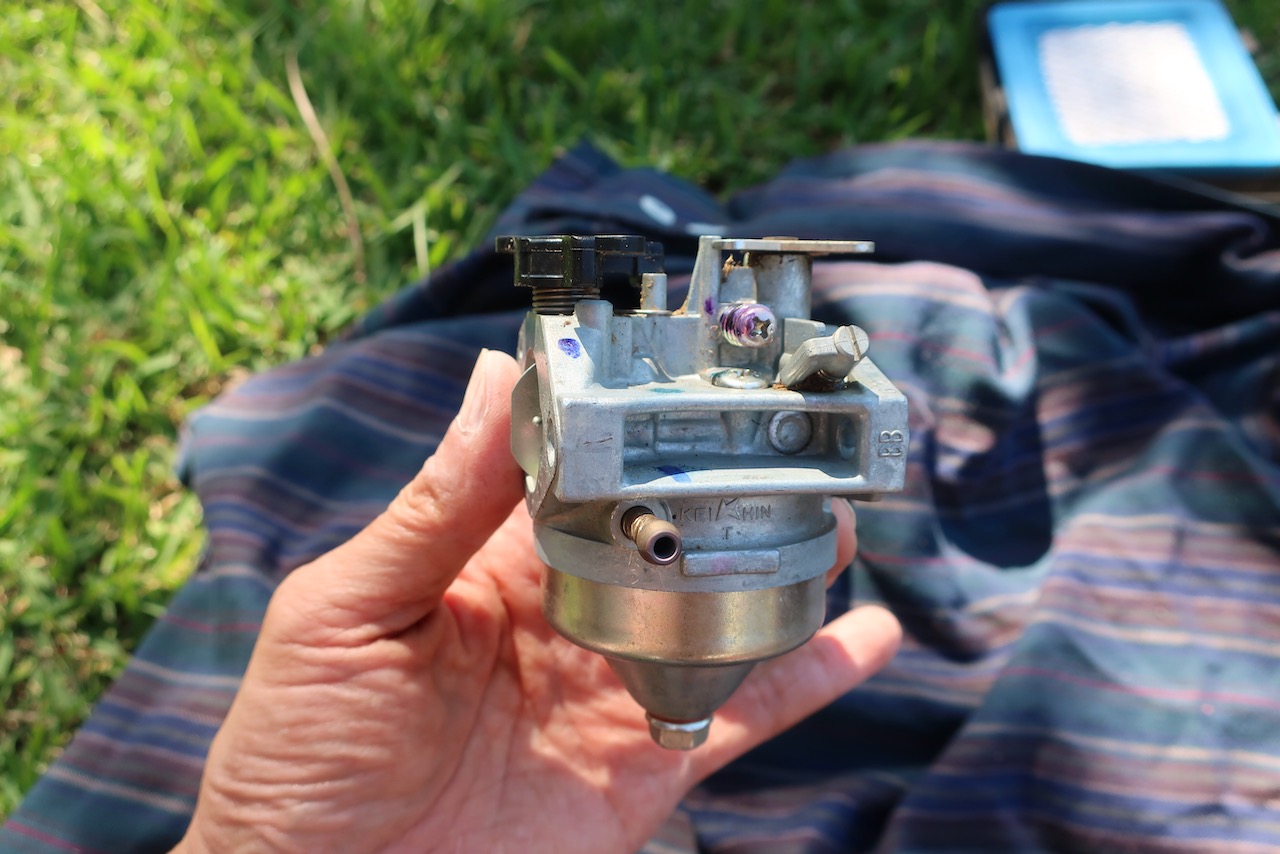
Step 4 Remove carby
It should come out now. It’s pretty dirty.
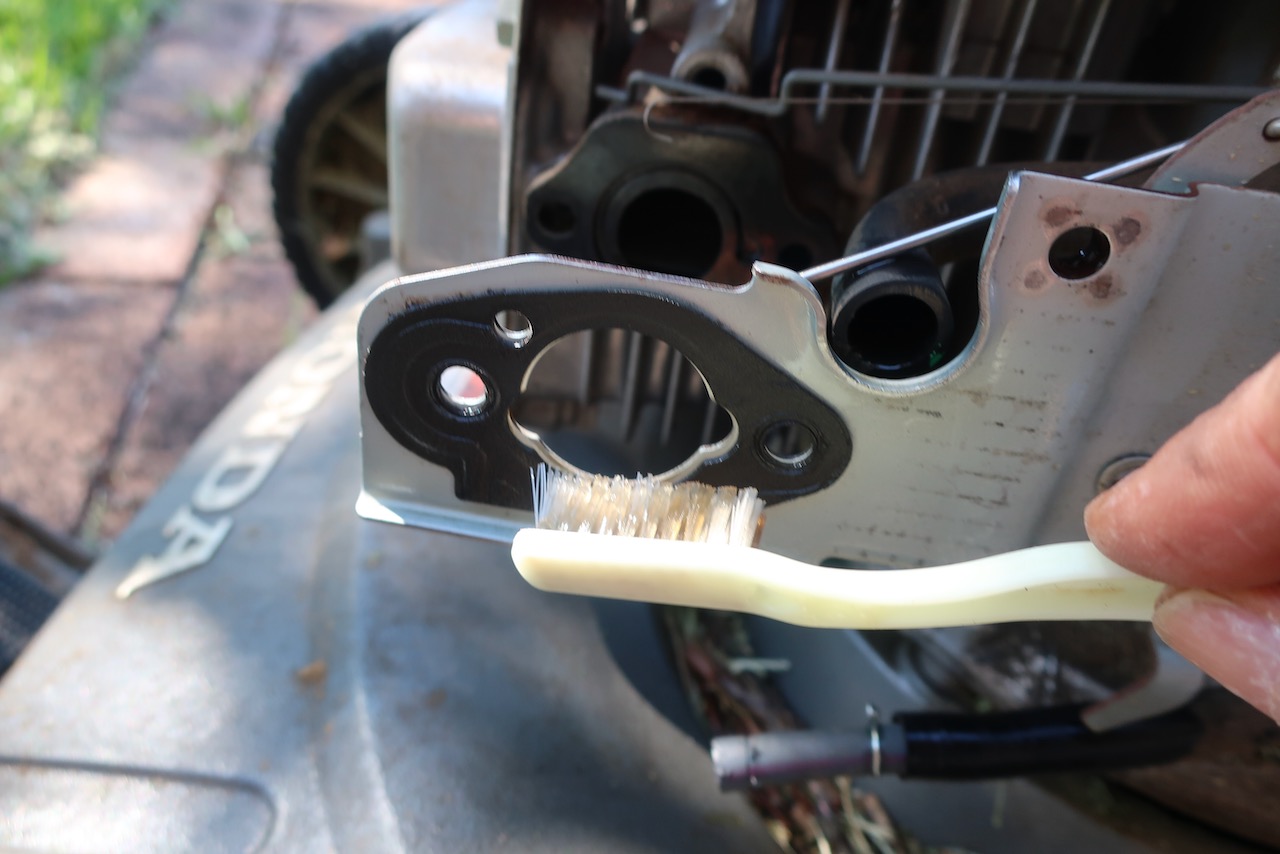
At this point I should have removed the front and read gaskets but I did this in the middle of Step 6.
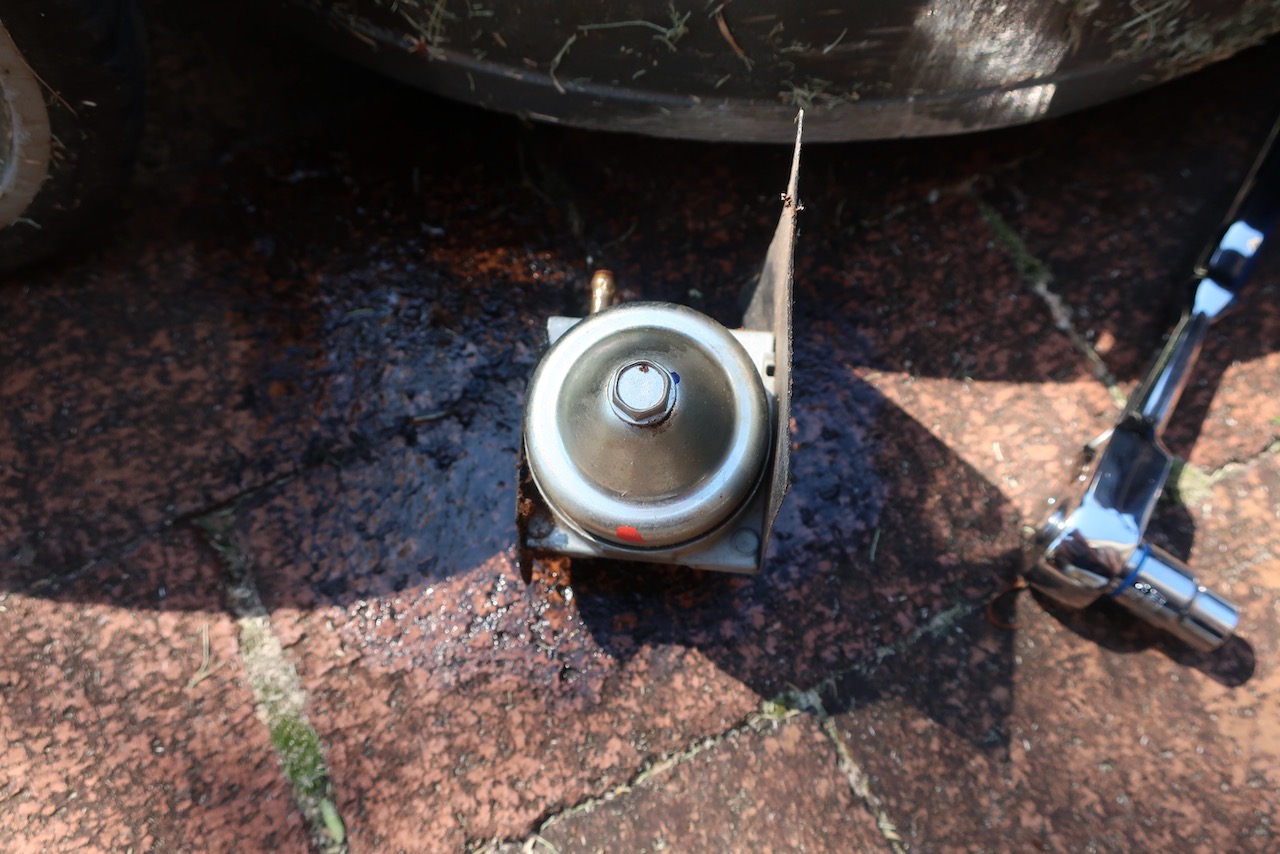
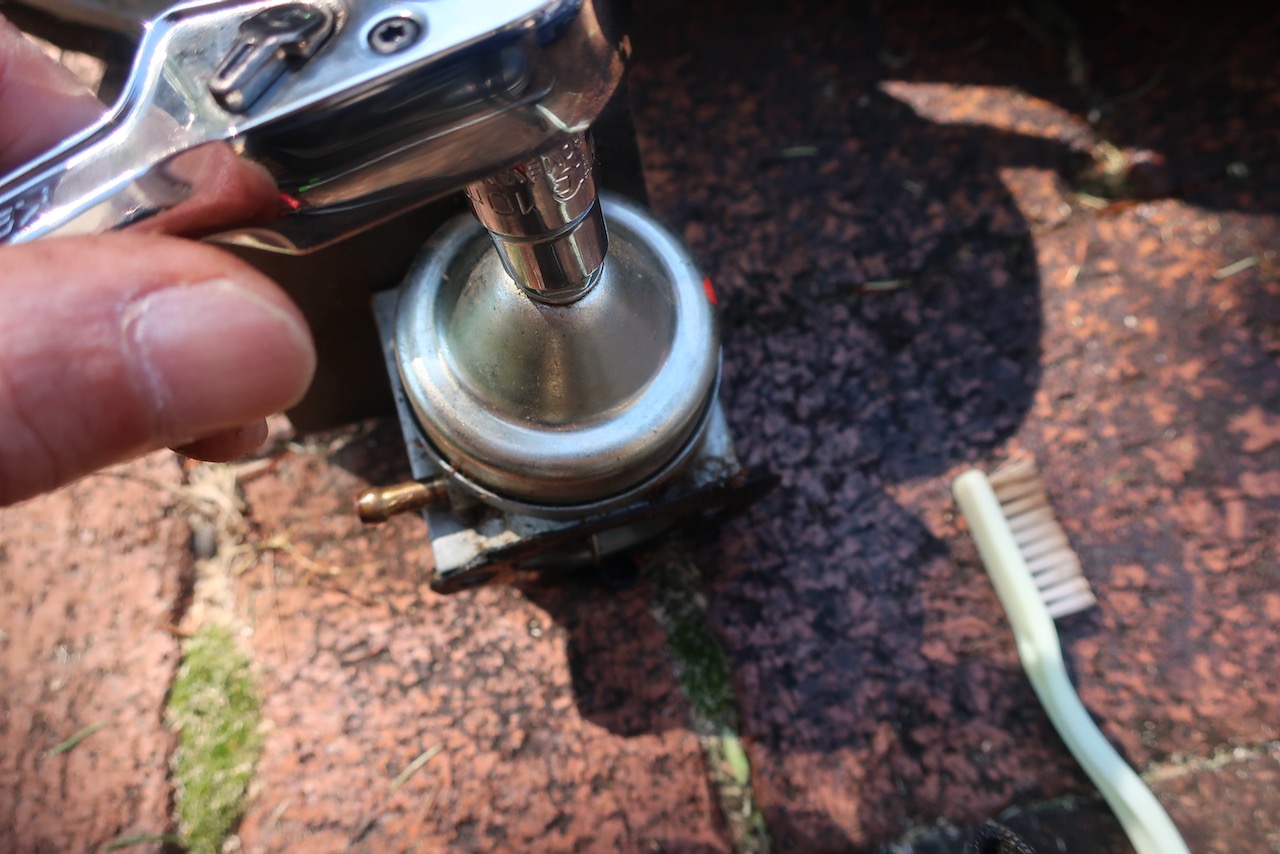
Step 5 Float Bowl
Turn it upside down and undo the 10mm nut. Remove the bowl.
Step 6 Float
Remove the float pin and then the float.

It is at this point I removed the front and rear gaskets.
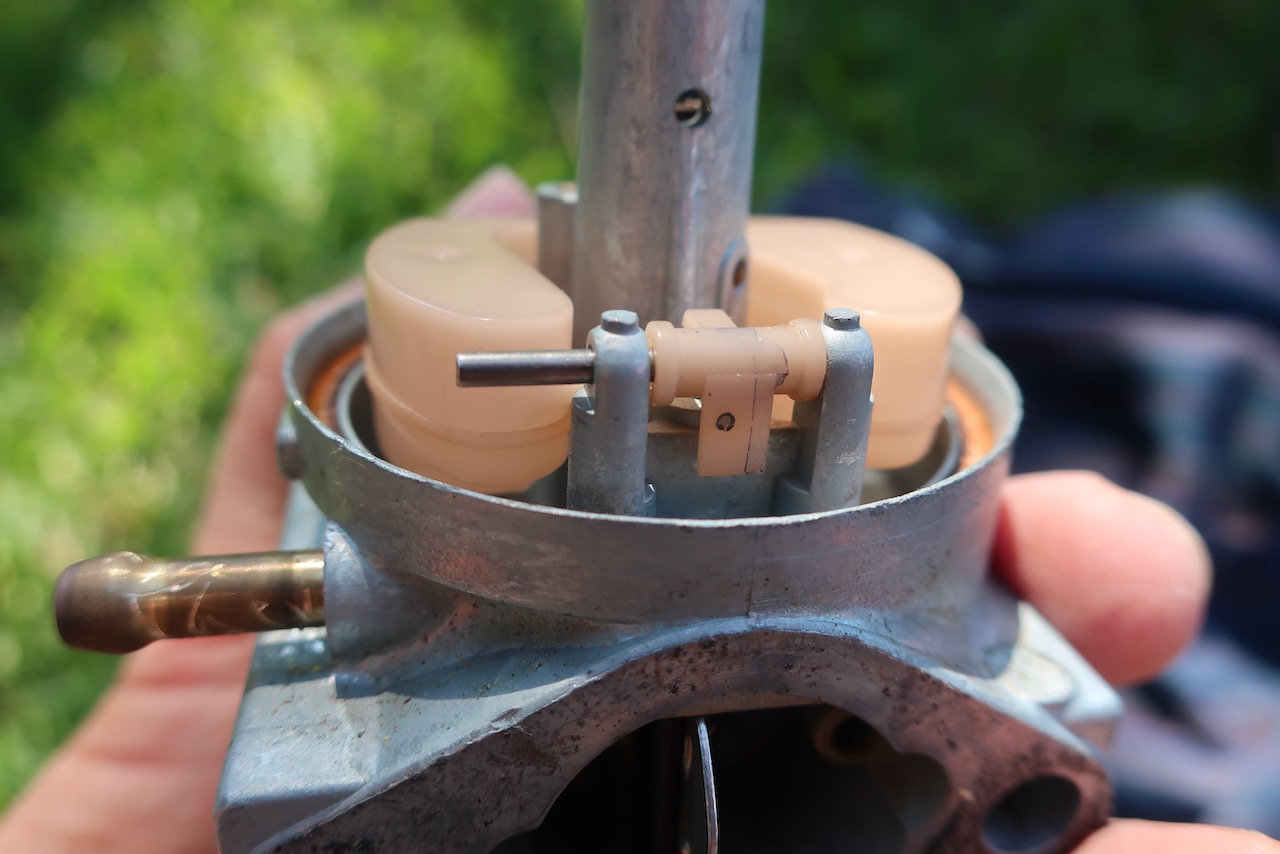
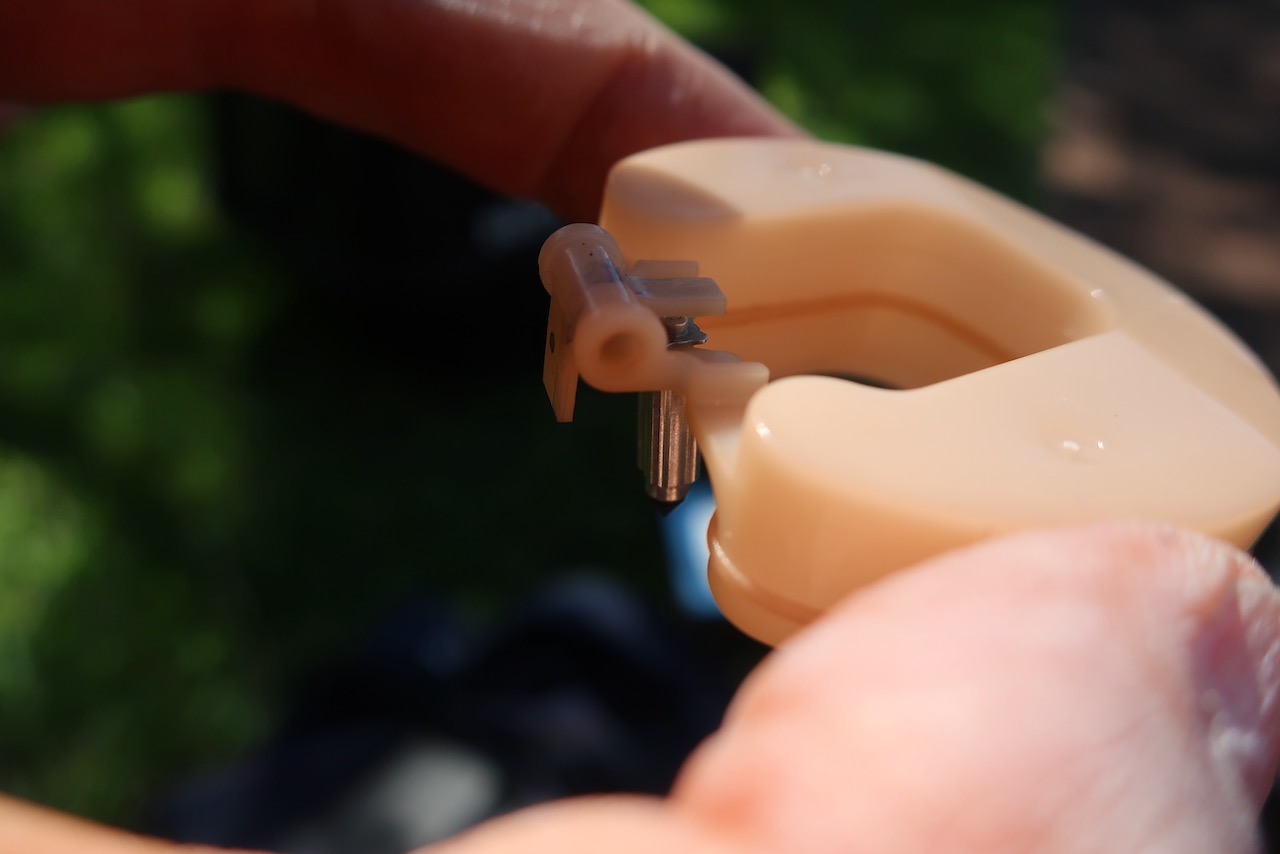
Don’t lose the float valve that attaches to the float.
Step 7 Main Jet
Using a flat blade screwdriver, unscrew the main jet and tap the size of the carby until it comes out..

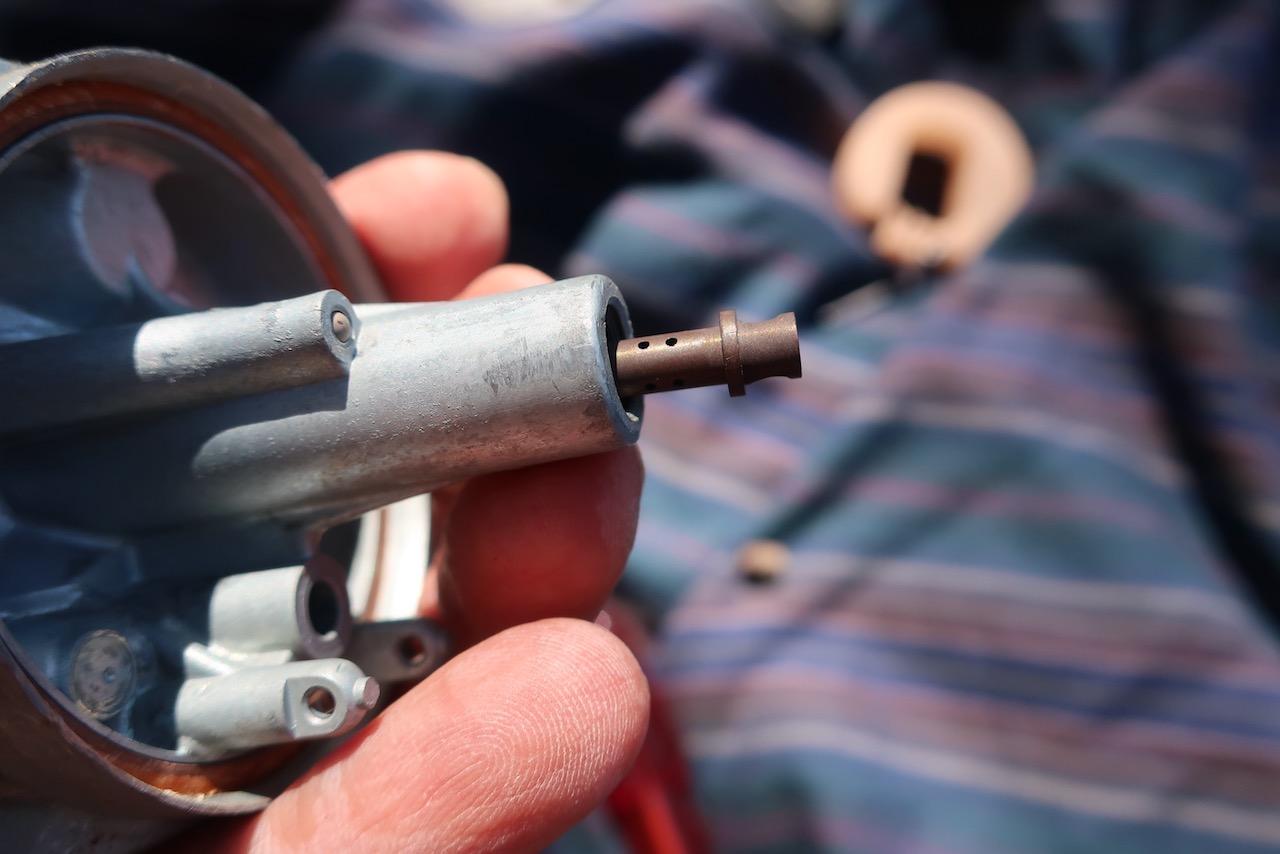
Step 8 Main Nozzle
After some more tapping the main nozzle should come out.
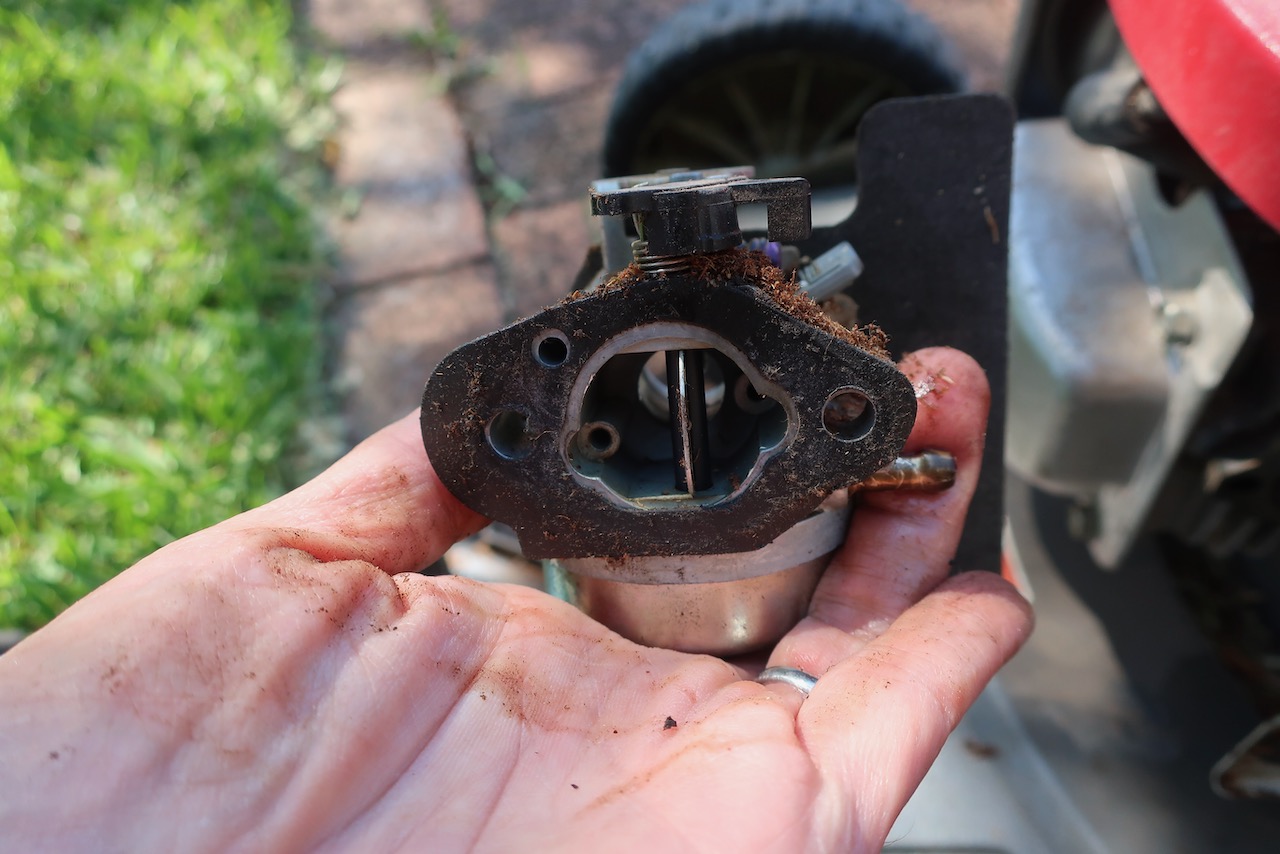
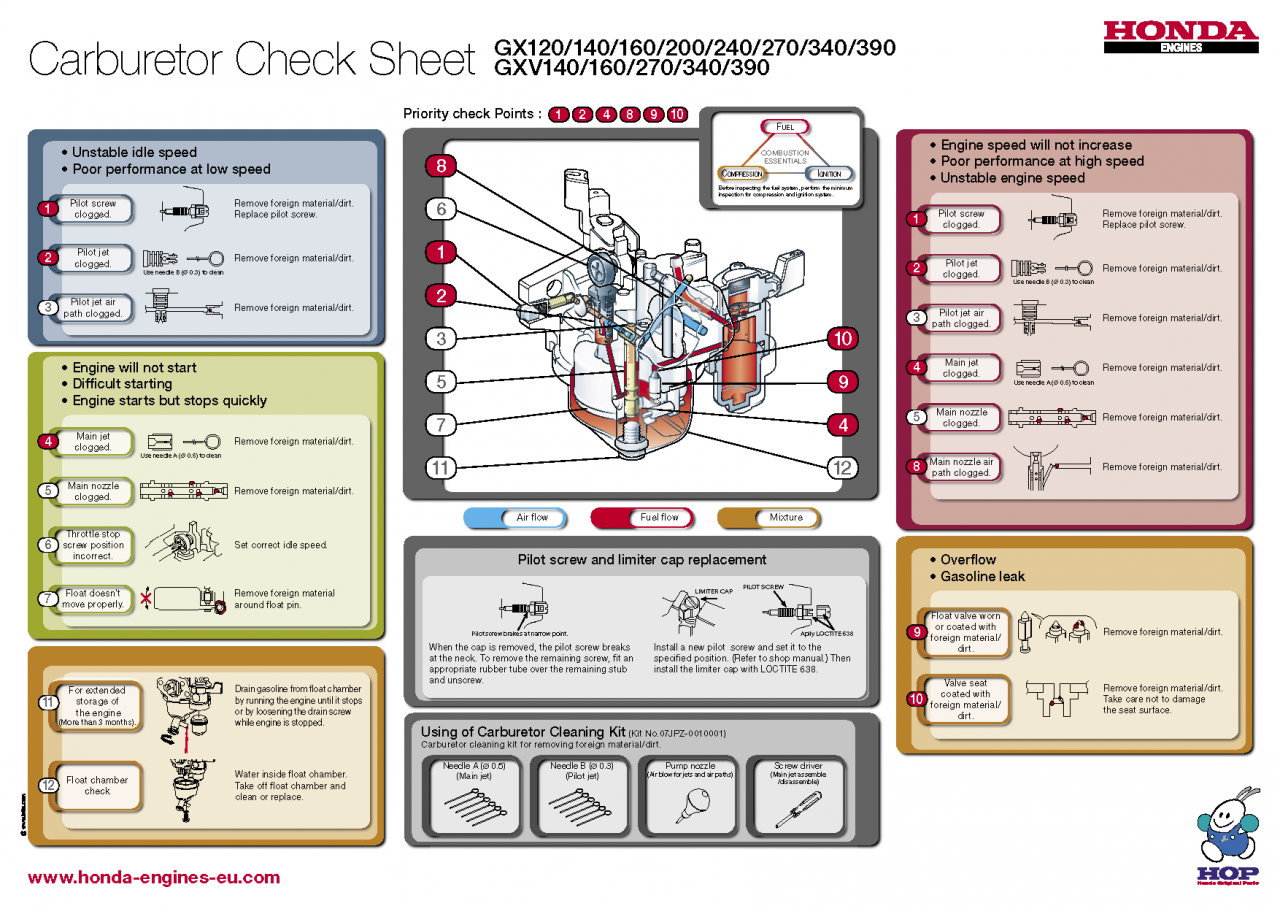
Step 9 Clean
Everything looked relatively clean. I didn’t want to mess with the idle screw and clean the pilot jet because it affects idle and not my starting problem (see for how to do this eReplacementParts.com).
Clean everything with carburettor cleaner, paying particular attention to the air flow and fuel flow paths indicated in the figure below.
Step 10 Put Back Together
Put everything back together.
Oil Change
Step 1 Check Oil
Remove the dip stick, check the oil level and look at the colour of the oil. Mine had not been used much the previous summer and looked good so I’ll change it next year.
Step 2 Change oil
If you need to change the oil, do so when it is warm. Close the fuel valve and tip the oil out at the dipstick opening. Use SAE 10W-30 4 stroke oil.
Spark Plugs
Step 1 Remove Cable
Remove spark plug cable.
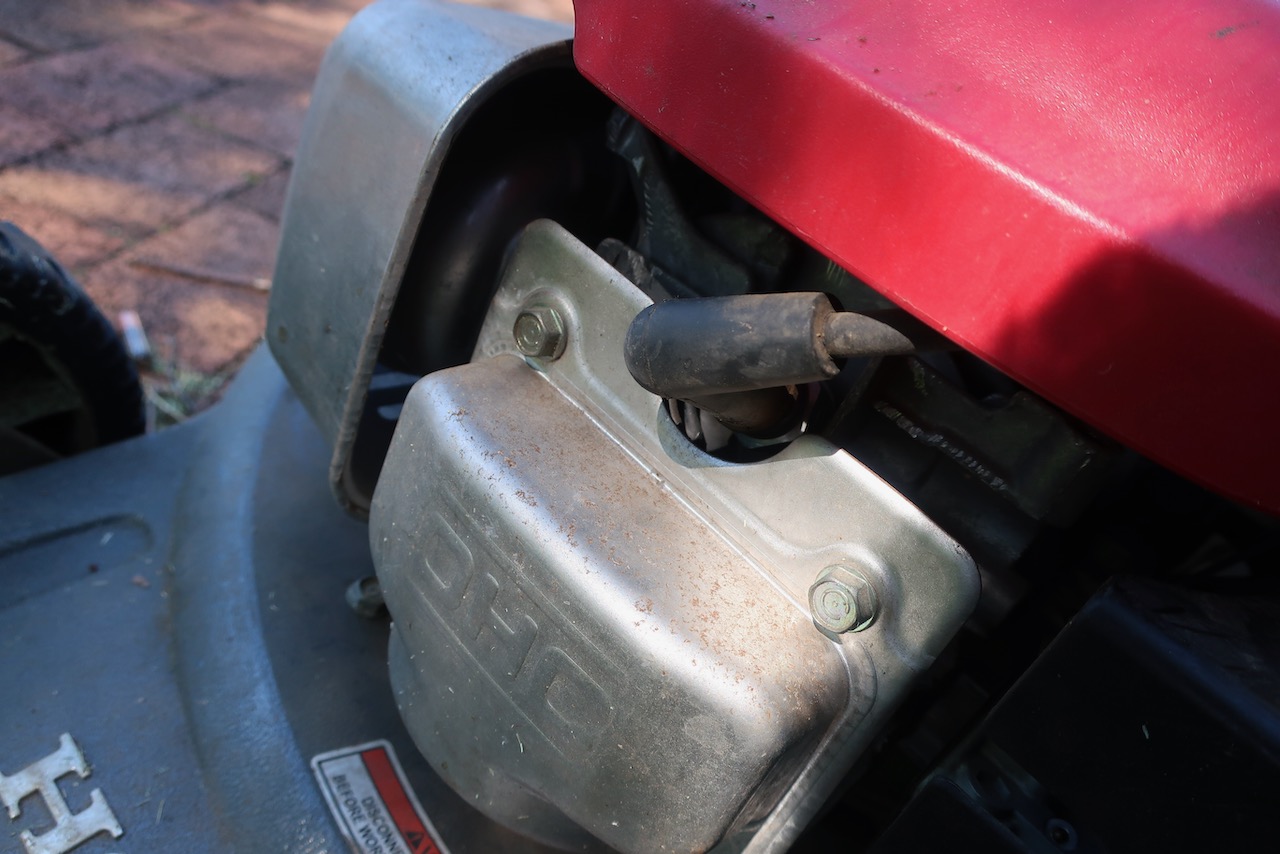
Step 2 Remove Plug
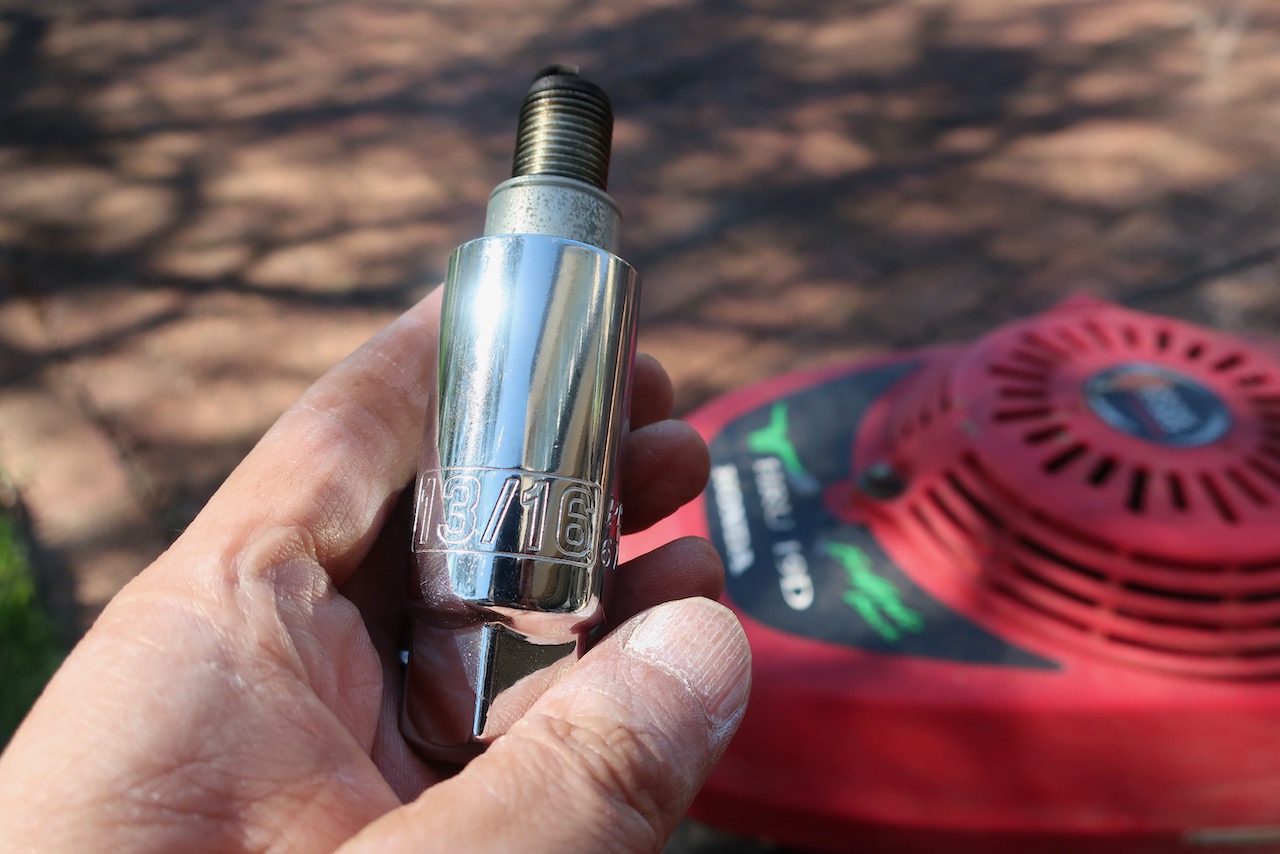
Remove spark plug. It is a NGK BPR5ES.

Socket is 13/16”.
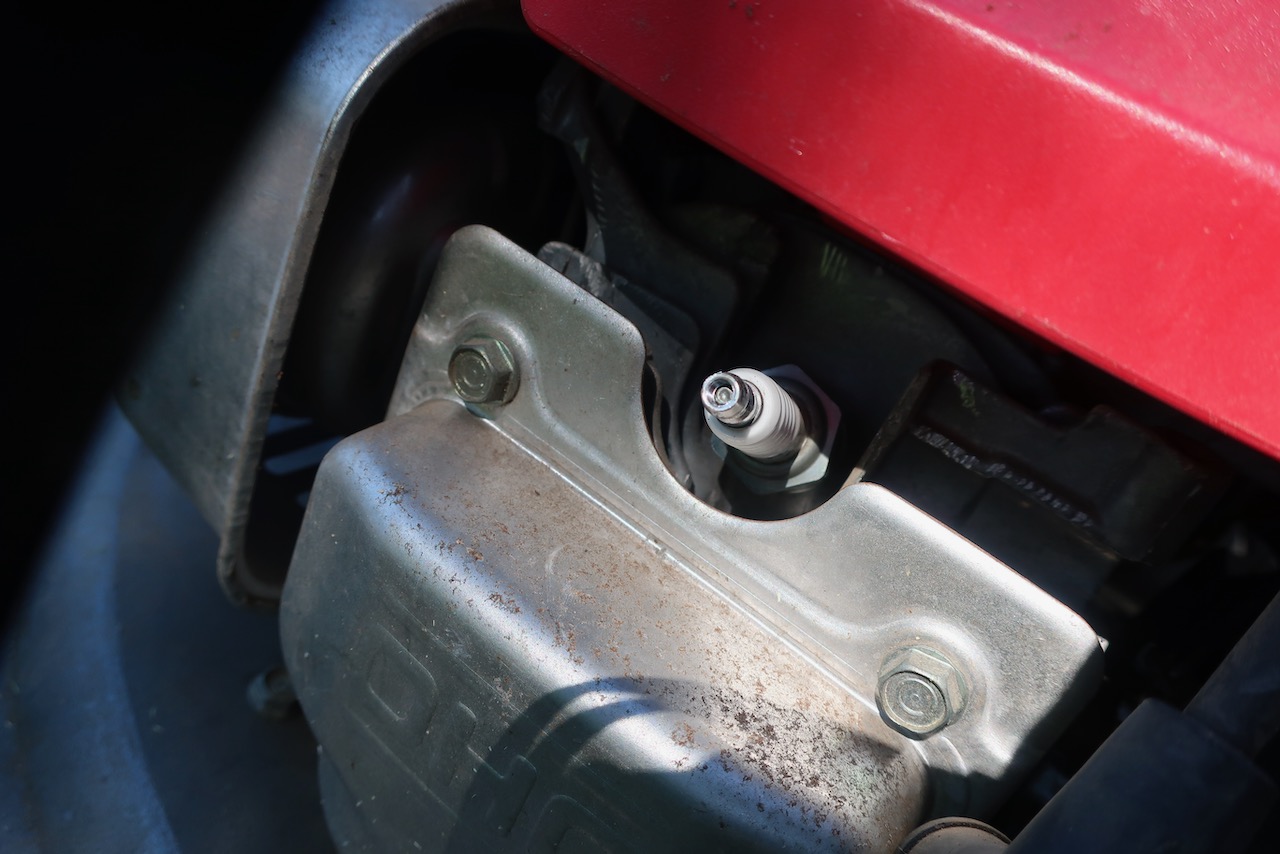
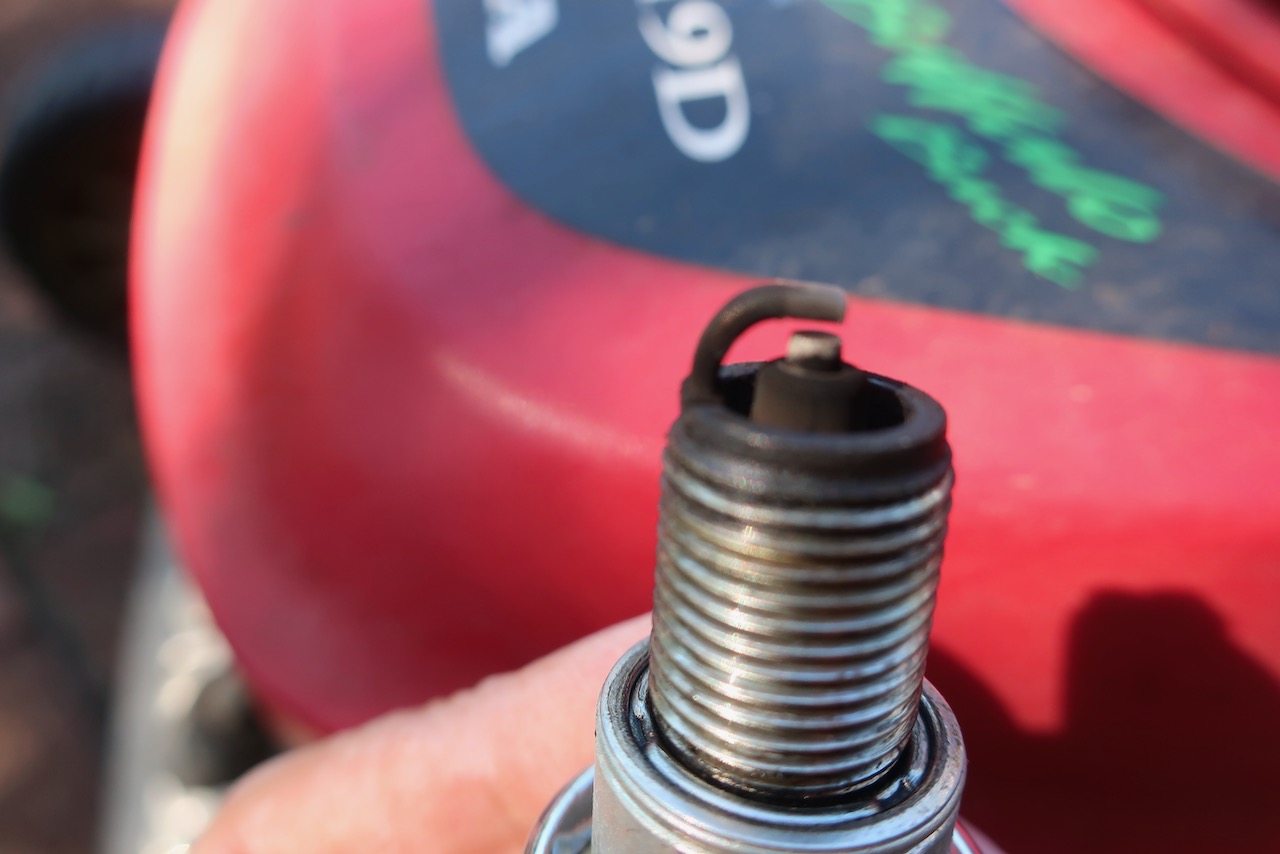
Step 3 Check Plug
Examine electrode, looks good.
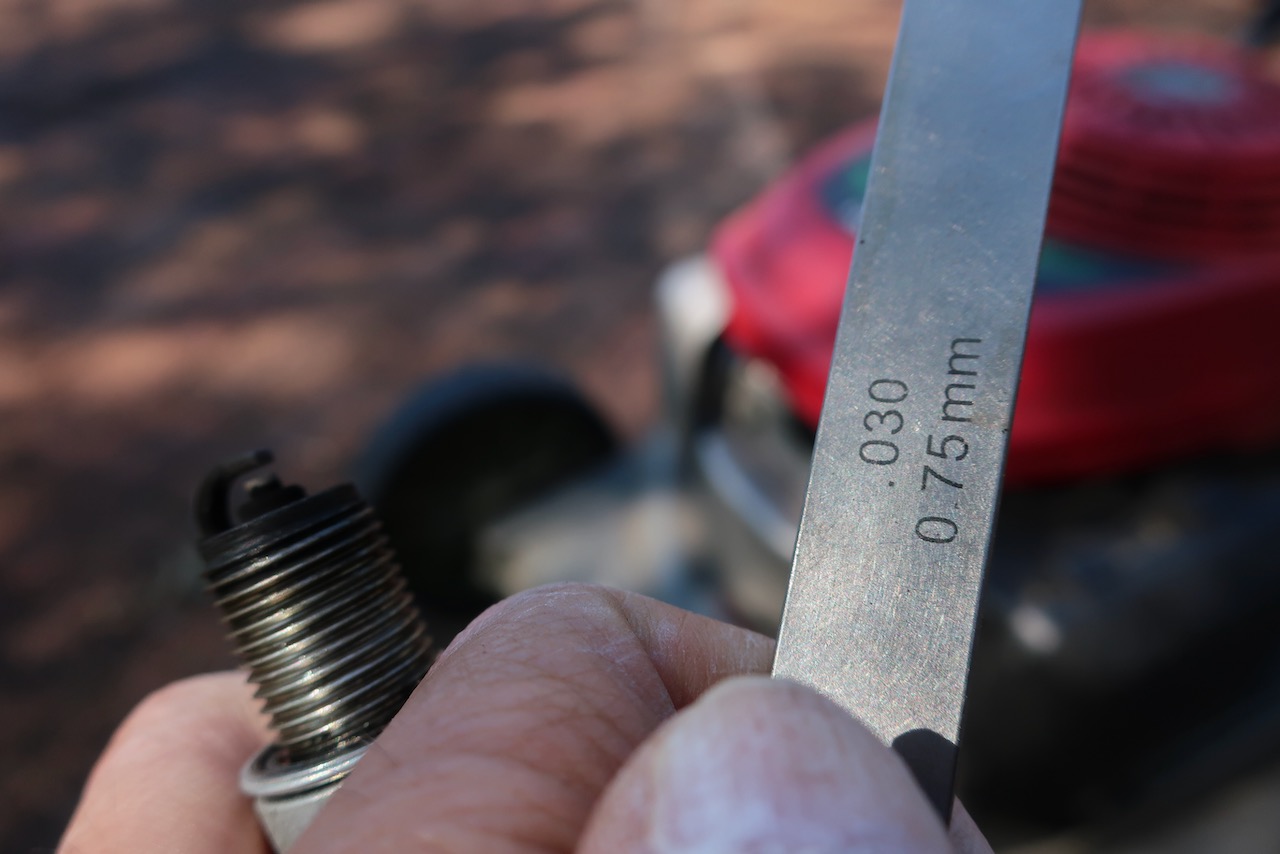
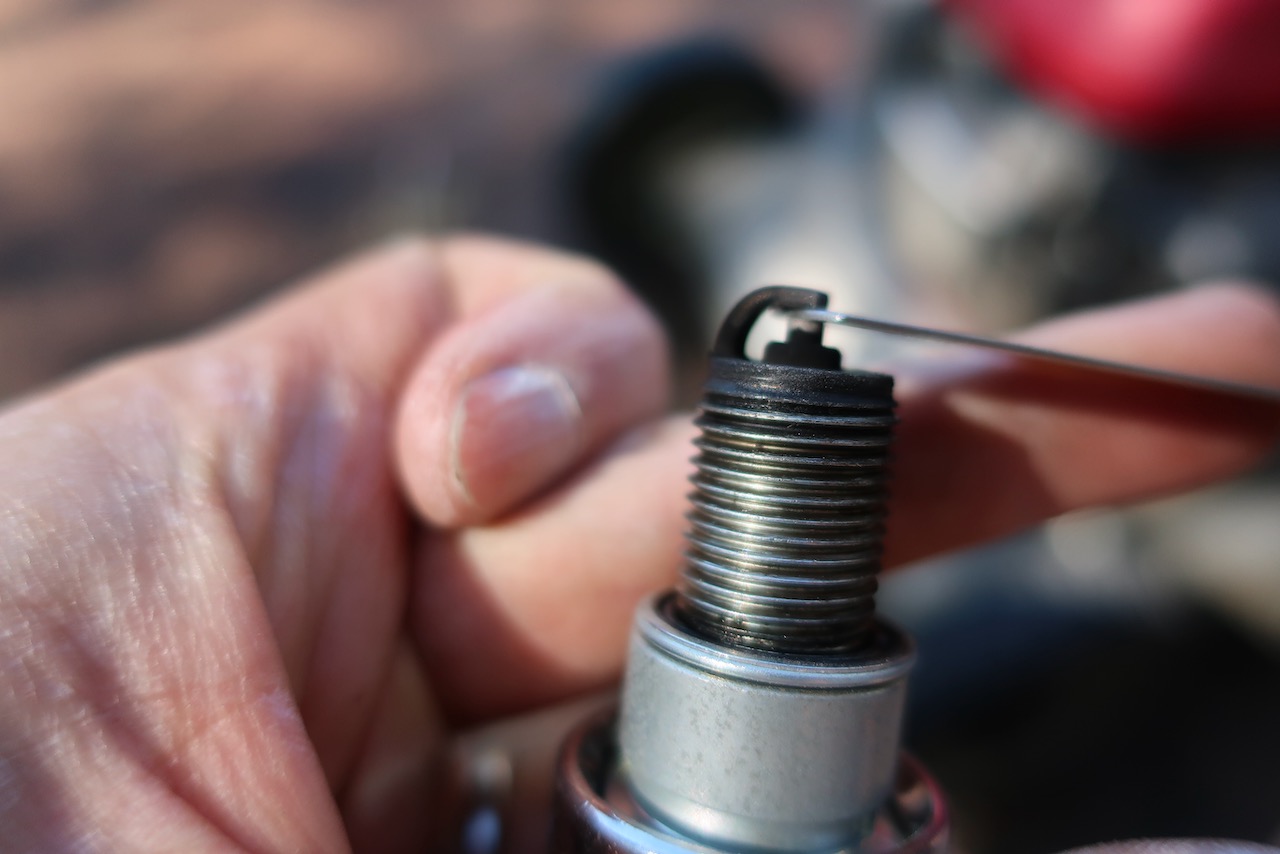
Gap is supposed to be 0.7-0.8 mm so let’s go with 0.75 mm.
Step 4 Put Back Together
Put everything back. Don’t overtighten.
Blade replacement
Step 1 Remove Cable
Remove spark plug cable (so engine can’t start on you).
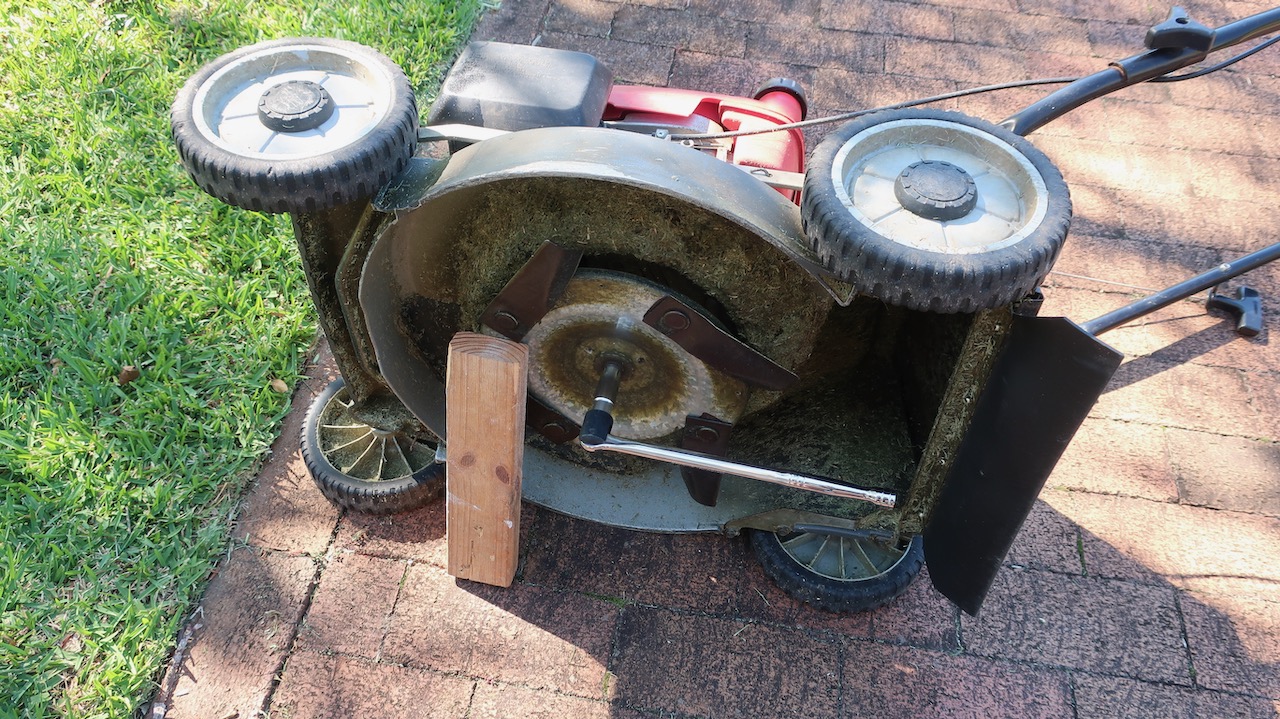
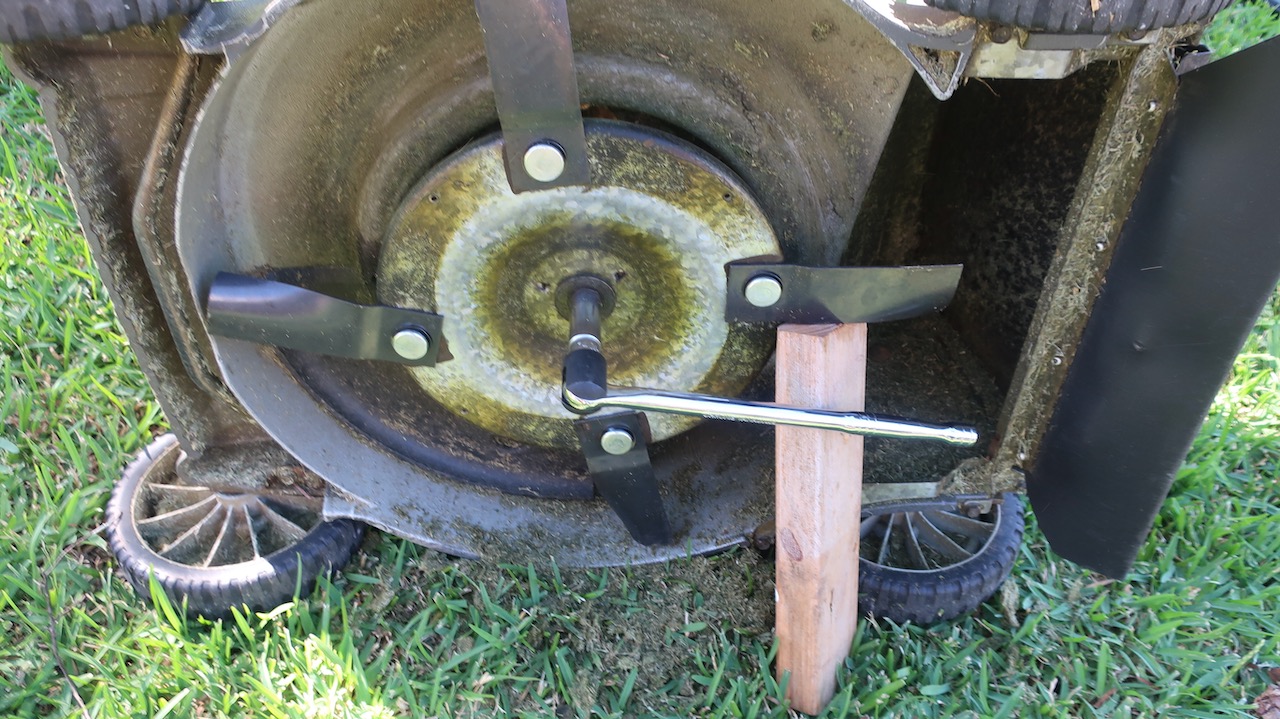
Step 2 Turn on Side and Remove Blade Disc
Turn off the fuel valve and turn on its side with the air filter facing up. Use a block of wood to wedge the blade so it won’t turn. Using a 14 mm socket, undo the nut for the blade disc.
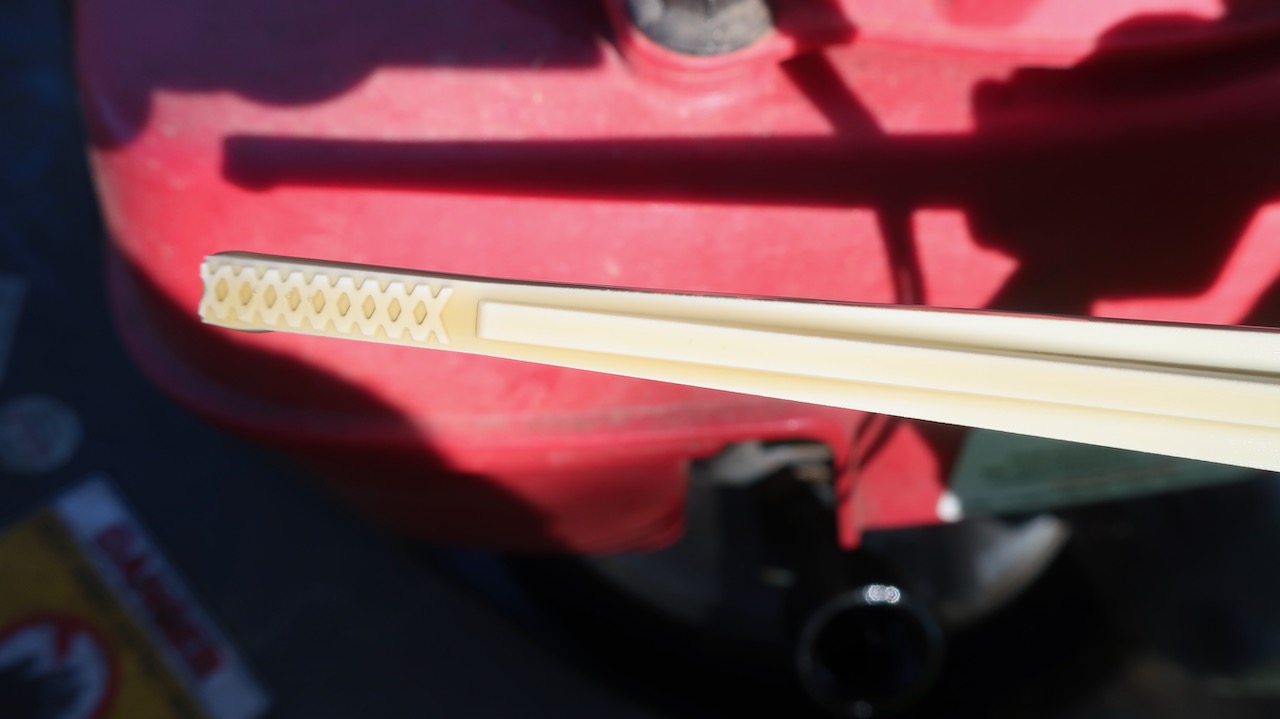
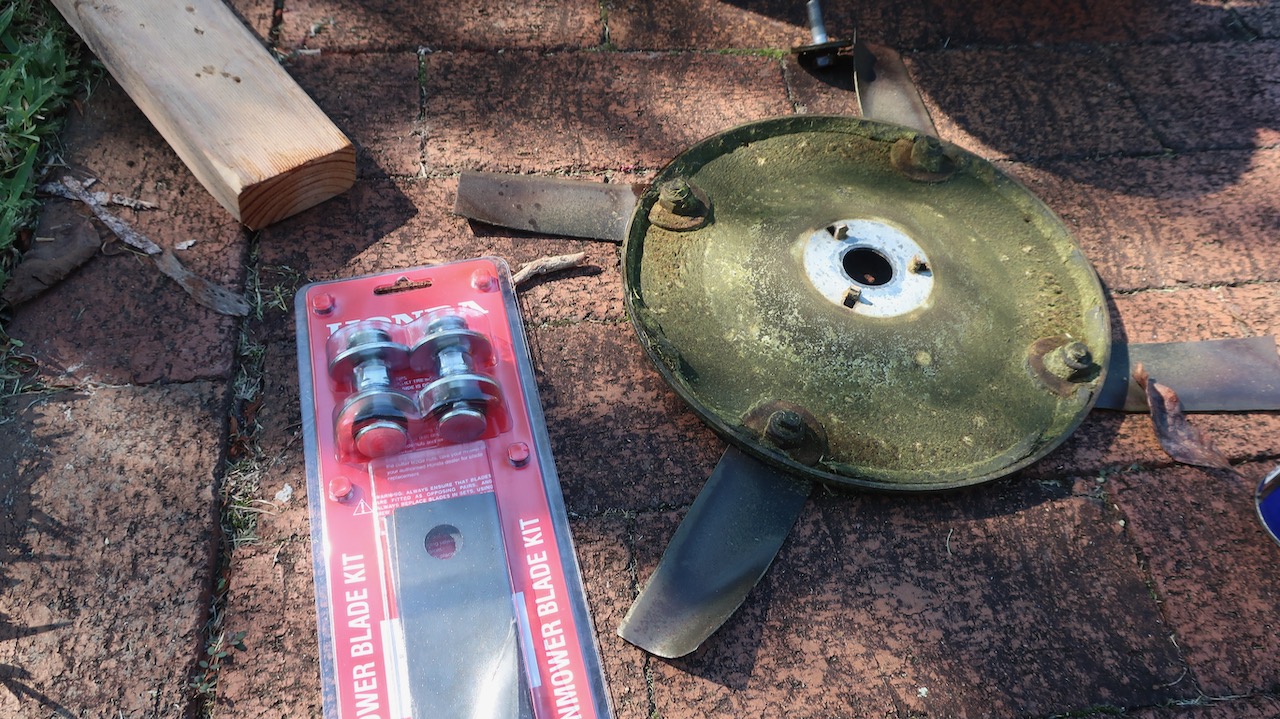
Step 3 Examine blade
Mine were in bad shape.

The part number for 4x the normal height blades is 06720-VK0-600. It took me a while to find this handy table.

I purchased new blades from Online Mower Spares who I highly recommend.
Step 4 Remove blade nuts
These were 17 mm.
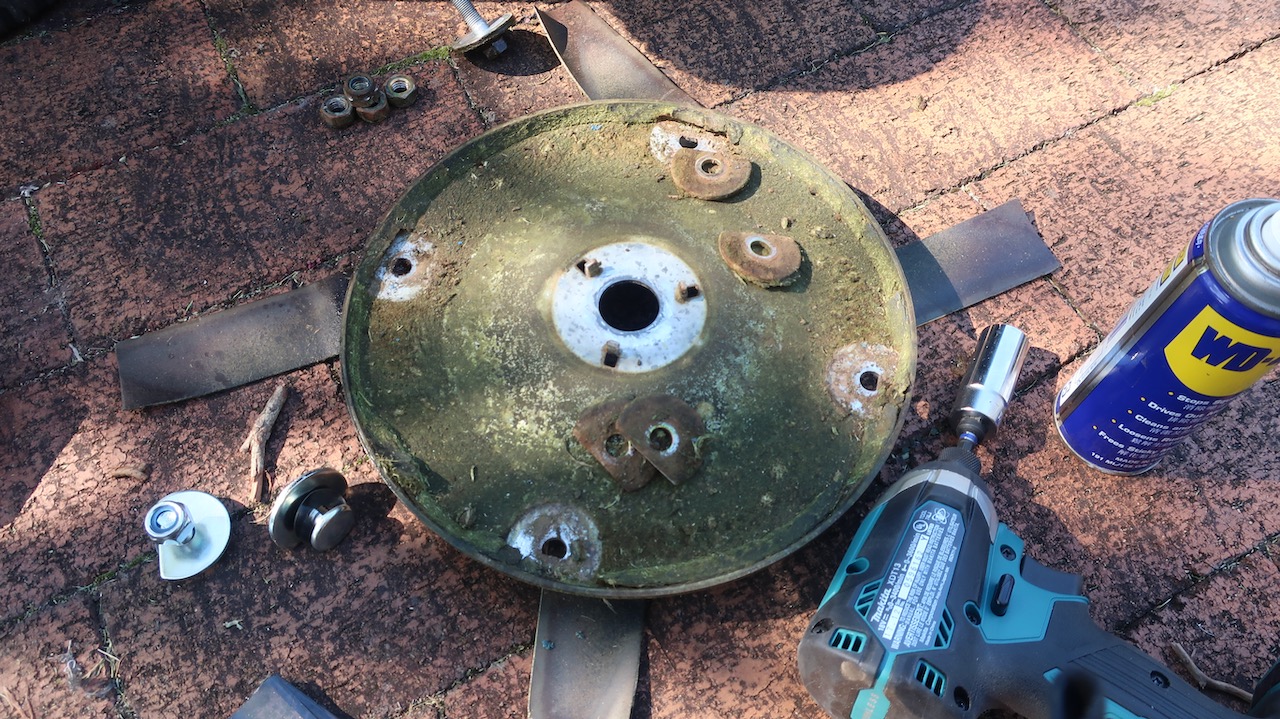
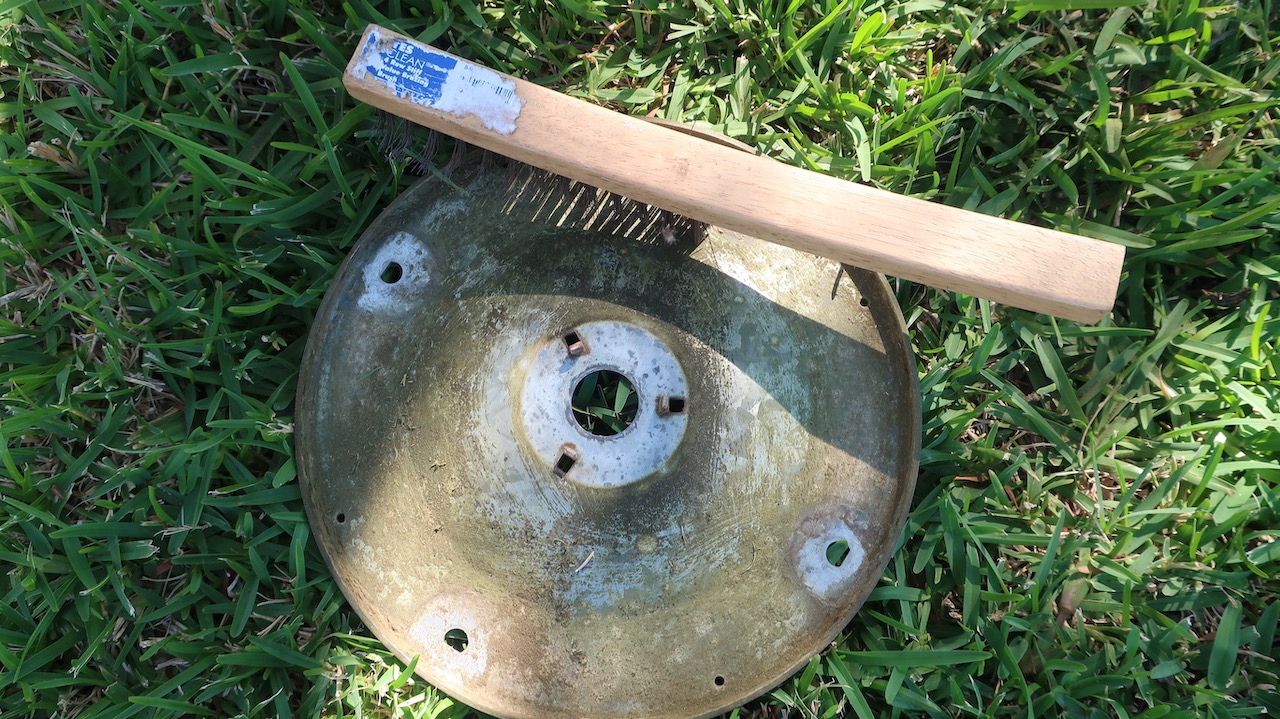
Step 5 Clean
I used a wire brush to clean the blade disc.
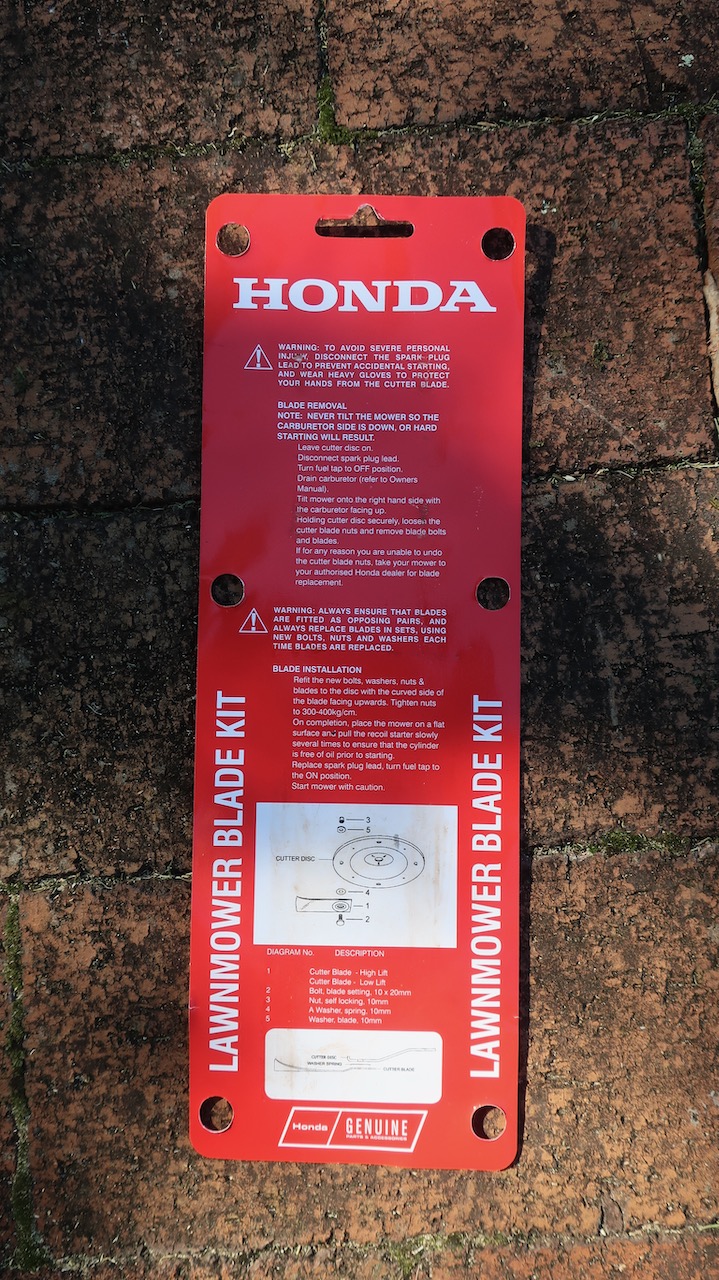
Step 6 Attach New Blades
One thing that I didn’t know is that the blades are not perpendicular to the disc. They are at a slightly acute angle. If you make them perpendicular, they hit the side of the mower (only found out after I put everything back together). I used the shadow of the old blade for alignment.

Make sure you tighten the self-lock nuts for the blades according to the manual (29.4-39.2 Nm) using a torque wrench!
Step 7 Put Back Together
Put the blade disc holder back on the mower. Check torque with torque wrench, it should be 49.0 - 58.8. Nm Replace the spark plug cable and open the fuel valve.
Try it Out
Works like new now. Since the main jet and main nozzle looked clean, I suspect the problem was the float not moving properly so either the pin or the seat. The mower now starts easily and cuts cleanly. Even the sound is different from having cleaned off the caked-on grass.