2015 Evinrude ETEC 50hp Service
Here is how to service an ETEC 50hp outboard including fuel filter, gearcase oil and water pump.
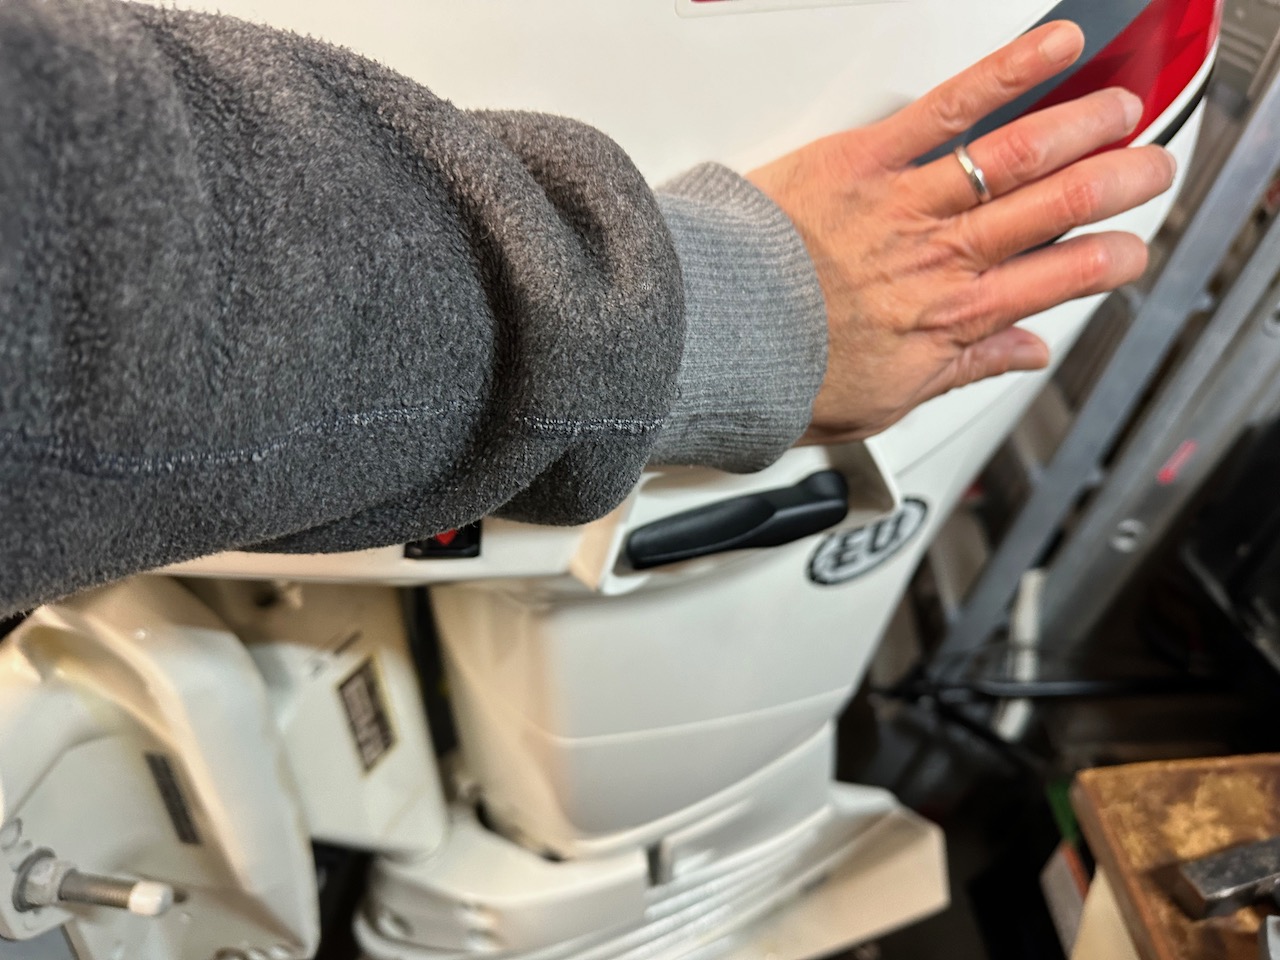
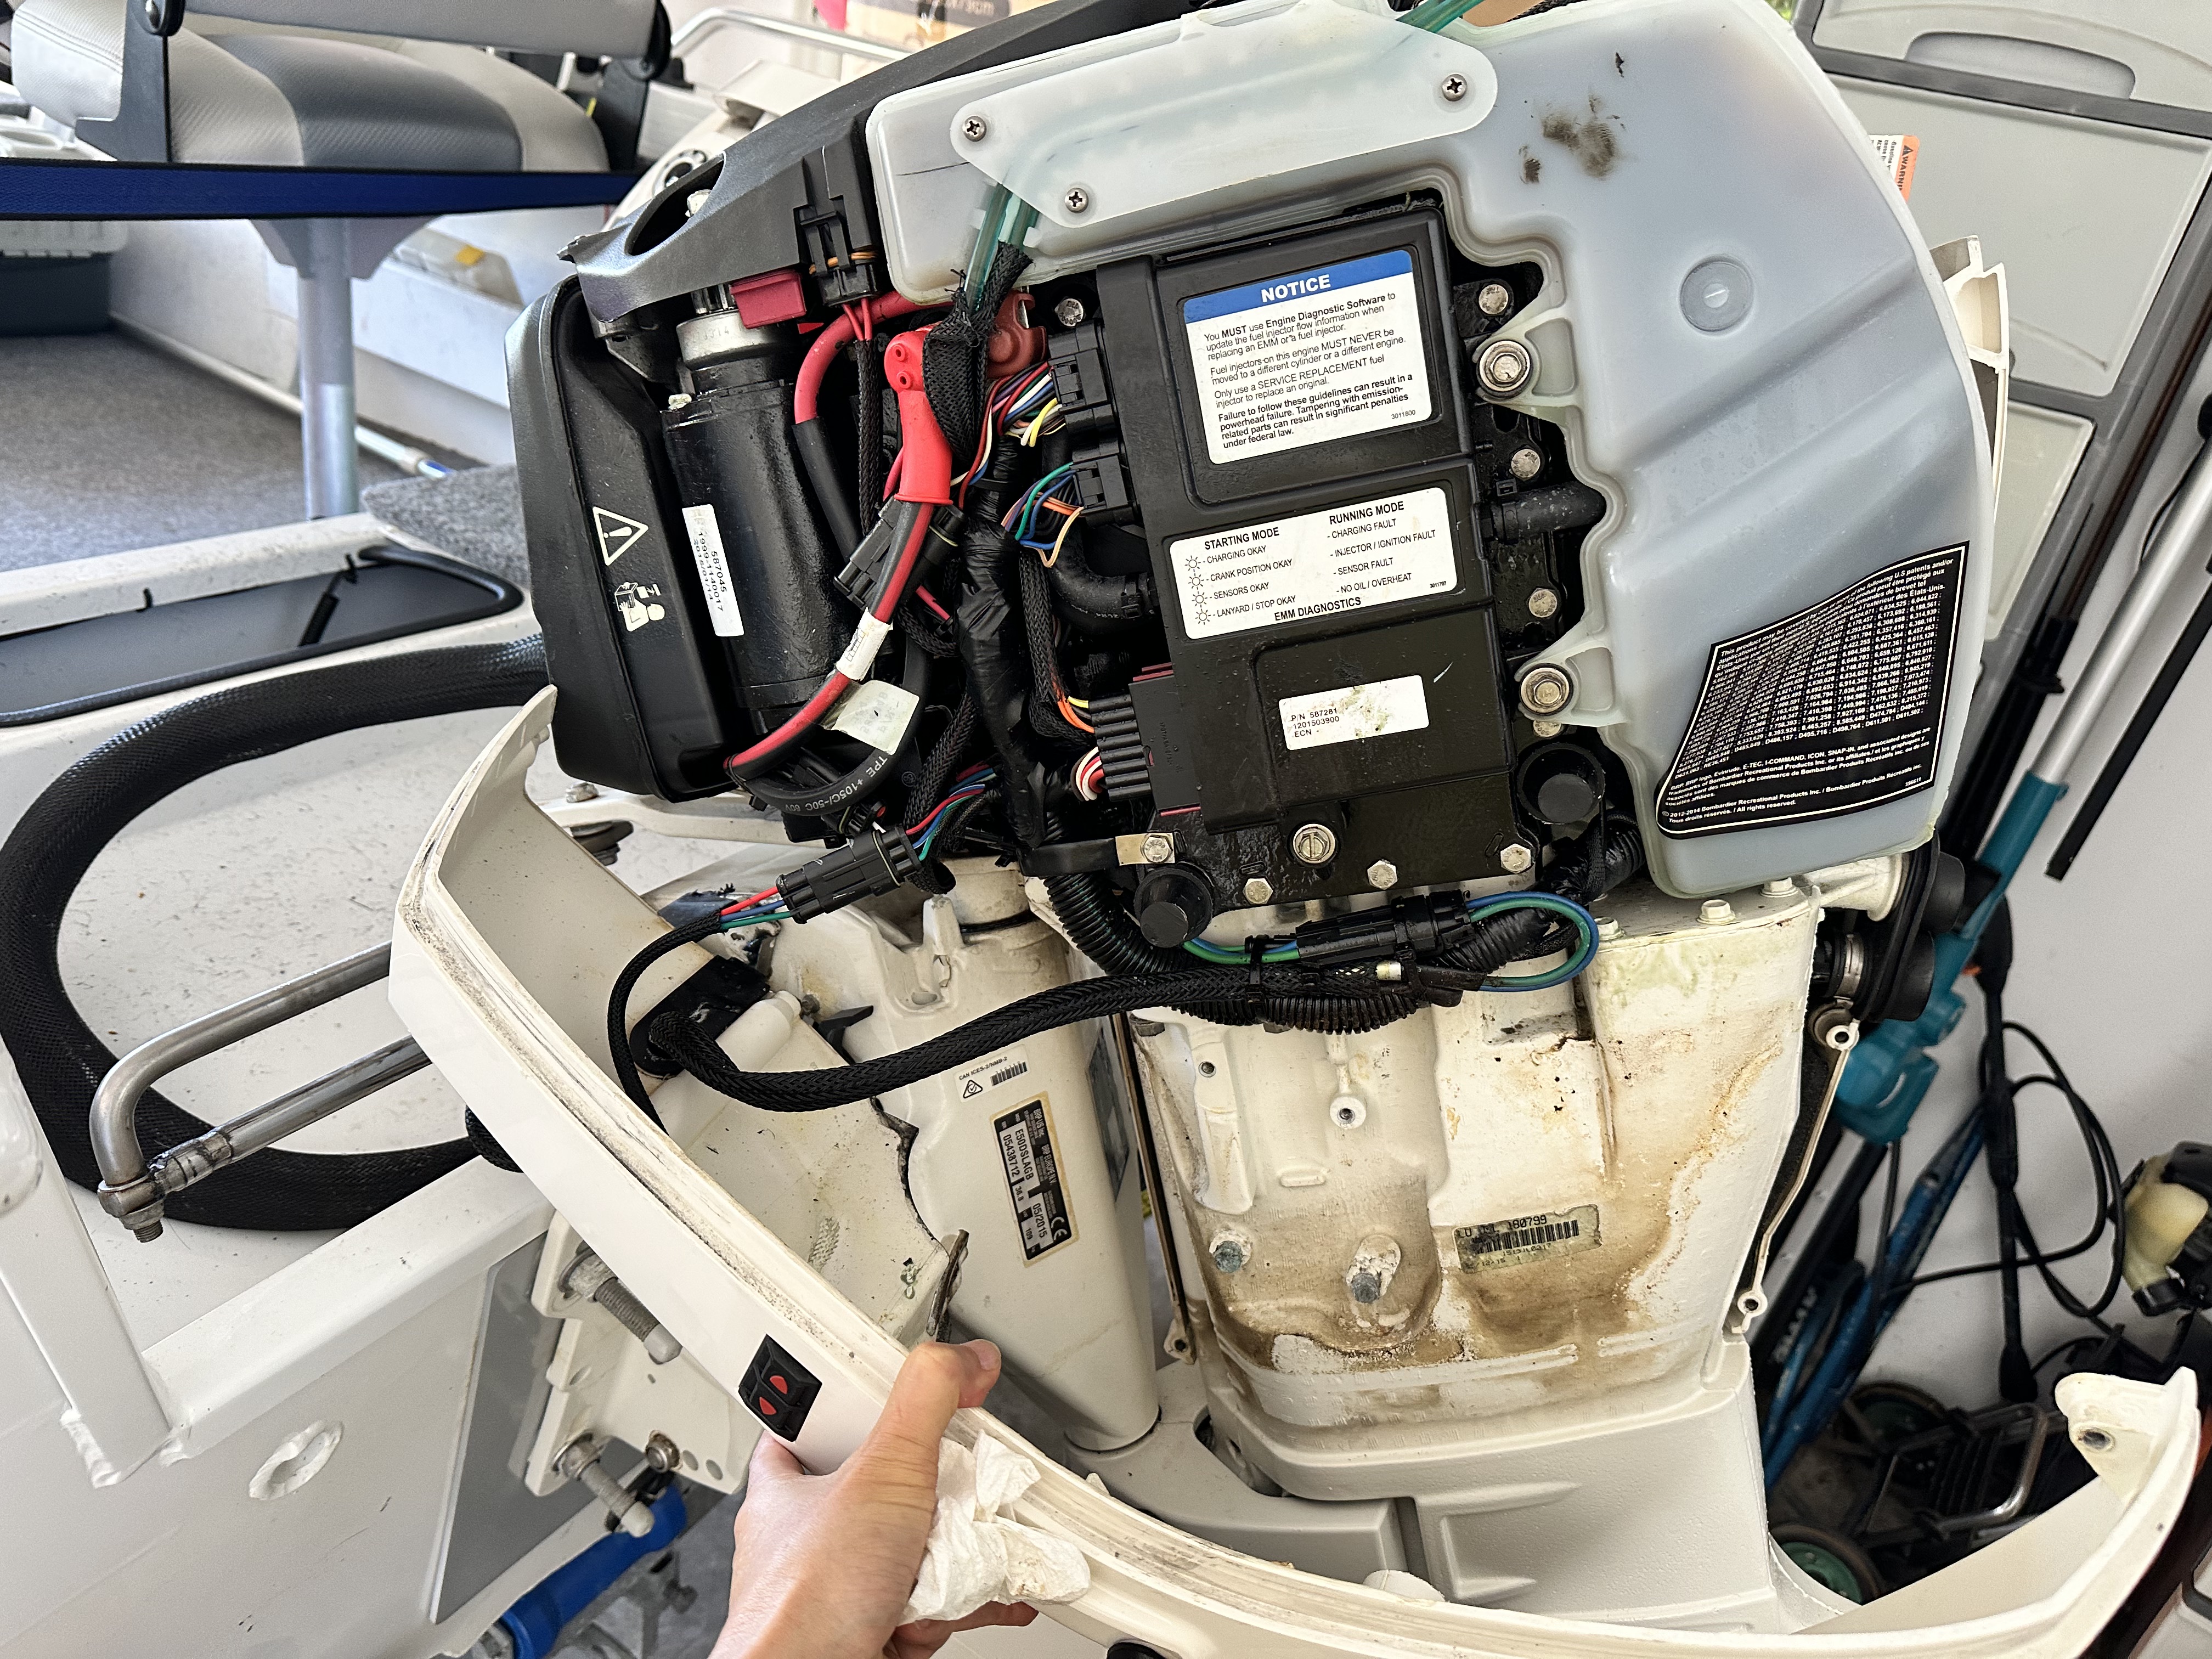
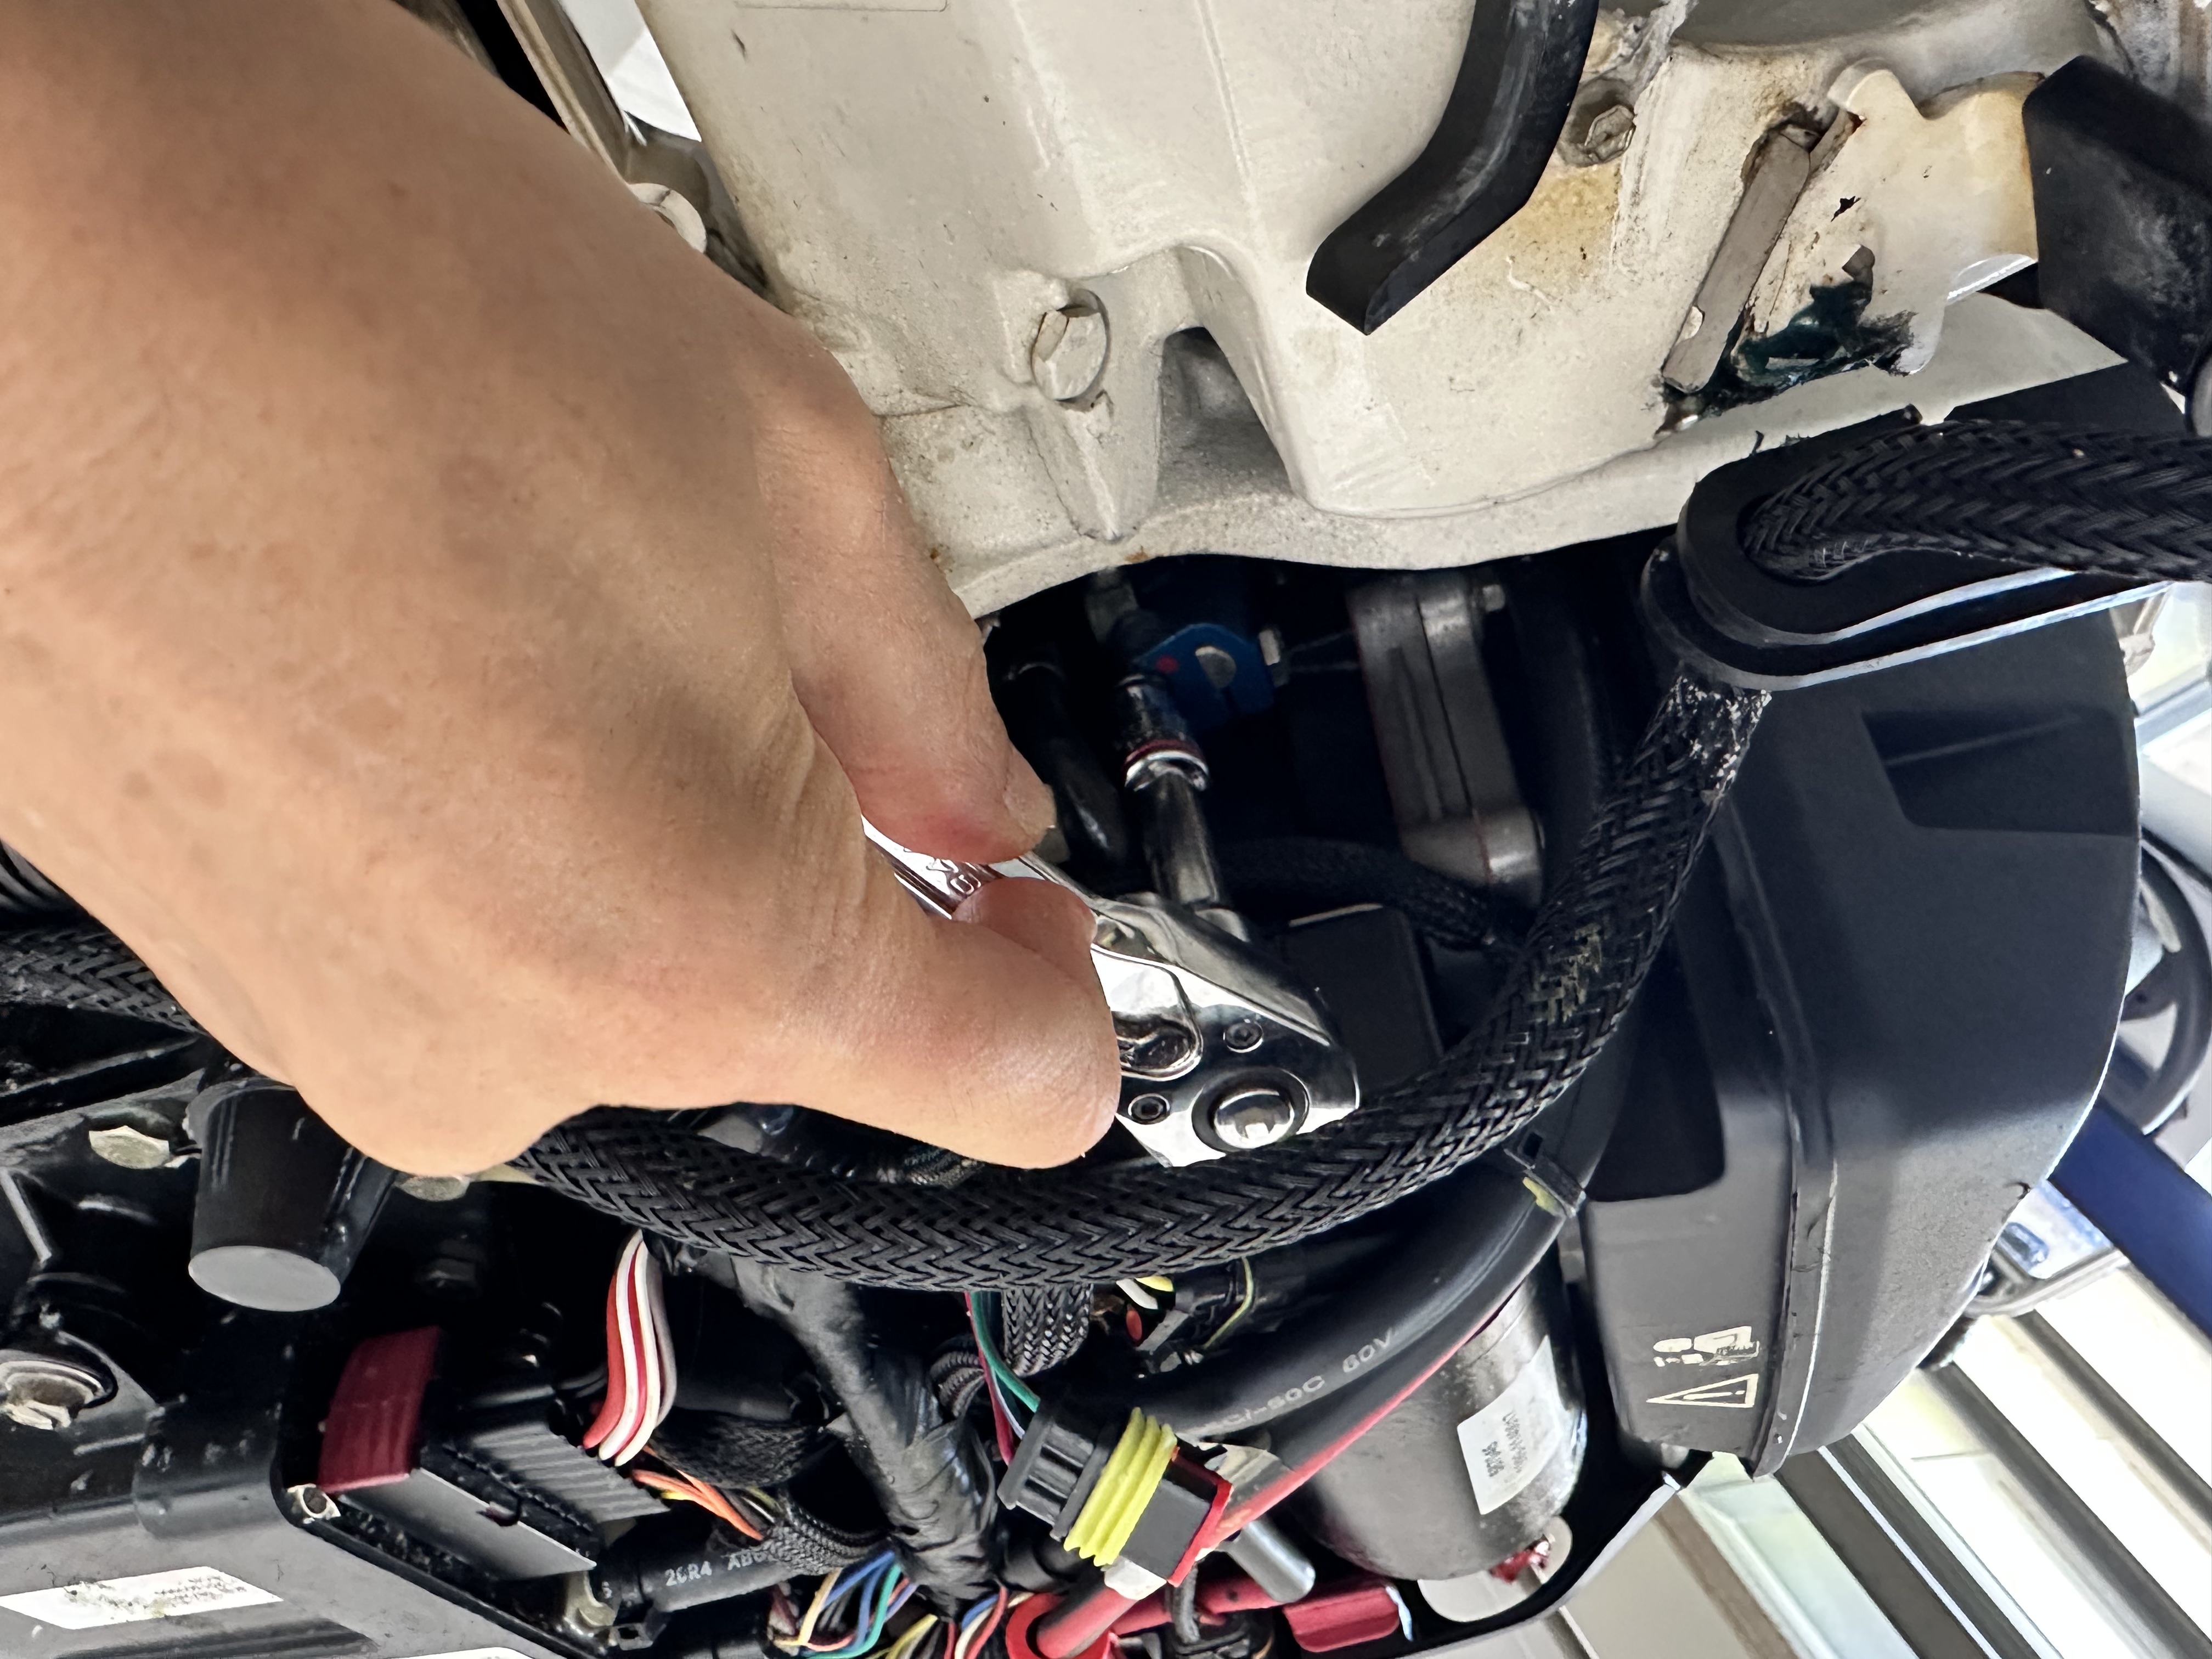
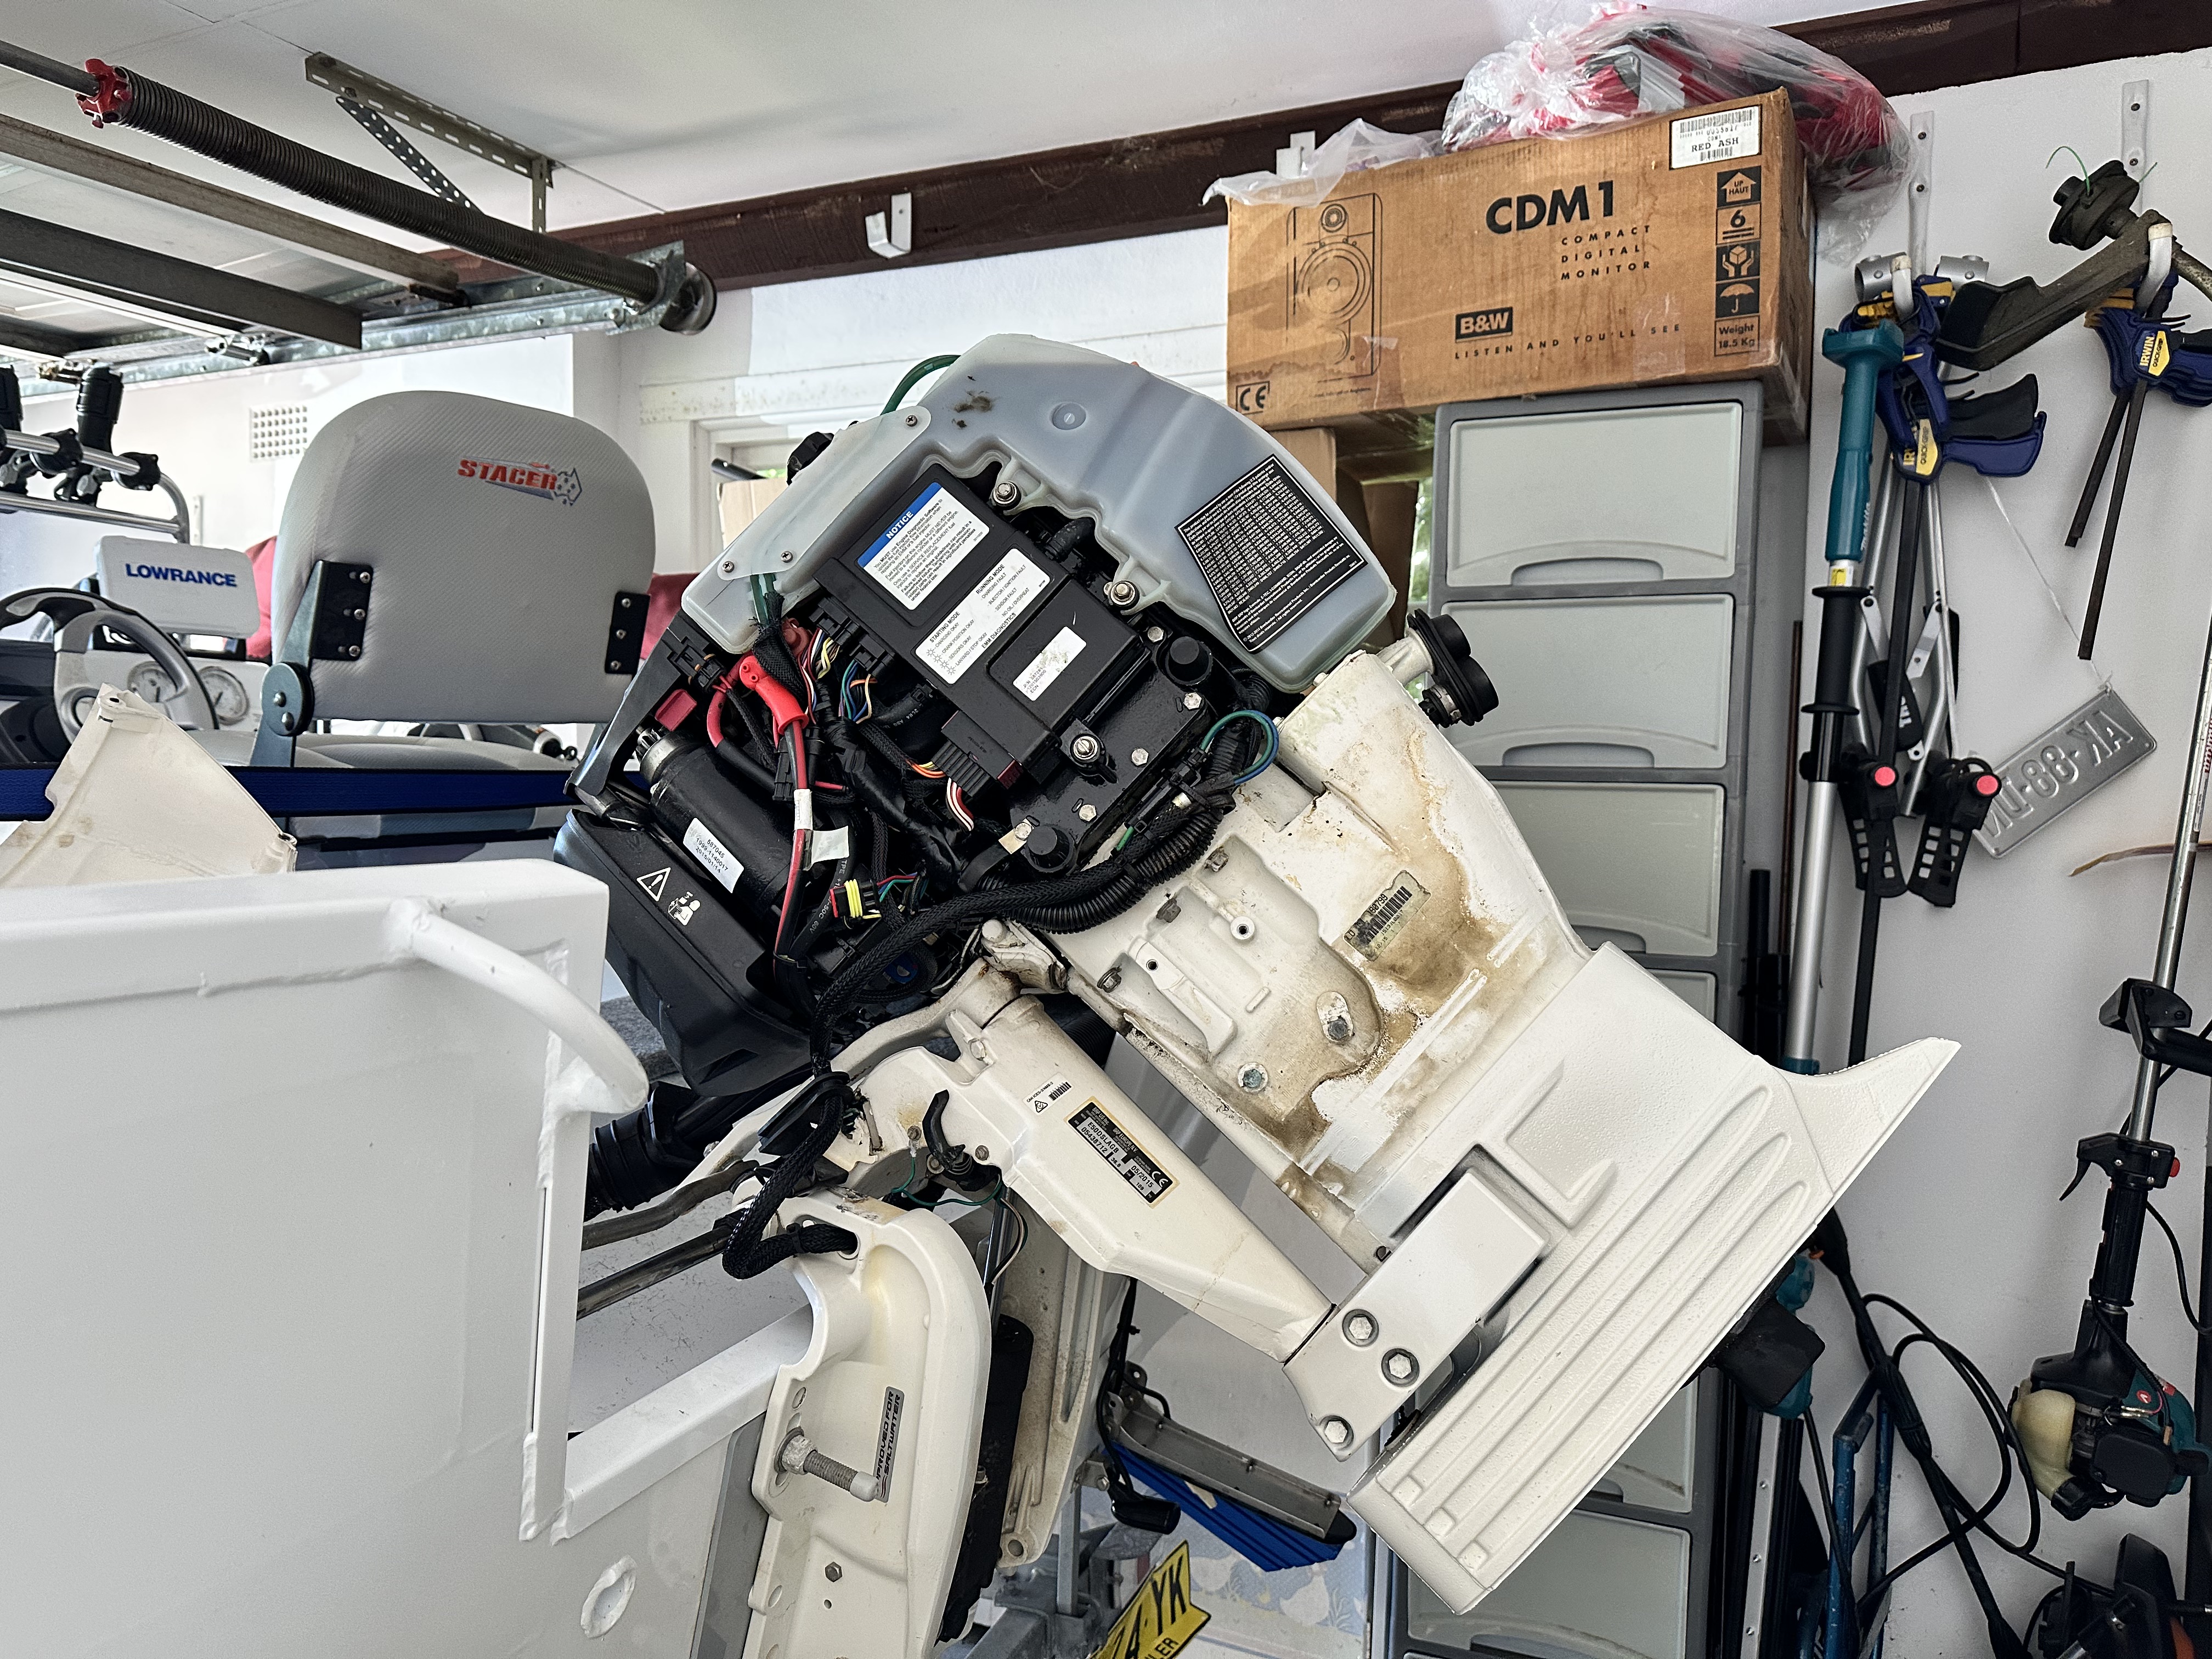
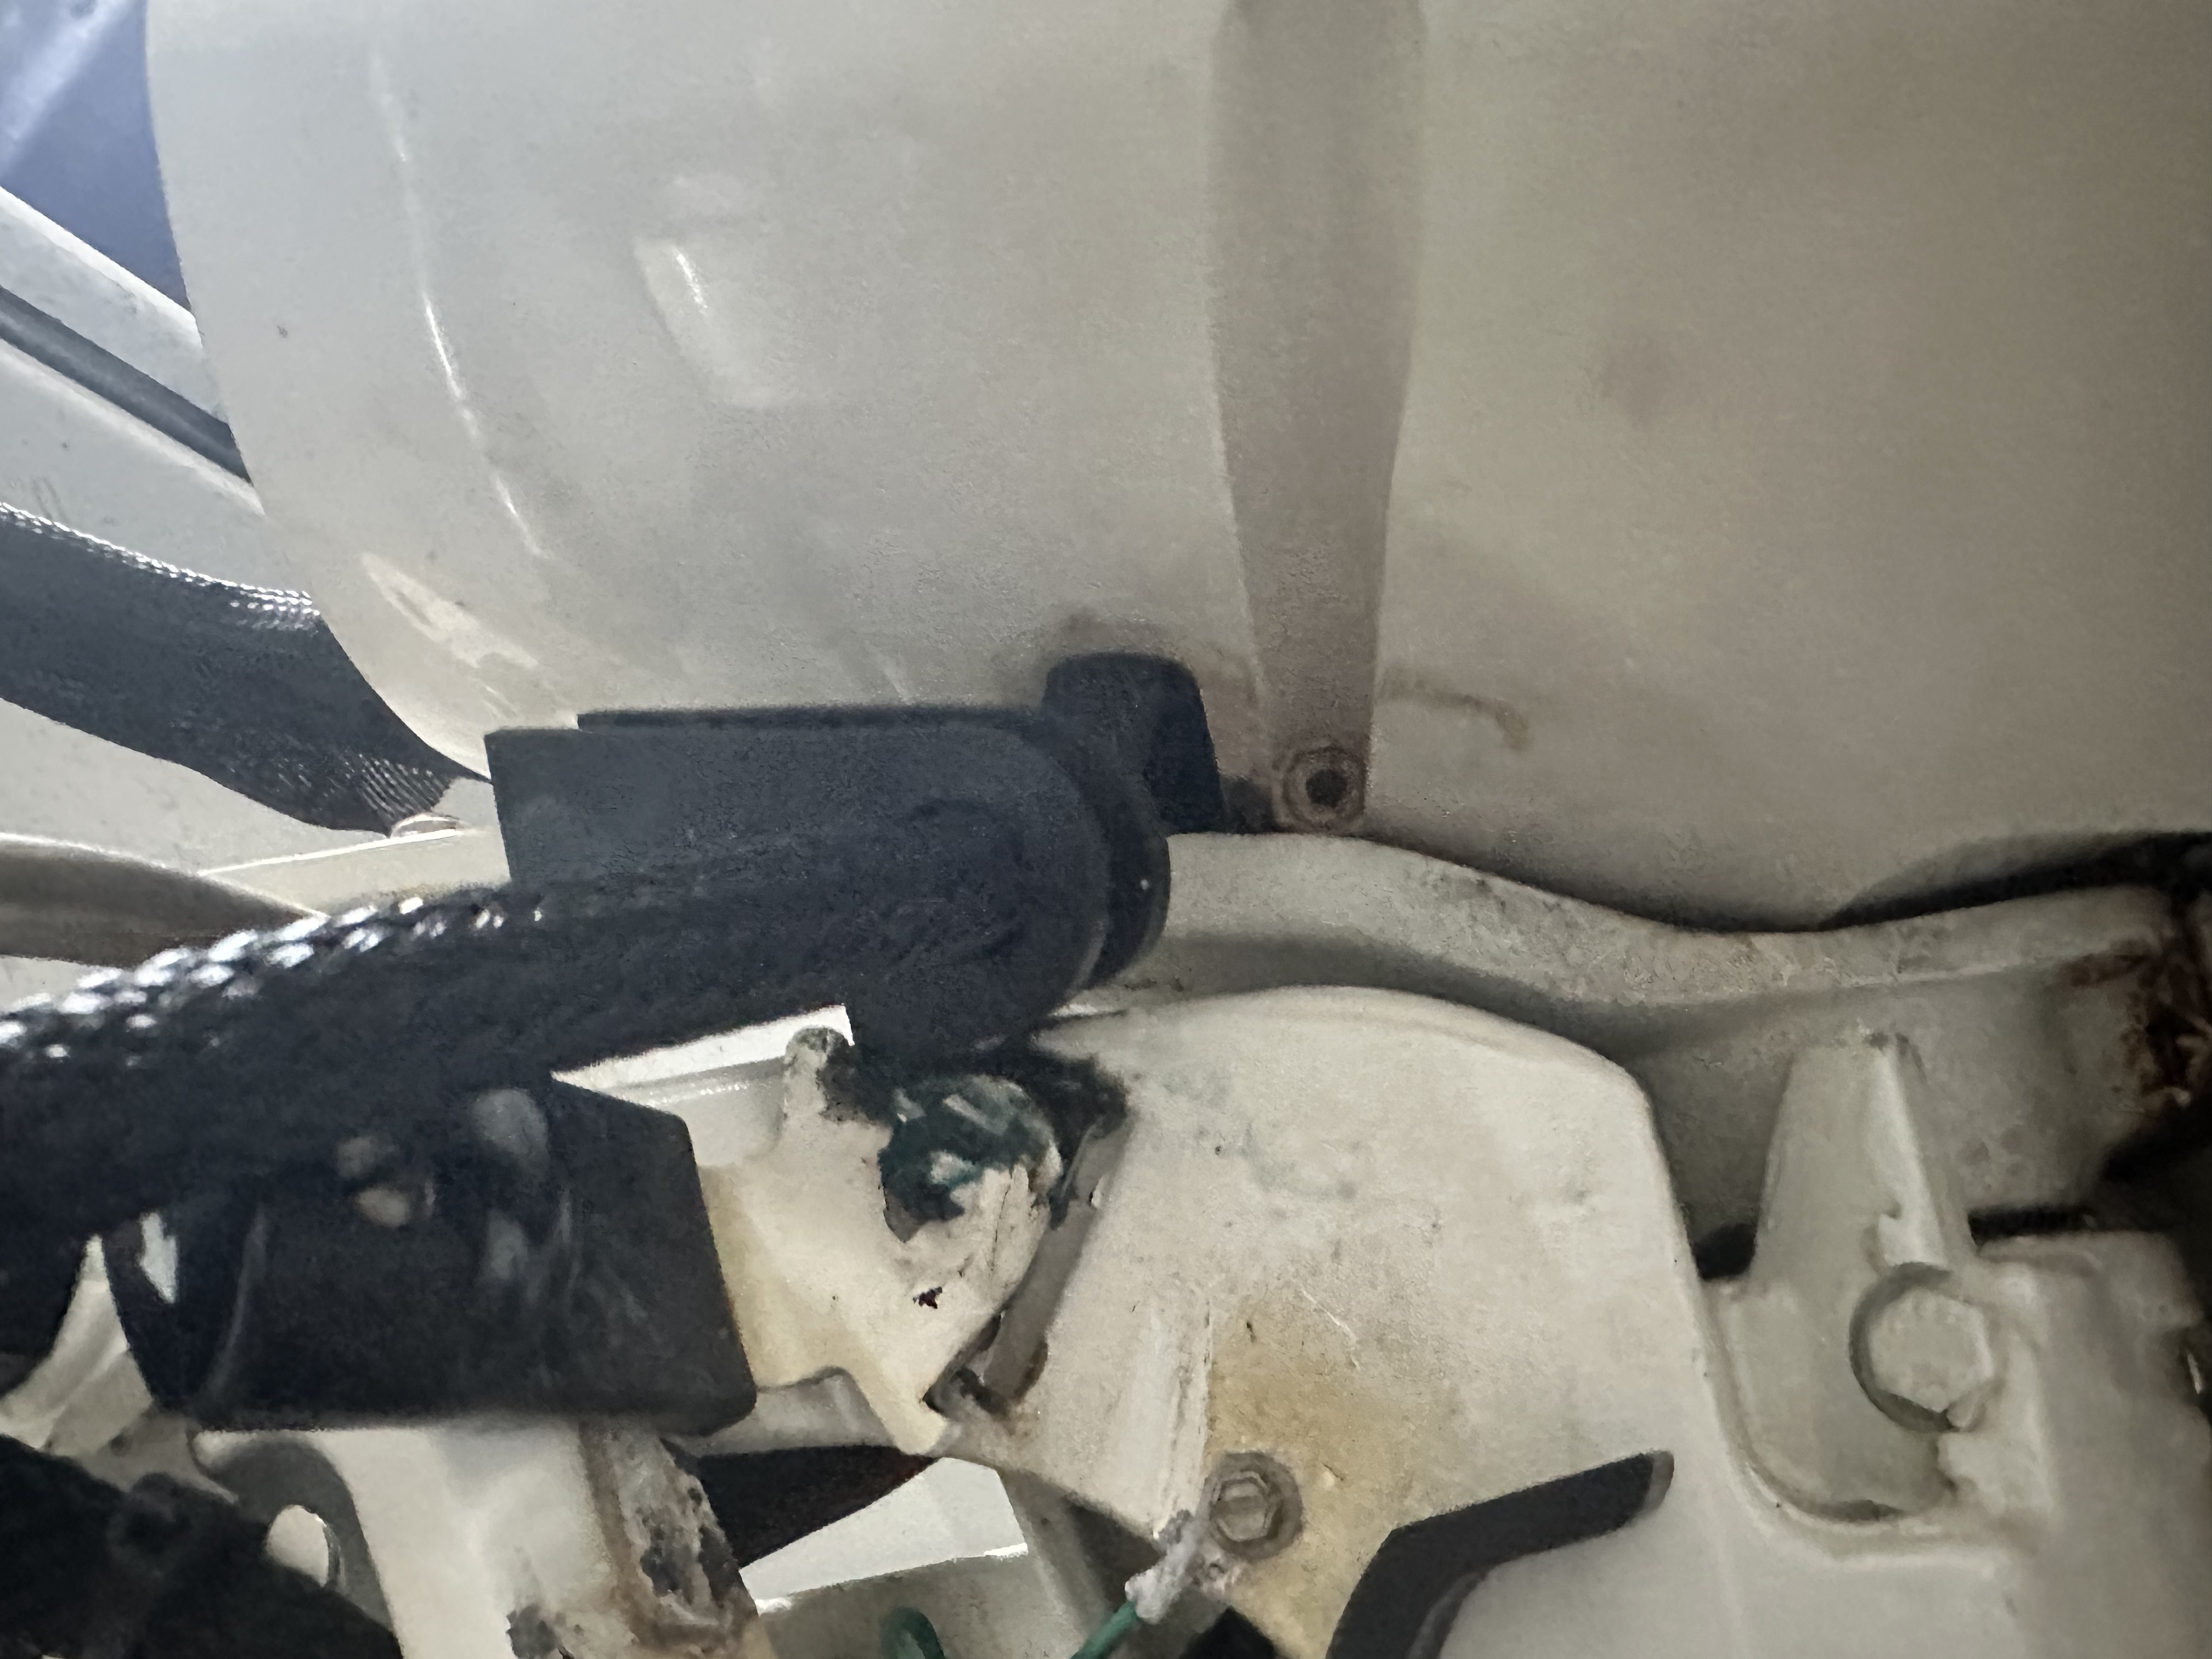
Opening Cowling
- Opening the cowling is the hardest part. The side in the photo often gets stuck. To get it unlocked you slap the side of the cover just above the mechanism while pulling down on the lever.
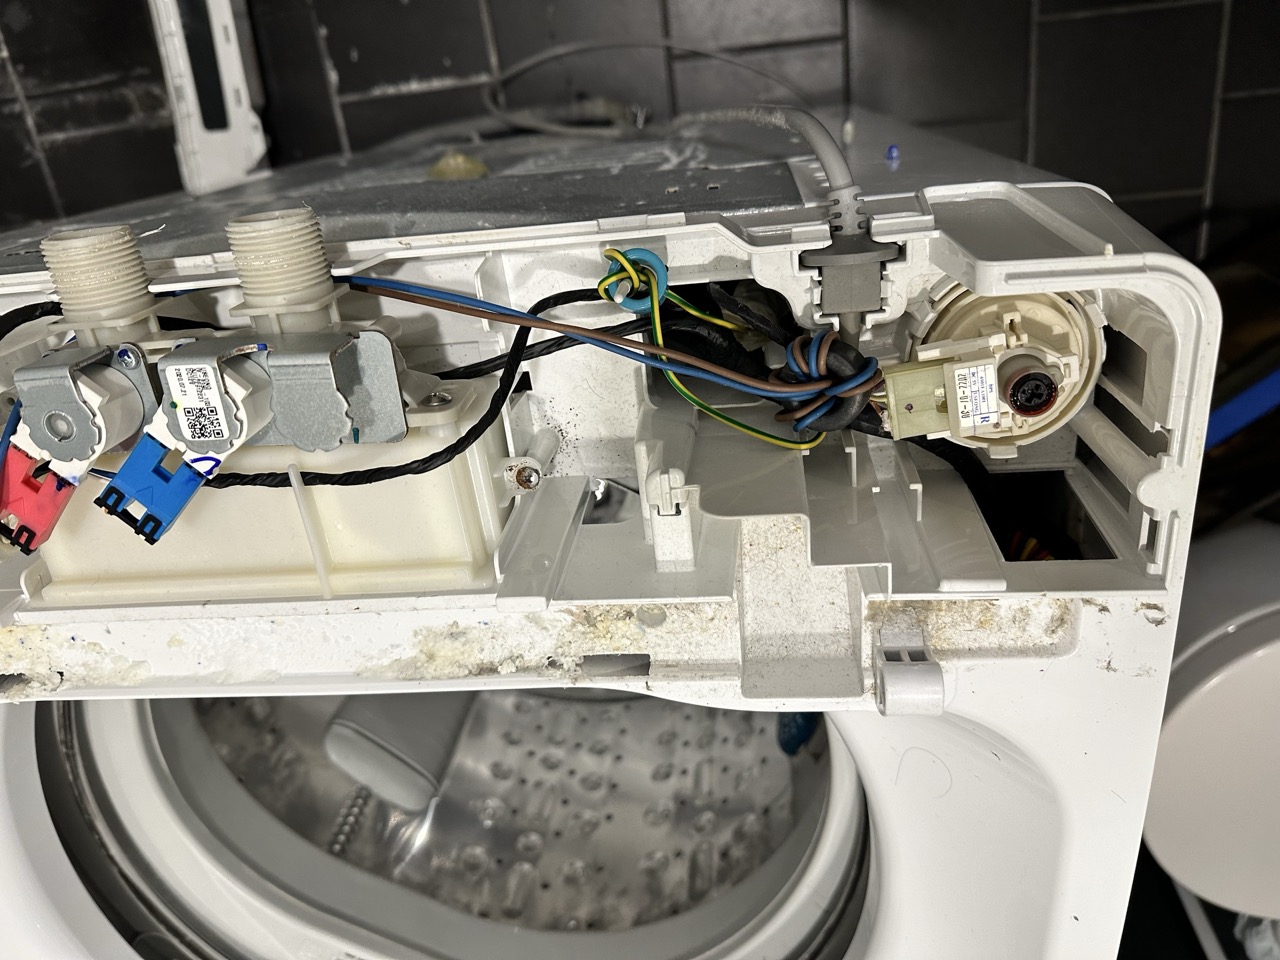
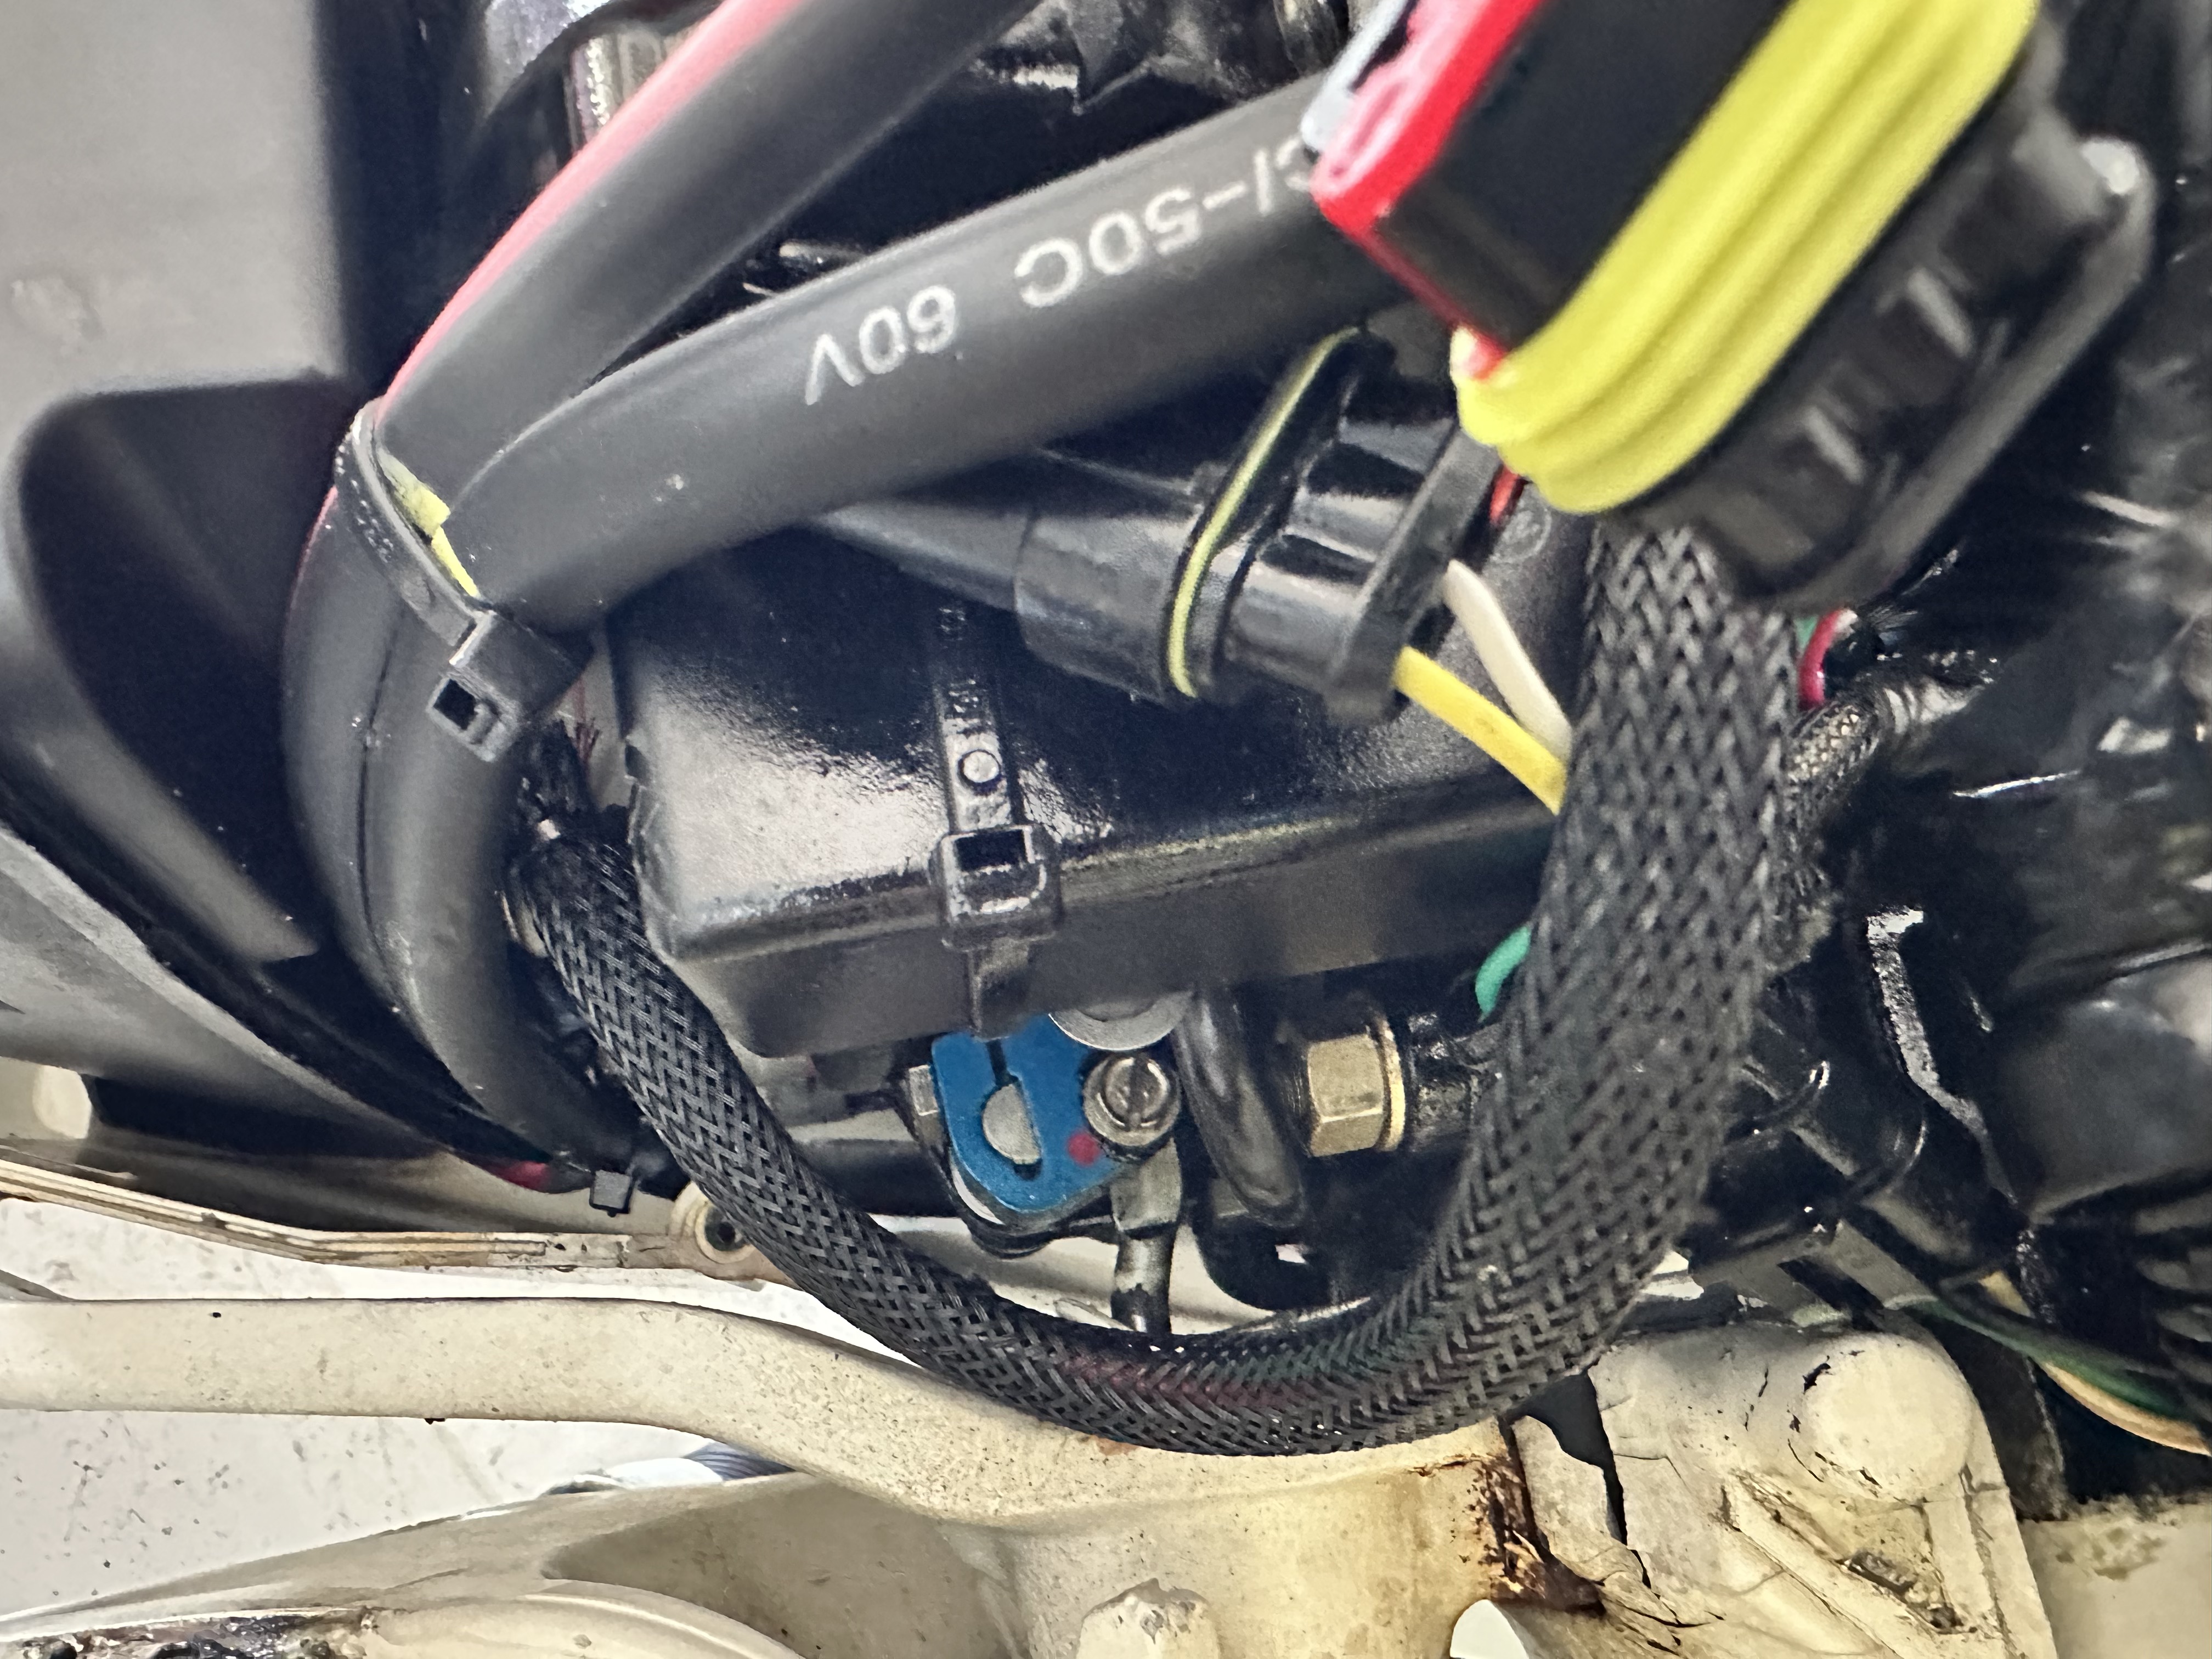
Fuel Filter
-
This also stopped me in my tracks as they are held by Oetiker Clamps. I purchased the Knipex 10 99 I220 (but the 10 98 I220 would have been fine). The difference is that the 99 can be used for frontal and lateral crimping.
- Lift up the barb using needle nose pliers and then used the ear clamp pliers to remove.

- Then put in the new one, ensuring you get the direction right. Tighten the new clamps. Having the correct tool makes this easy.

Gearcase Oil
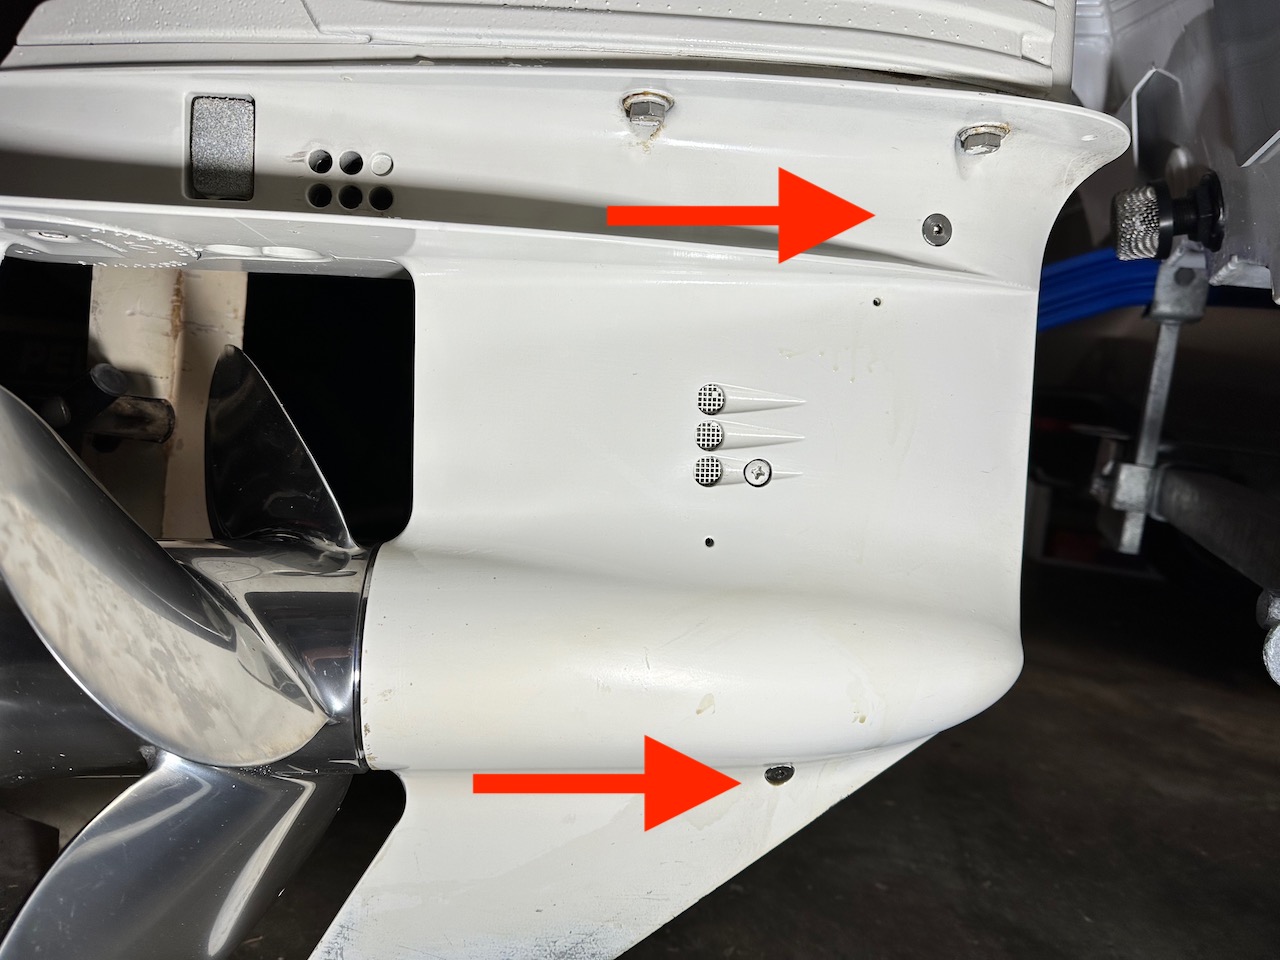
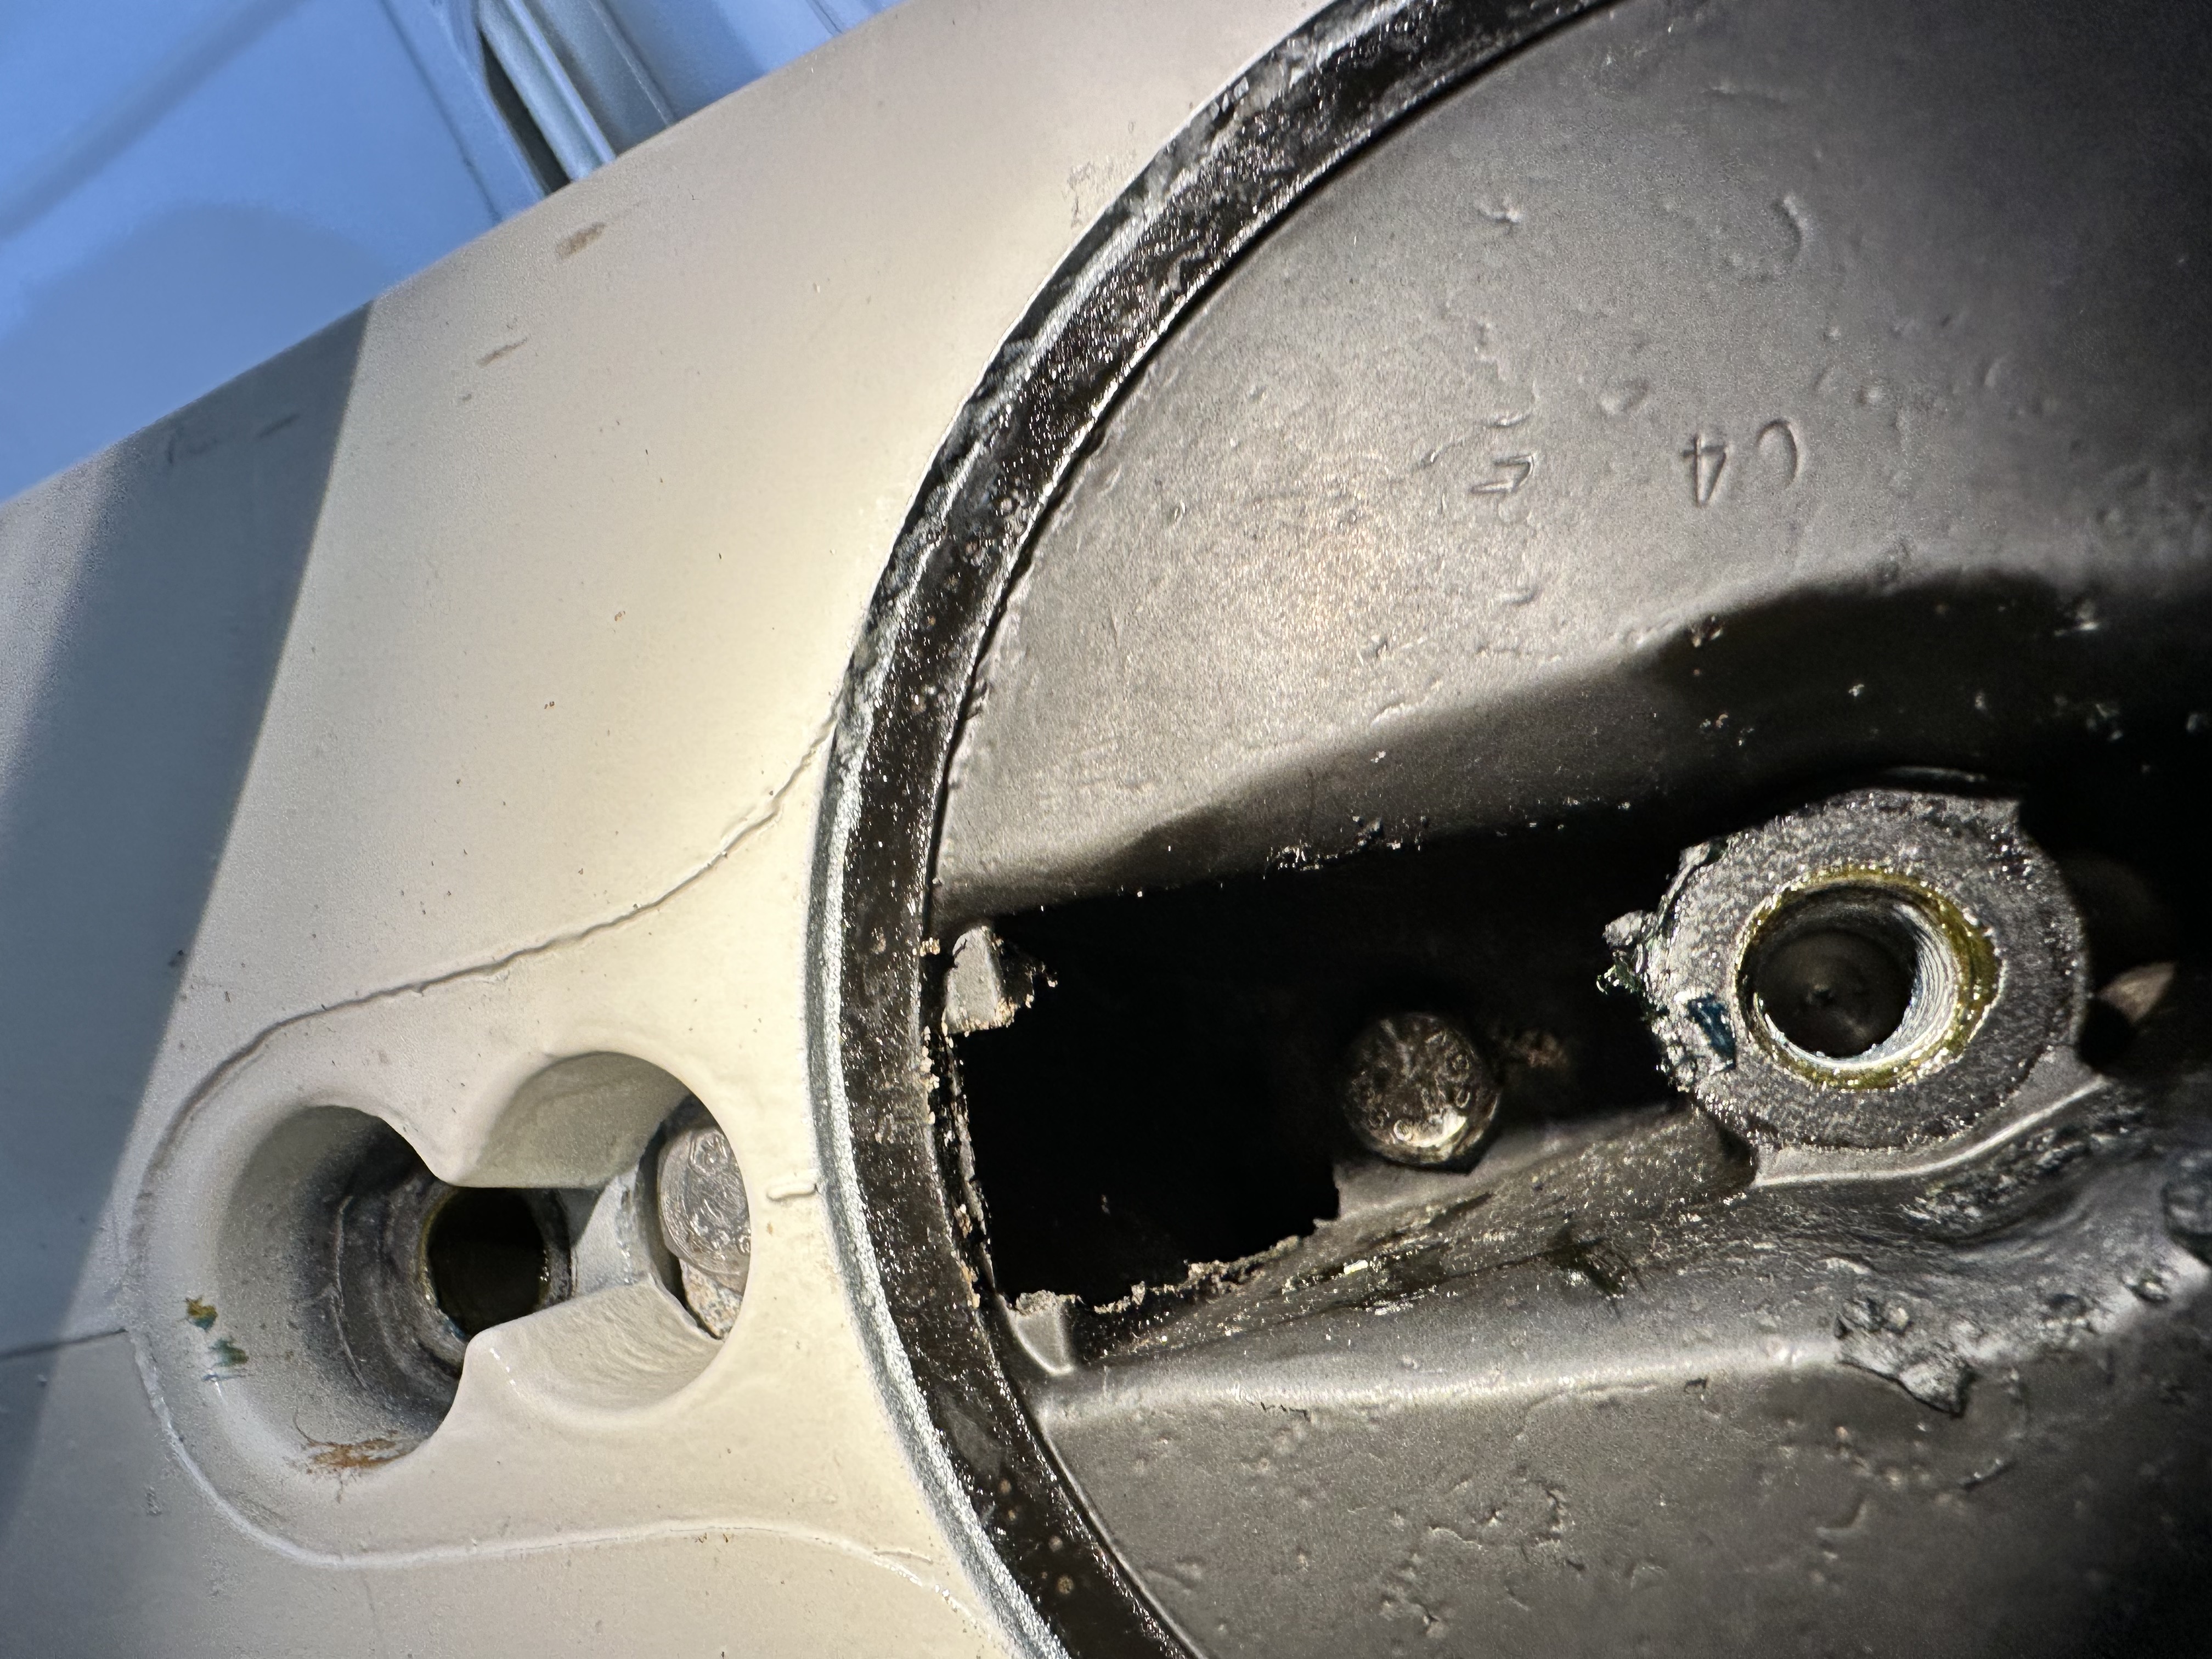
- The location of the top and bottom plugs are shown in the photo below.
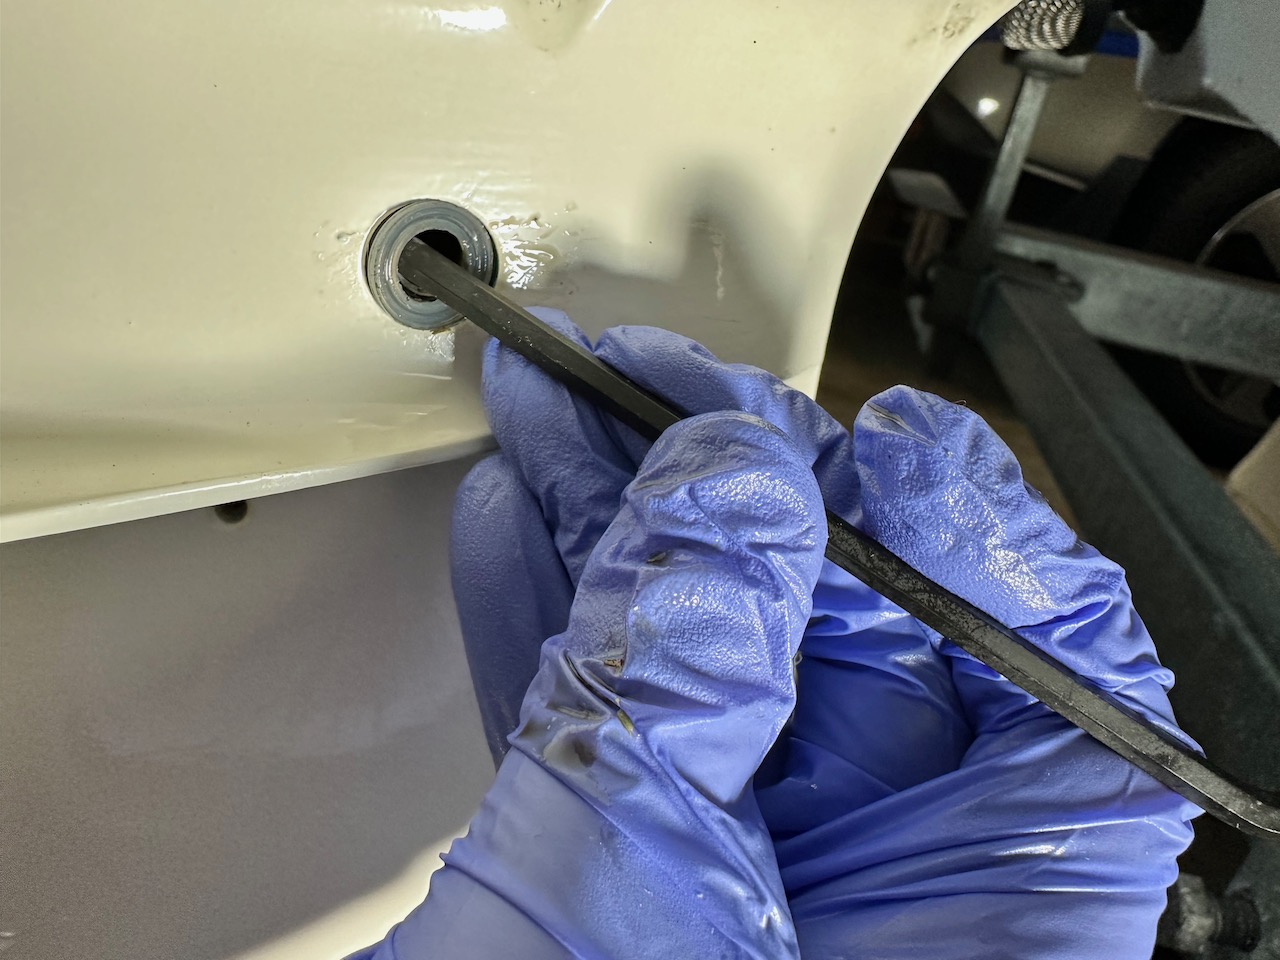
- First put something underneath to catch the oil. Remove the top level plug (it is a 4mm hex) and check the level was near the top using something like a clean cable tie. Then remove the bottom drain plug and drain.
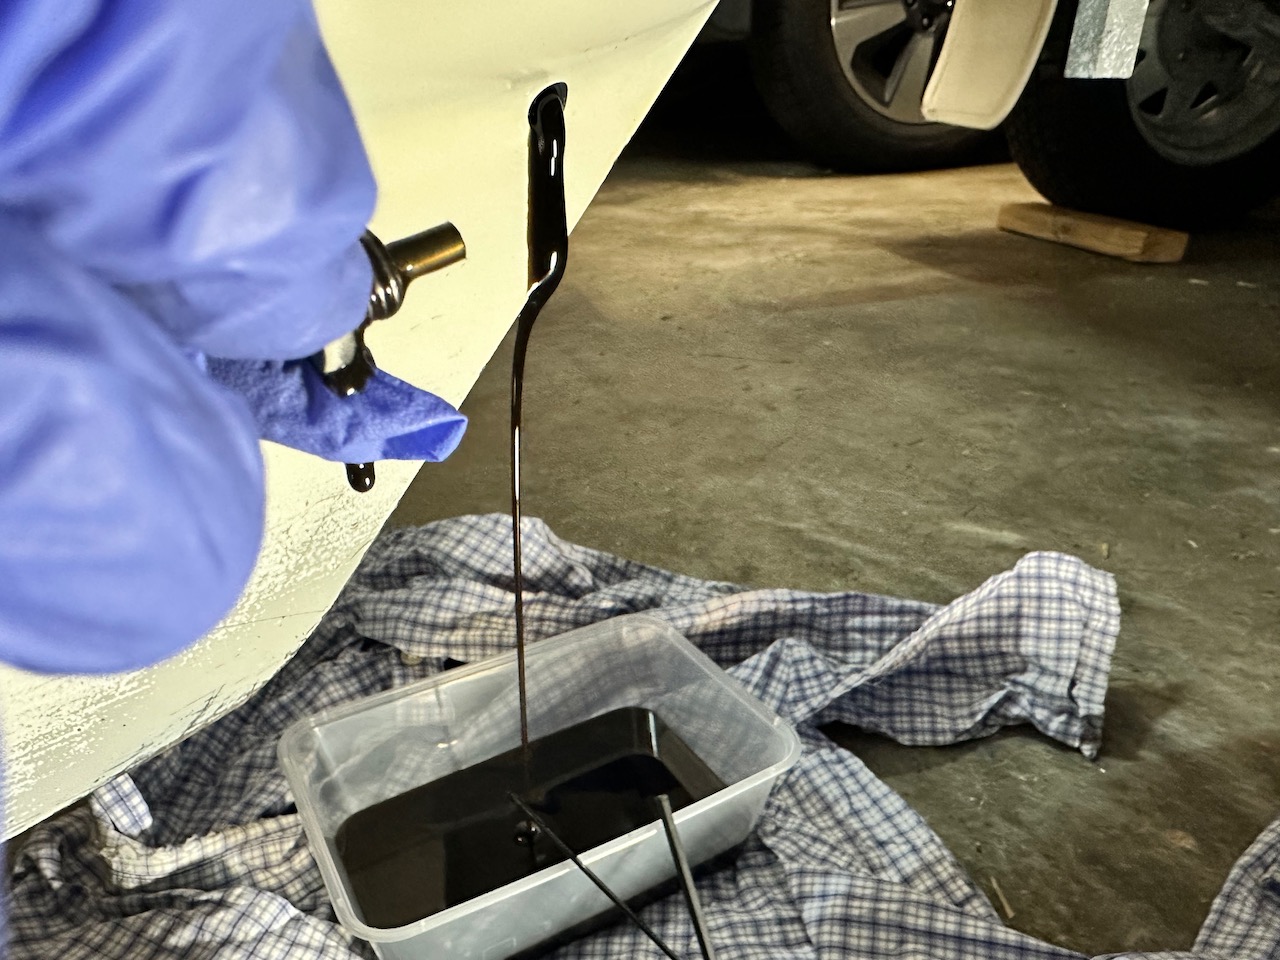
- While draining, inspect the plugs. They are magnetised so any fuzz is bad. Also check for water contamination. After everything has drained, remove the seals from the plug areas.
- The oil should be Evinrude HPF XR gearcase lubricant.
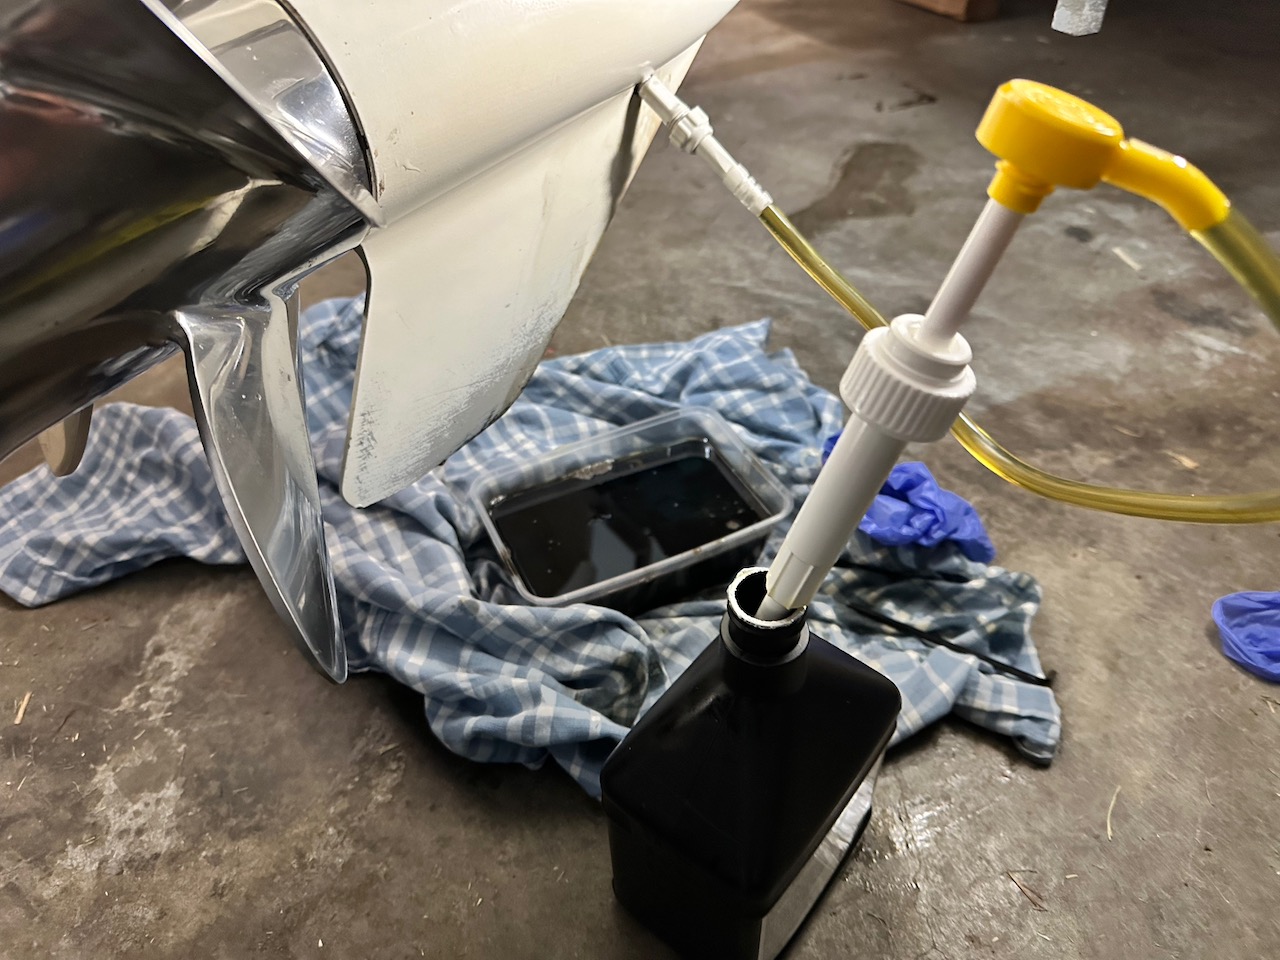
I pump a little new oil in and let it run out to remove the last of the old oil.
Then fill until it comes out the top. When it does, screw in the top plug (with new seal) and then the bottom.
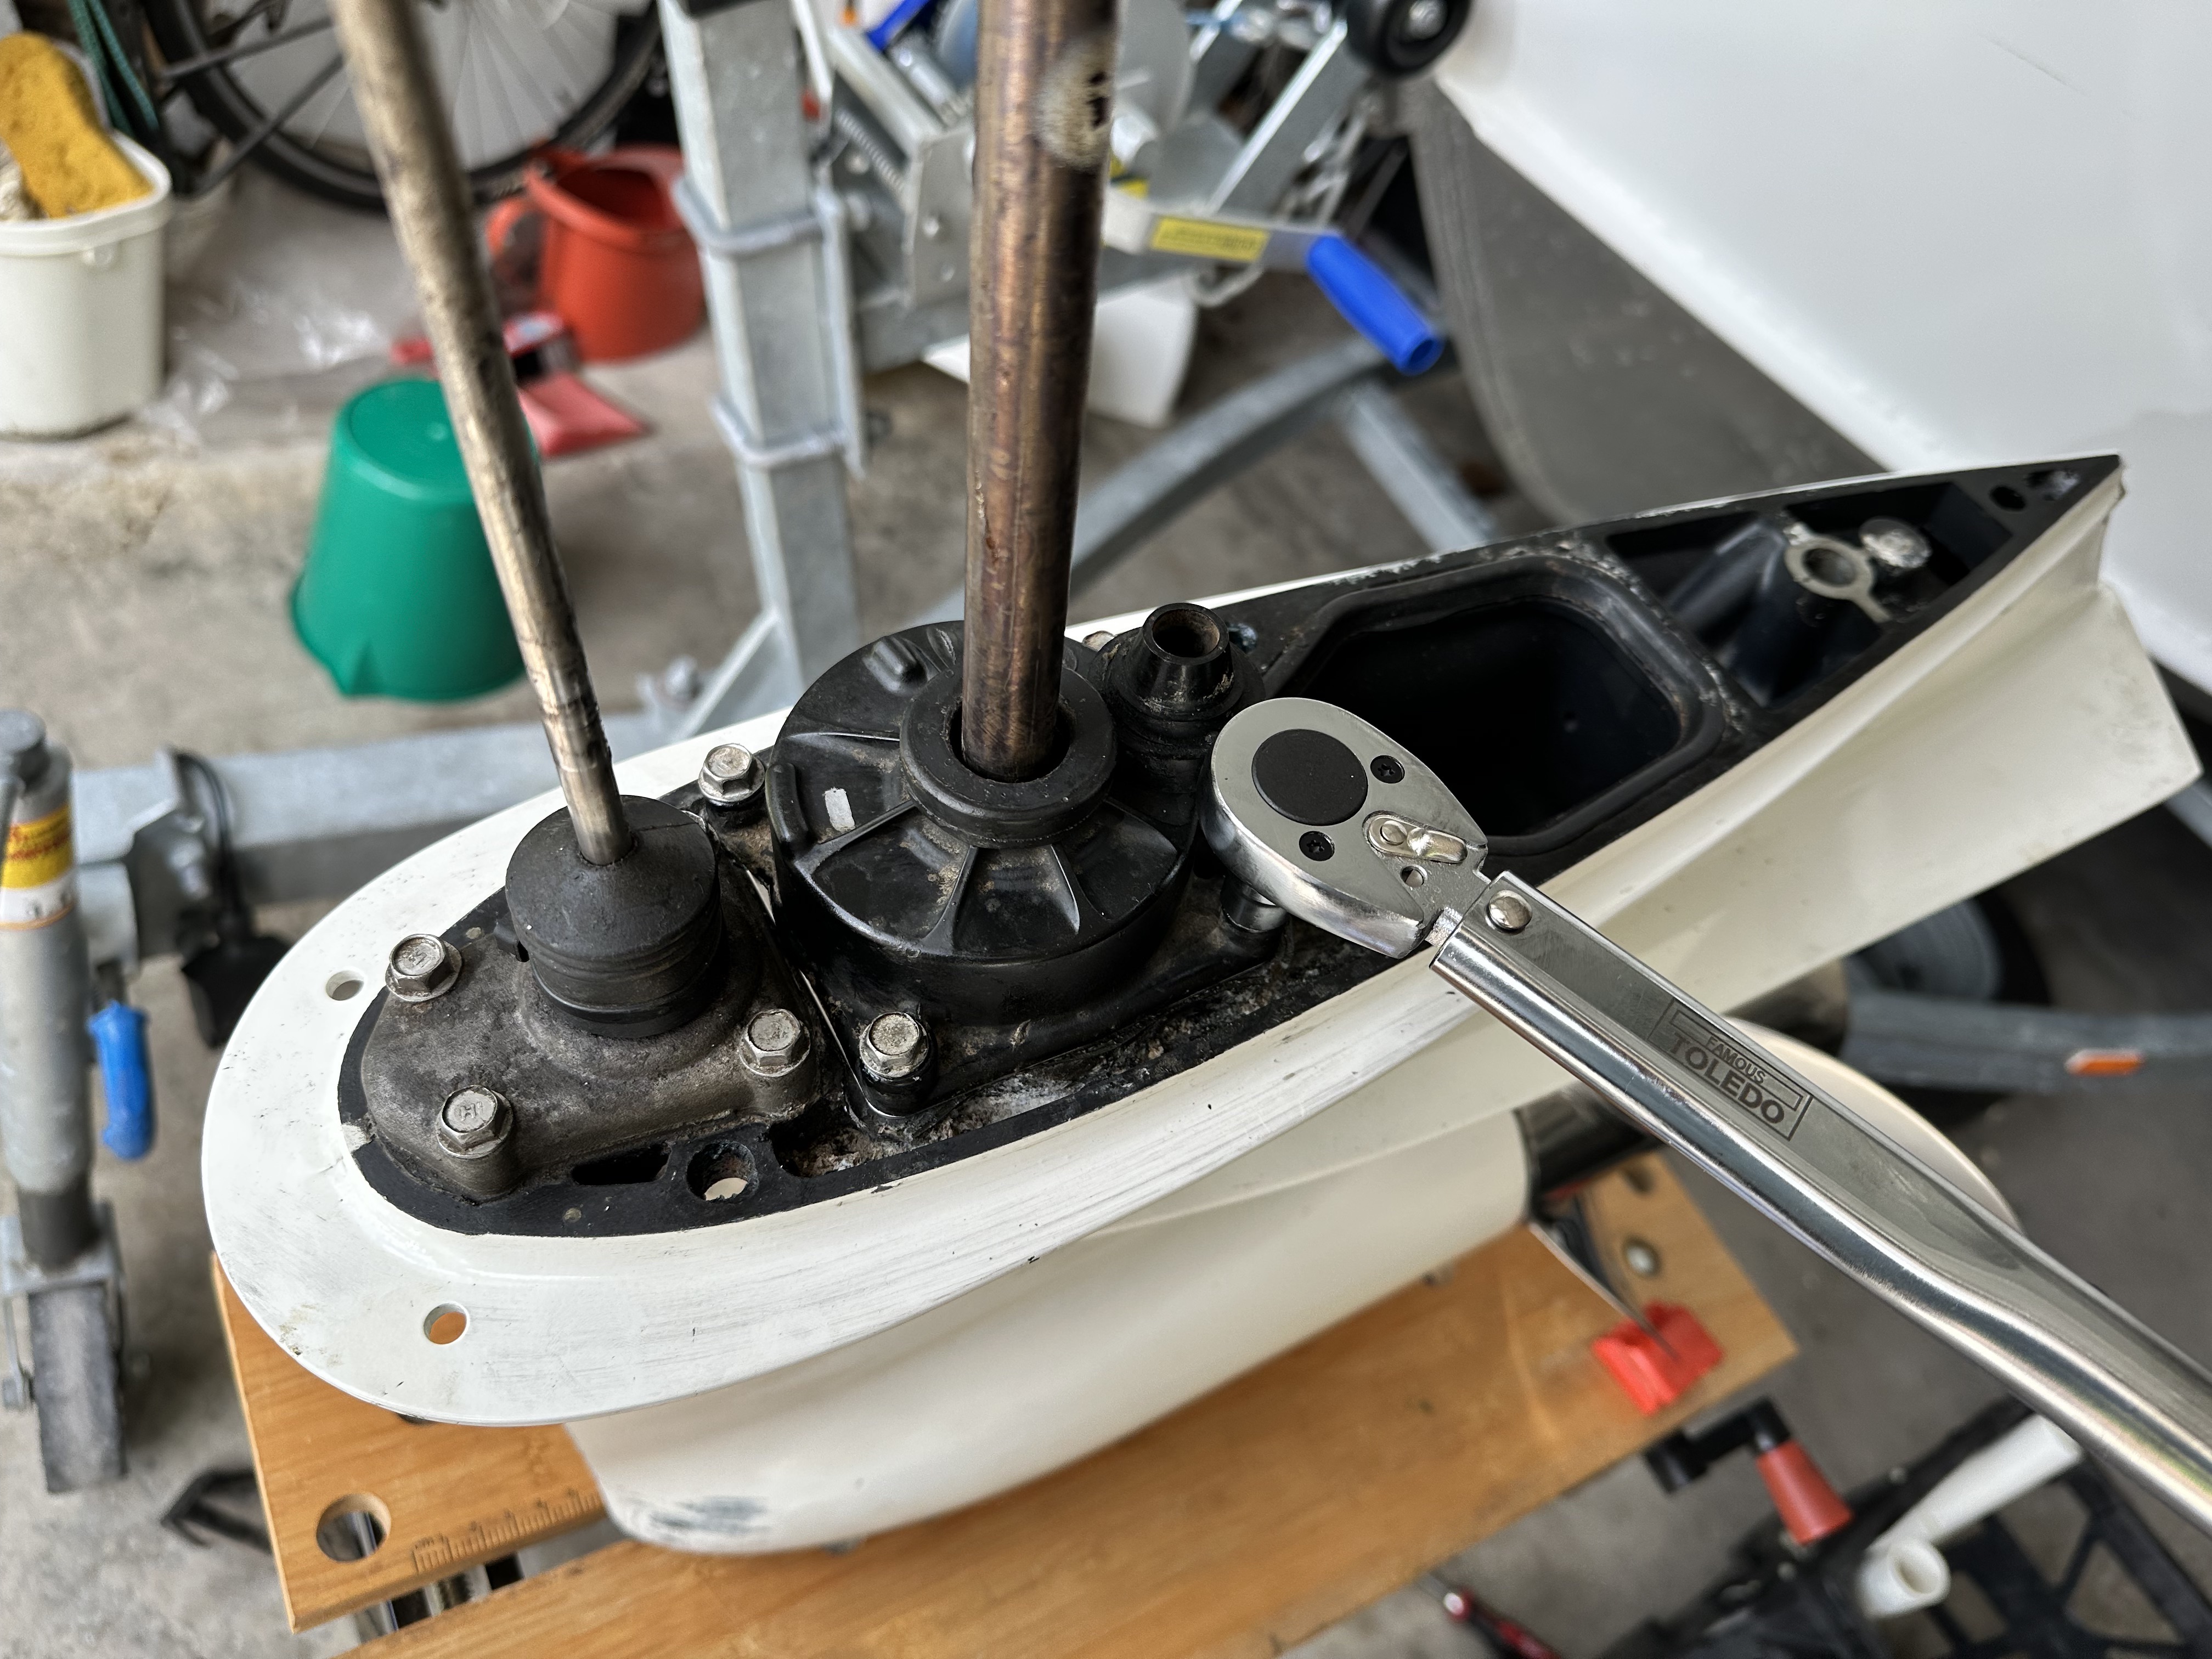
- Tighten with a torque wrench set to 7-9.5~Nm.
Water Pump
- You will need the Evinrude Water Pump Repair Kit 5006511. It includes the following:
- Impeller Housing Grommet 0341732
- Gasket 0336530
- Impeller Housing Plate 0341038
- Cup Impeller Housing 0340619
- Screw 0328725
- Impeller & Key 0396725
- Grommet 0333758
- Impeller Housing Seal 0324981
- Impeller Housing Assembly 5006259
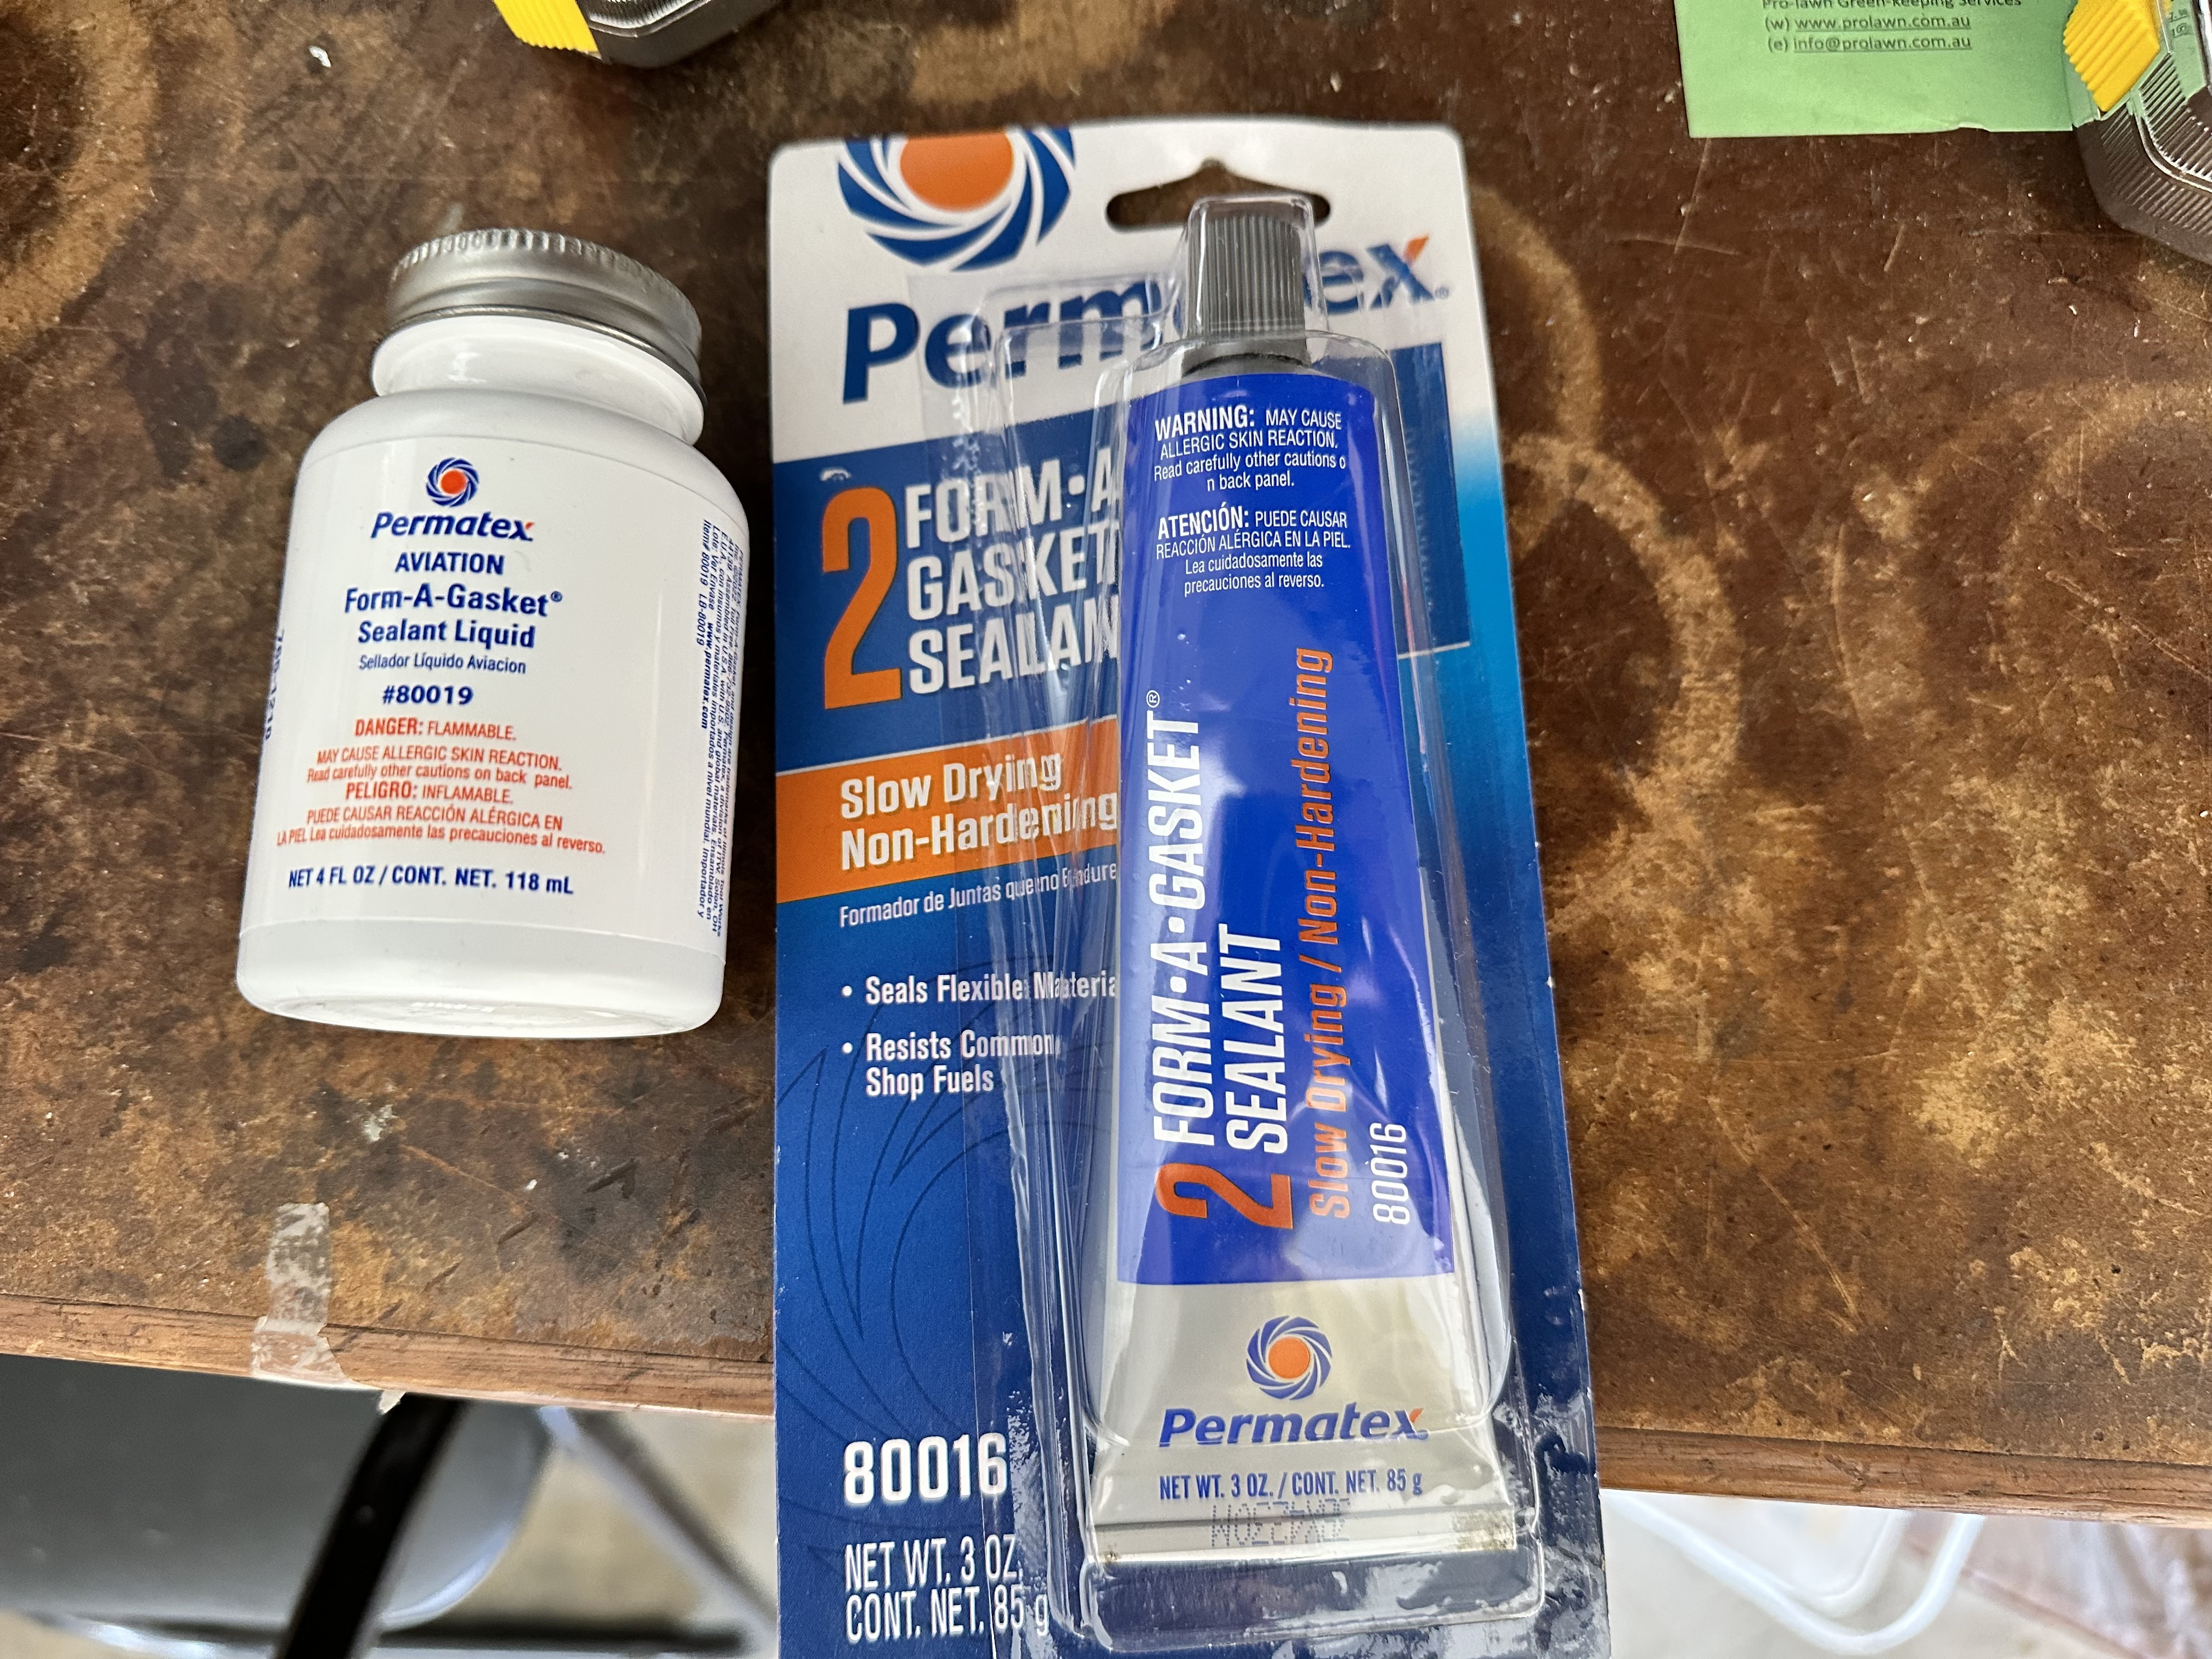
- The first thing to note is that it is very difficult to purchase the following needed for the service:
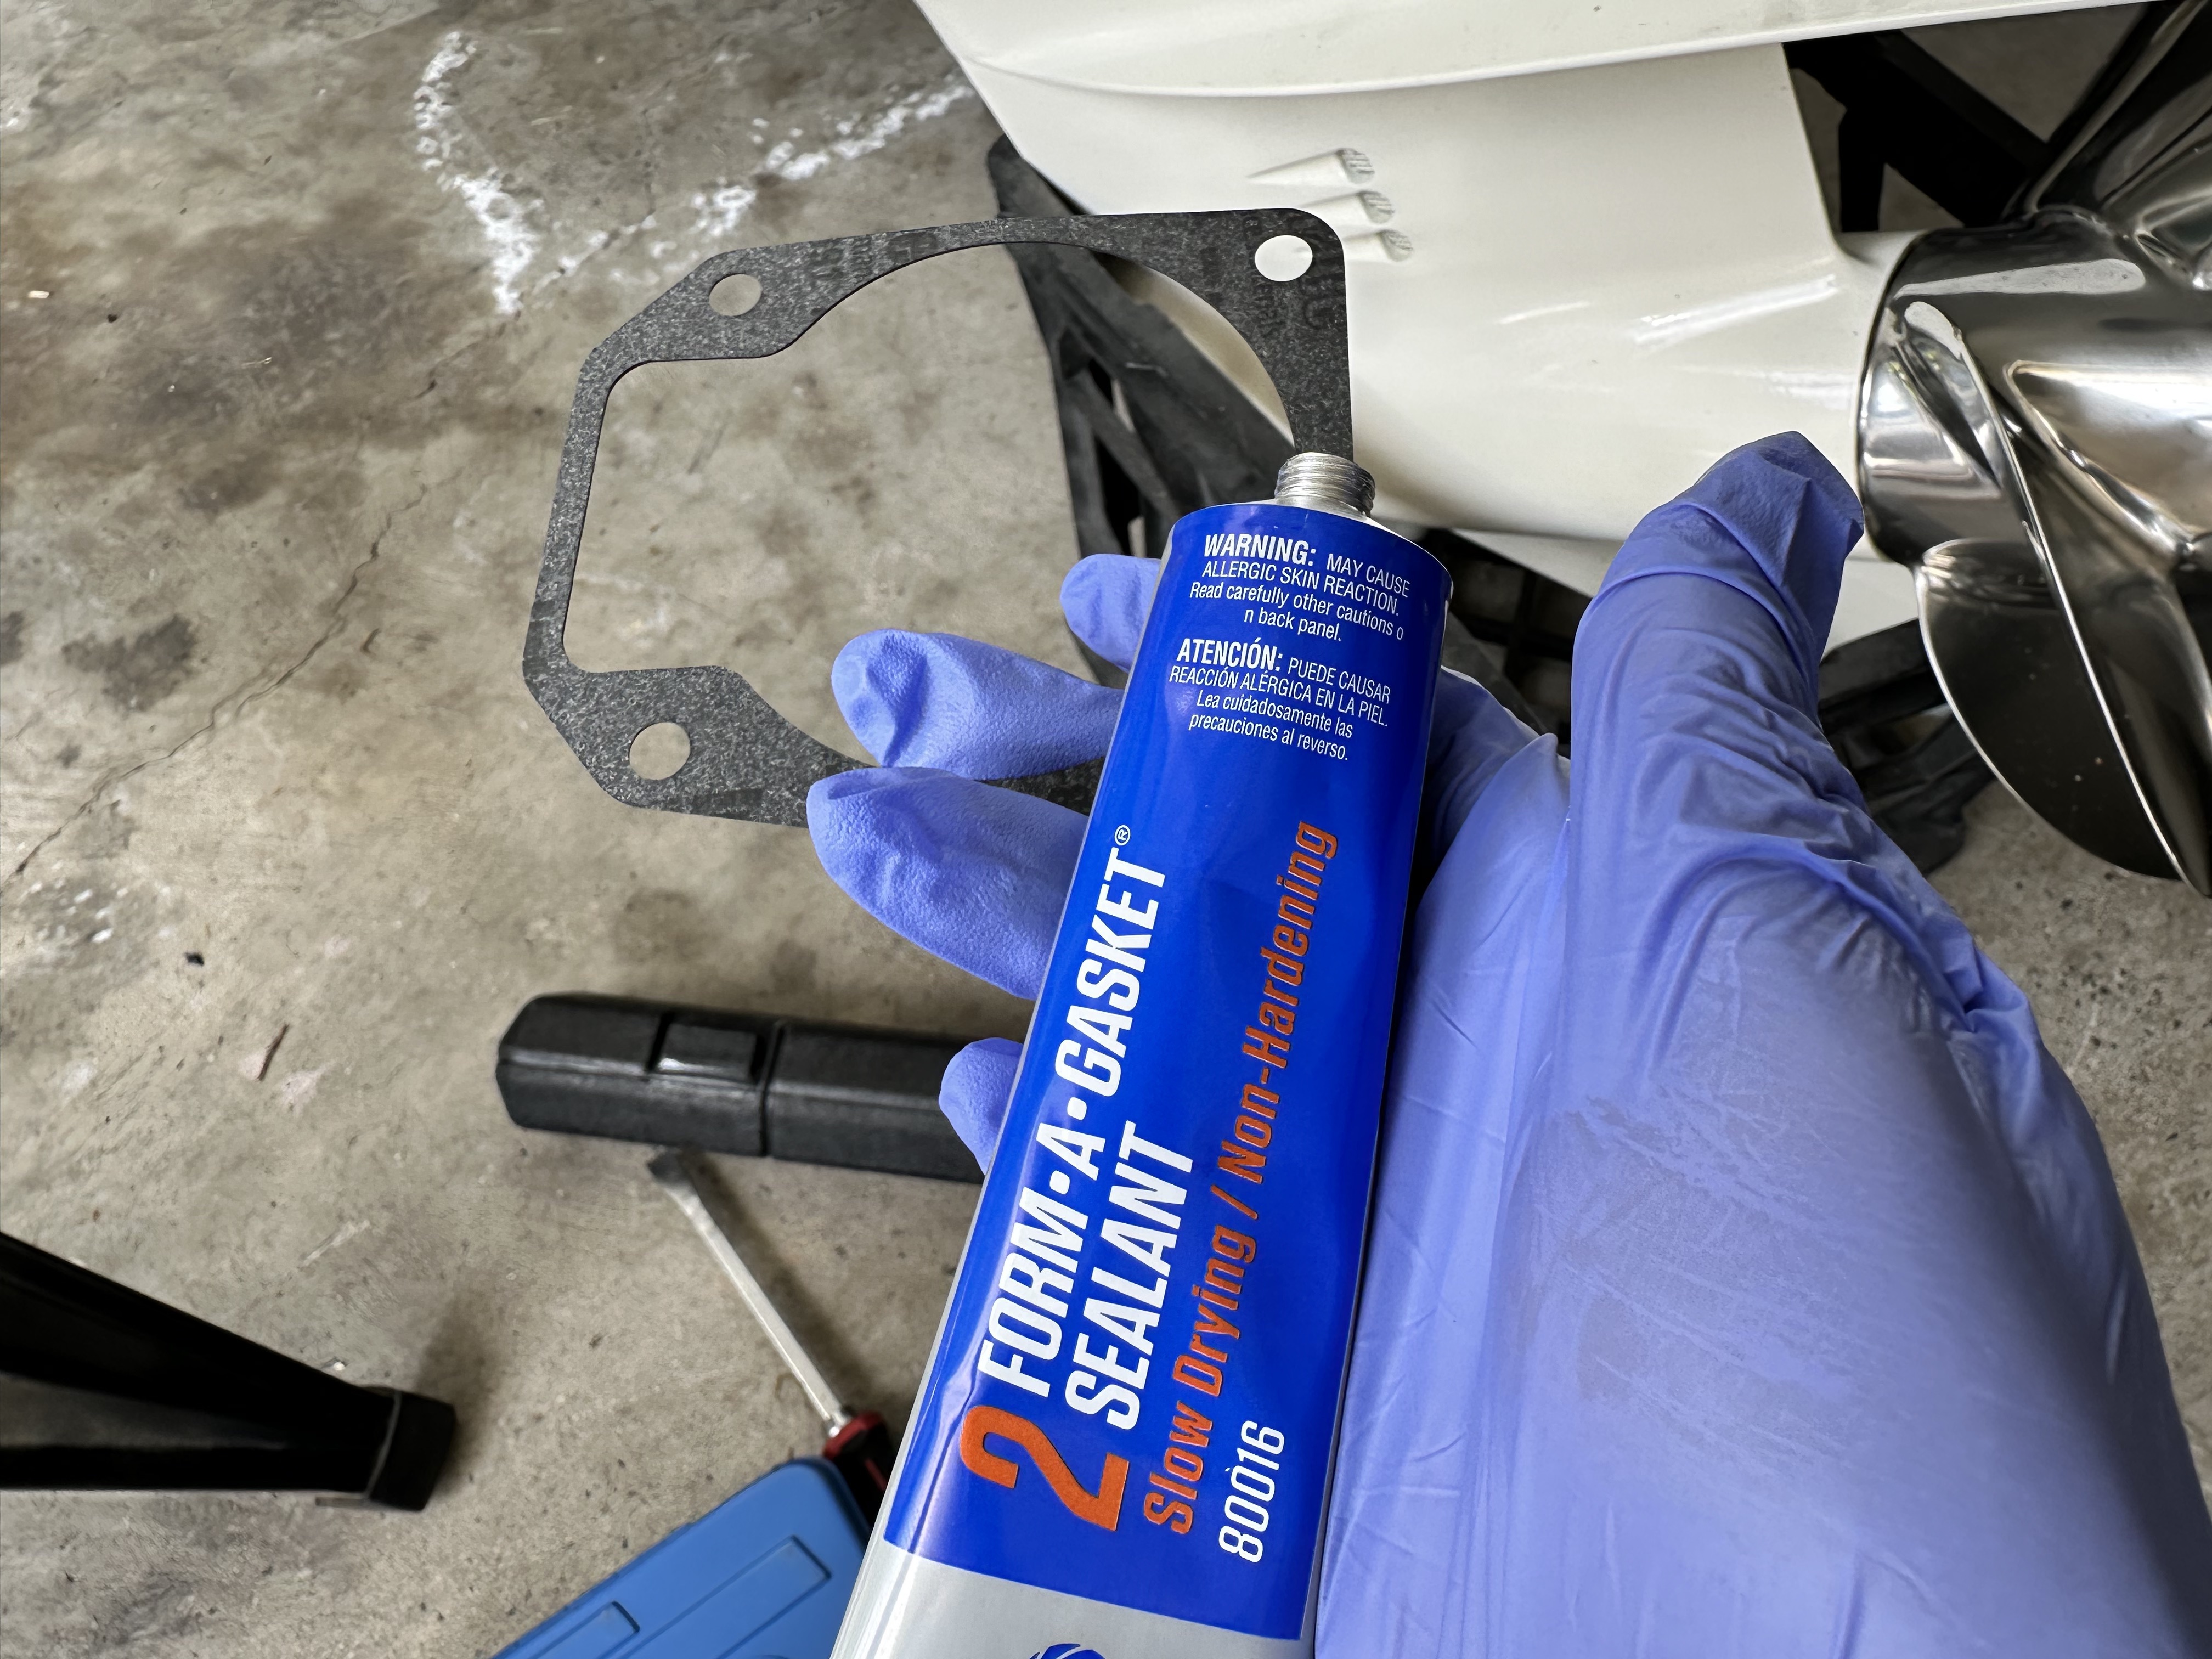
- 3m Adhesive 847. This was replaced with Permatex form a gasket #2.
- Gasket Sealing Compound as they recommend OMC Gasket sealing compound. This was replaced with Permatex aviation gasket sealant #3.
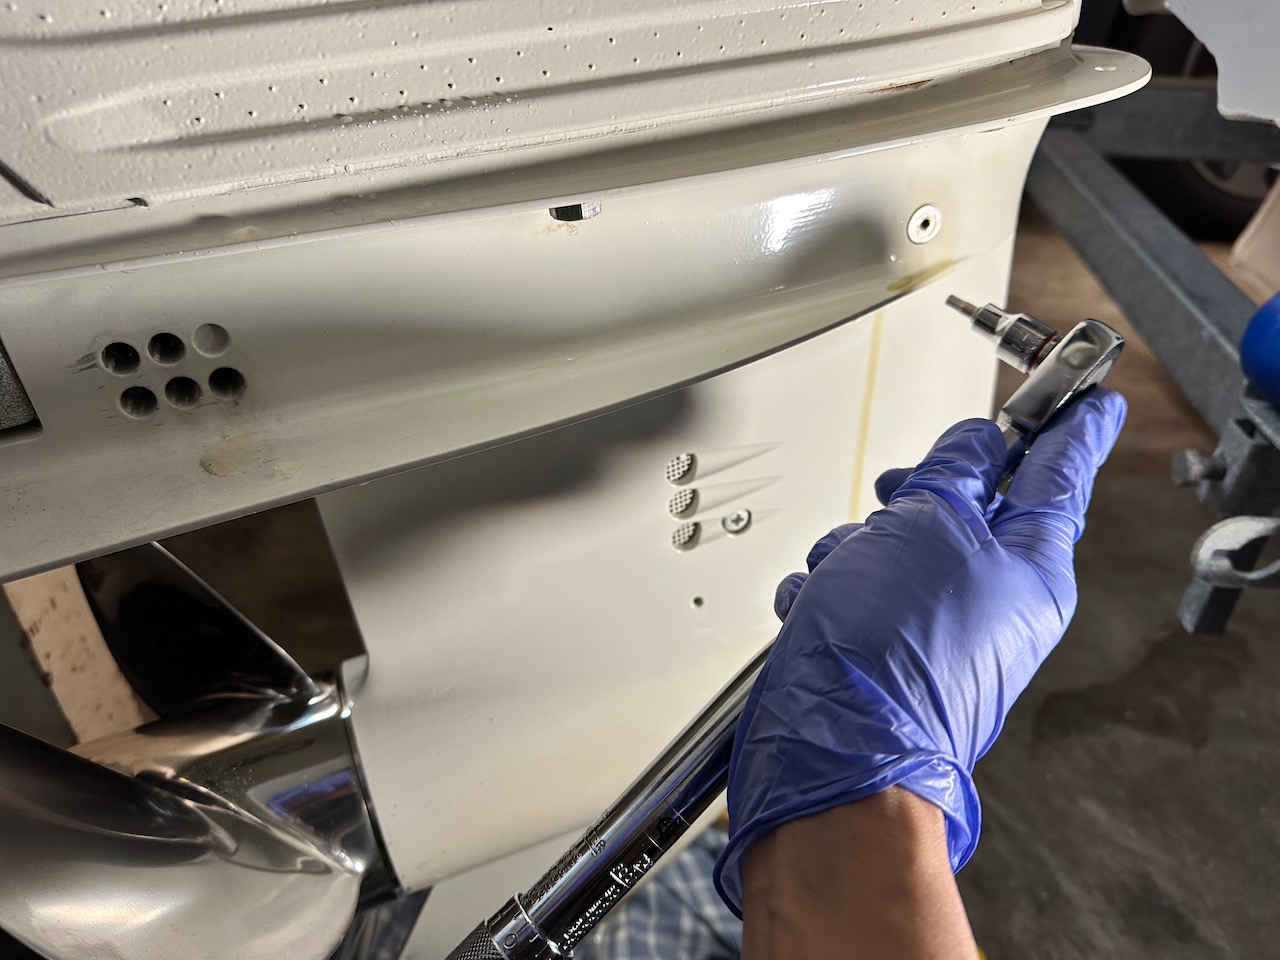
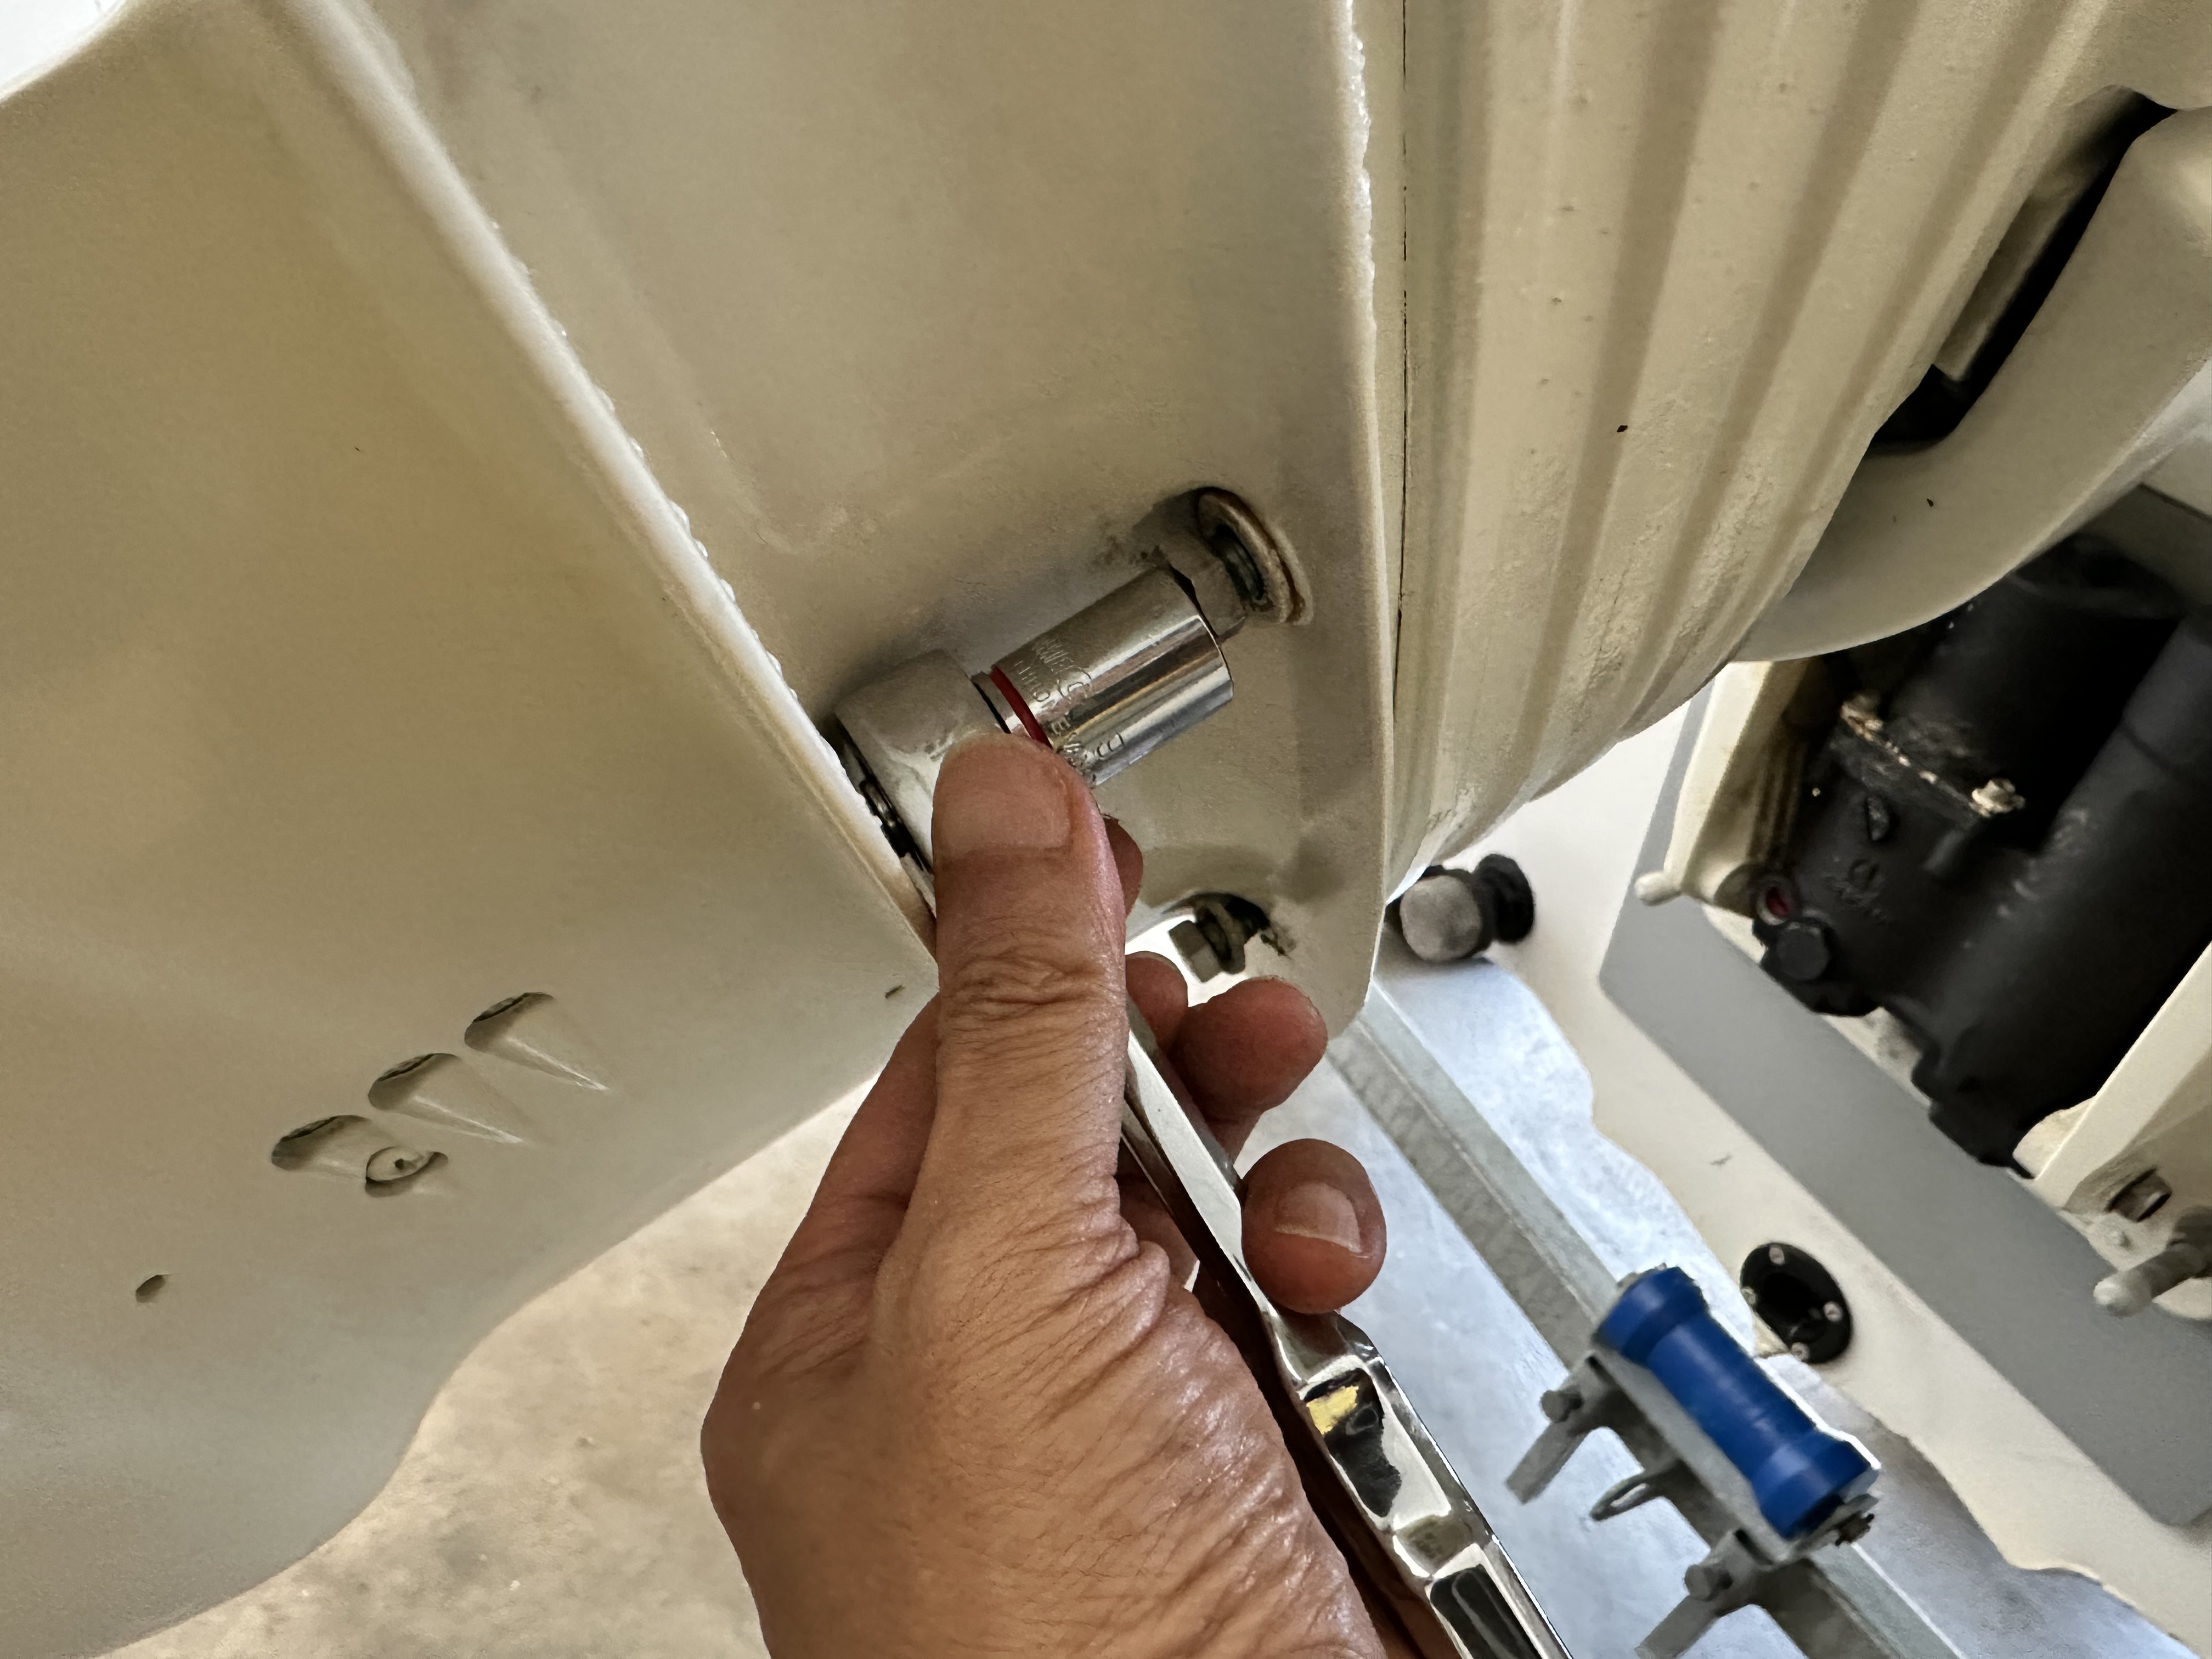
Gearcase Removal
- First remove the outer case. 3/8” sockets were too big so I used my 1/4” set.
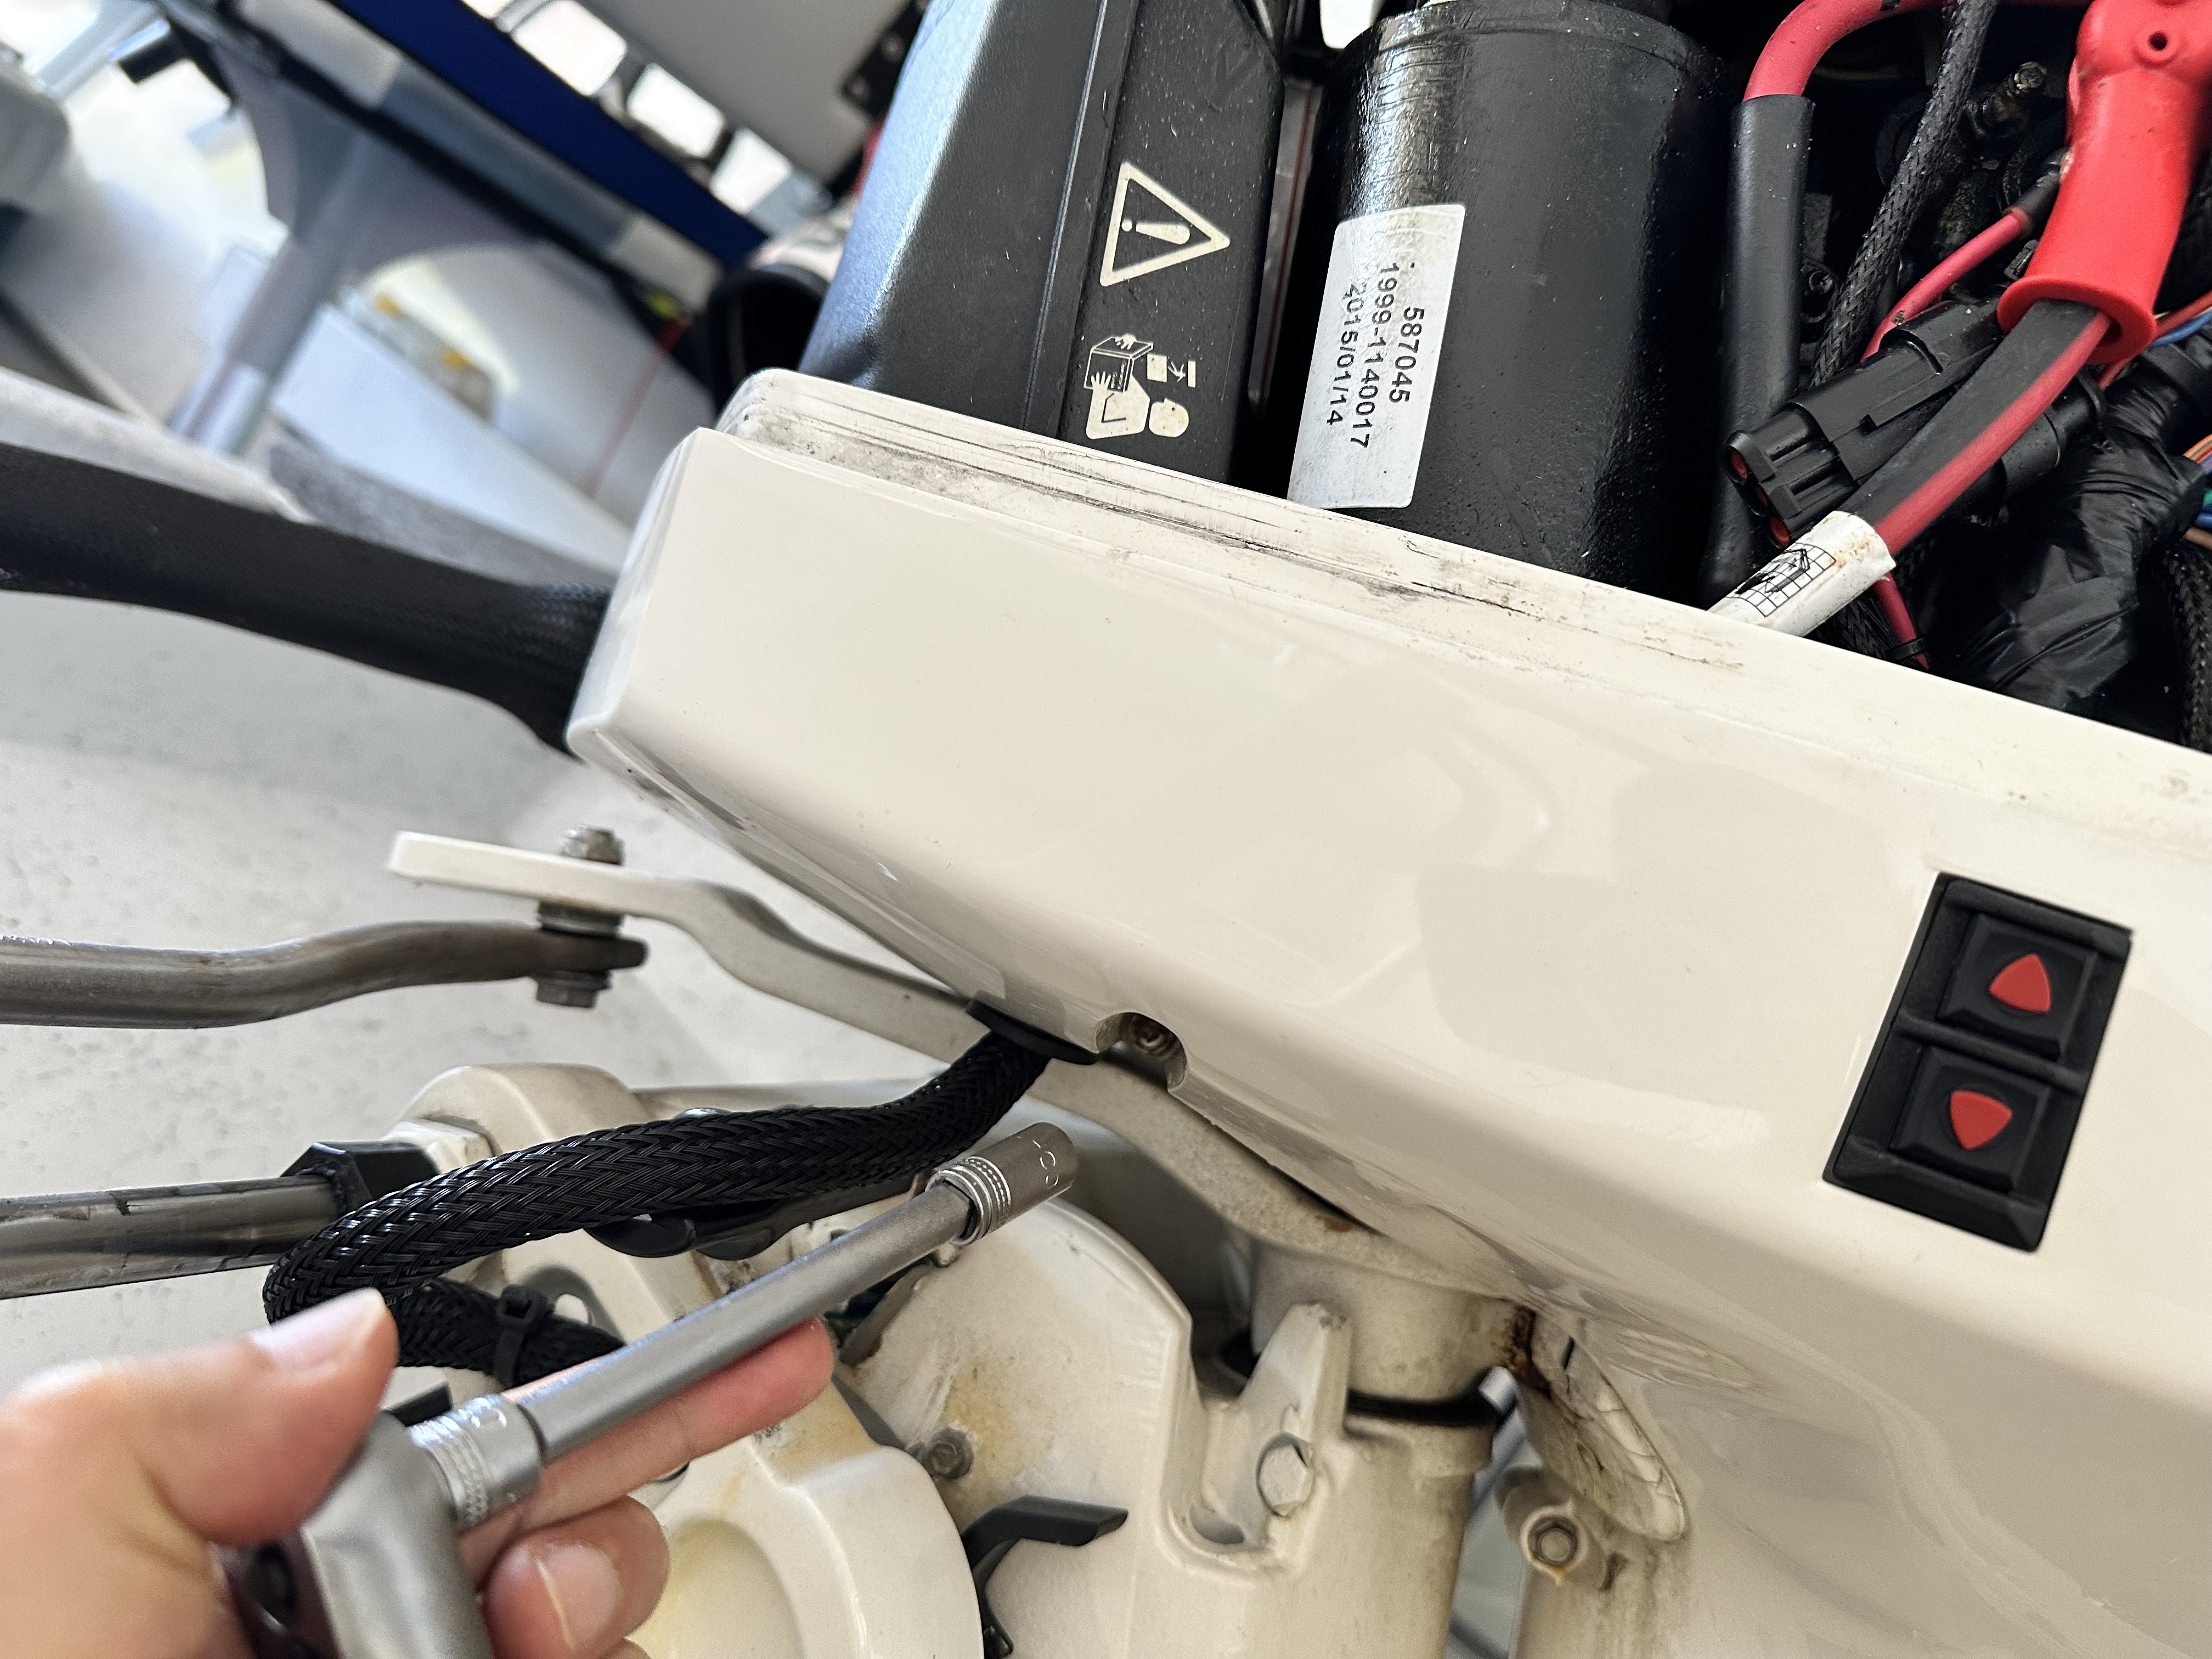
- The last one on the top right is difficult to access, I used an 8mm ring spanner.
- Unscrew the shift rod lever, I used a 1/4” socket.
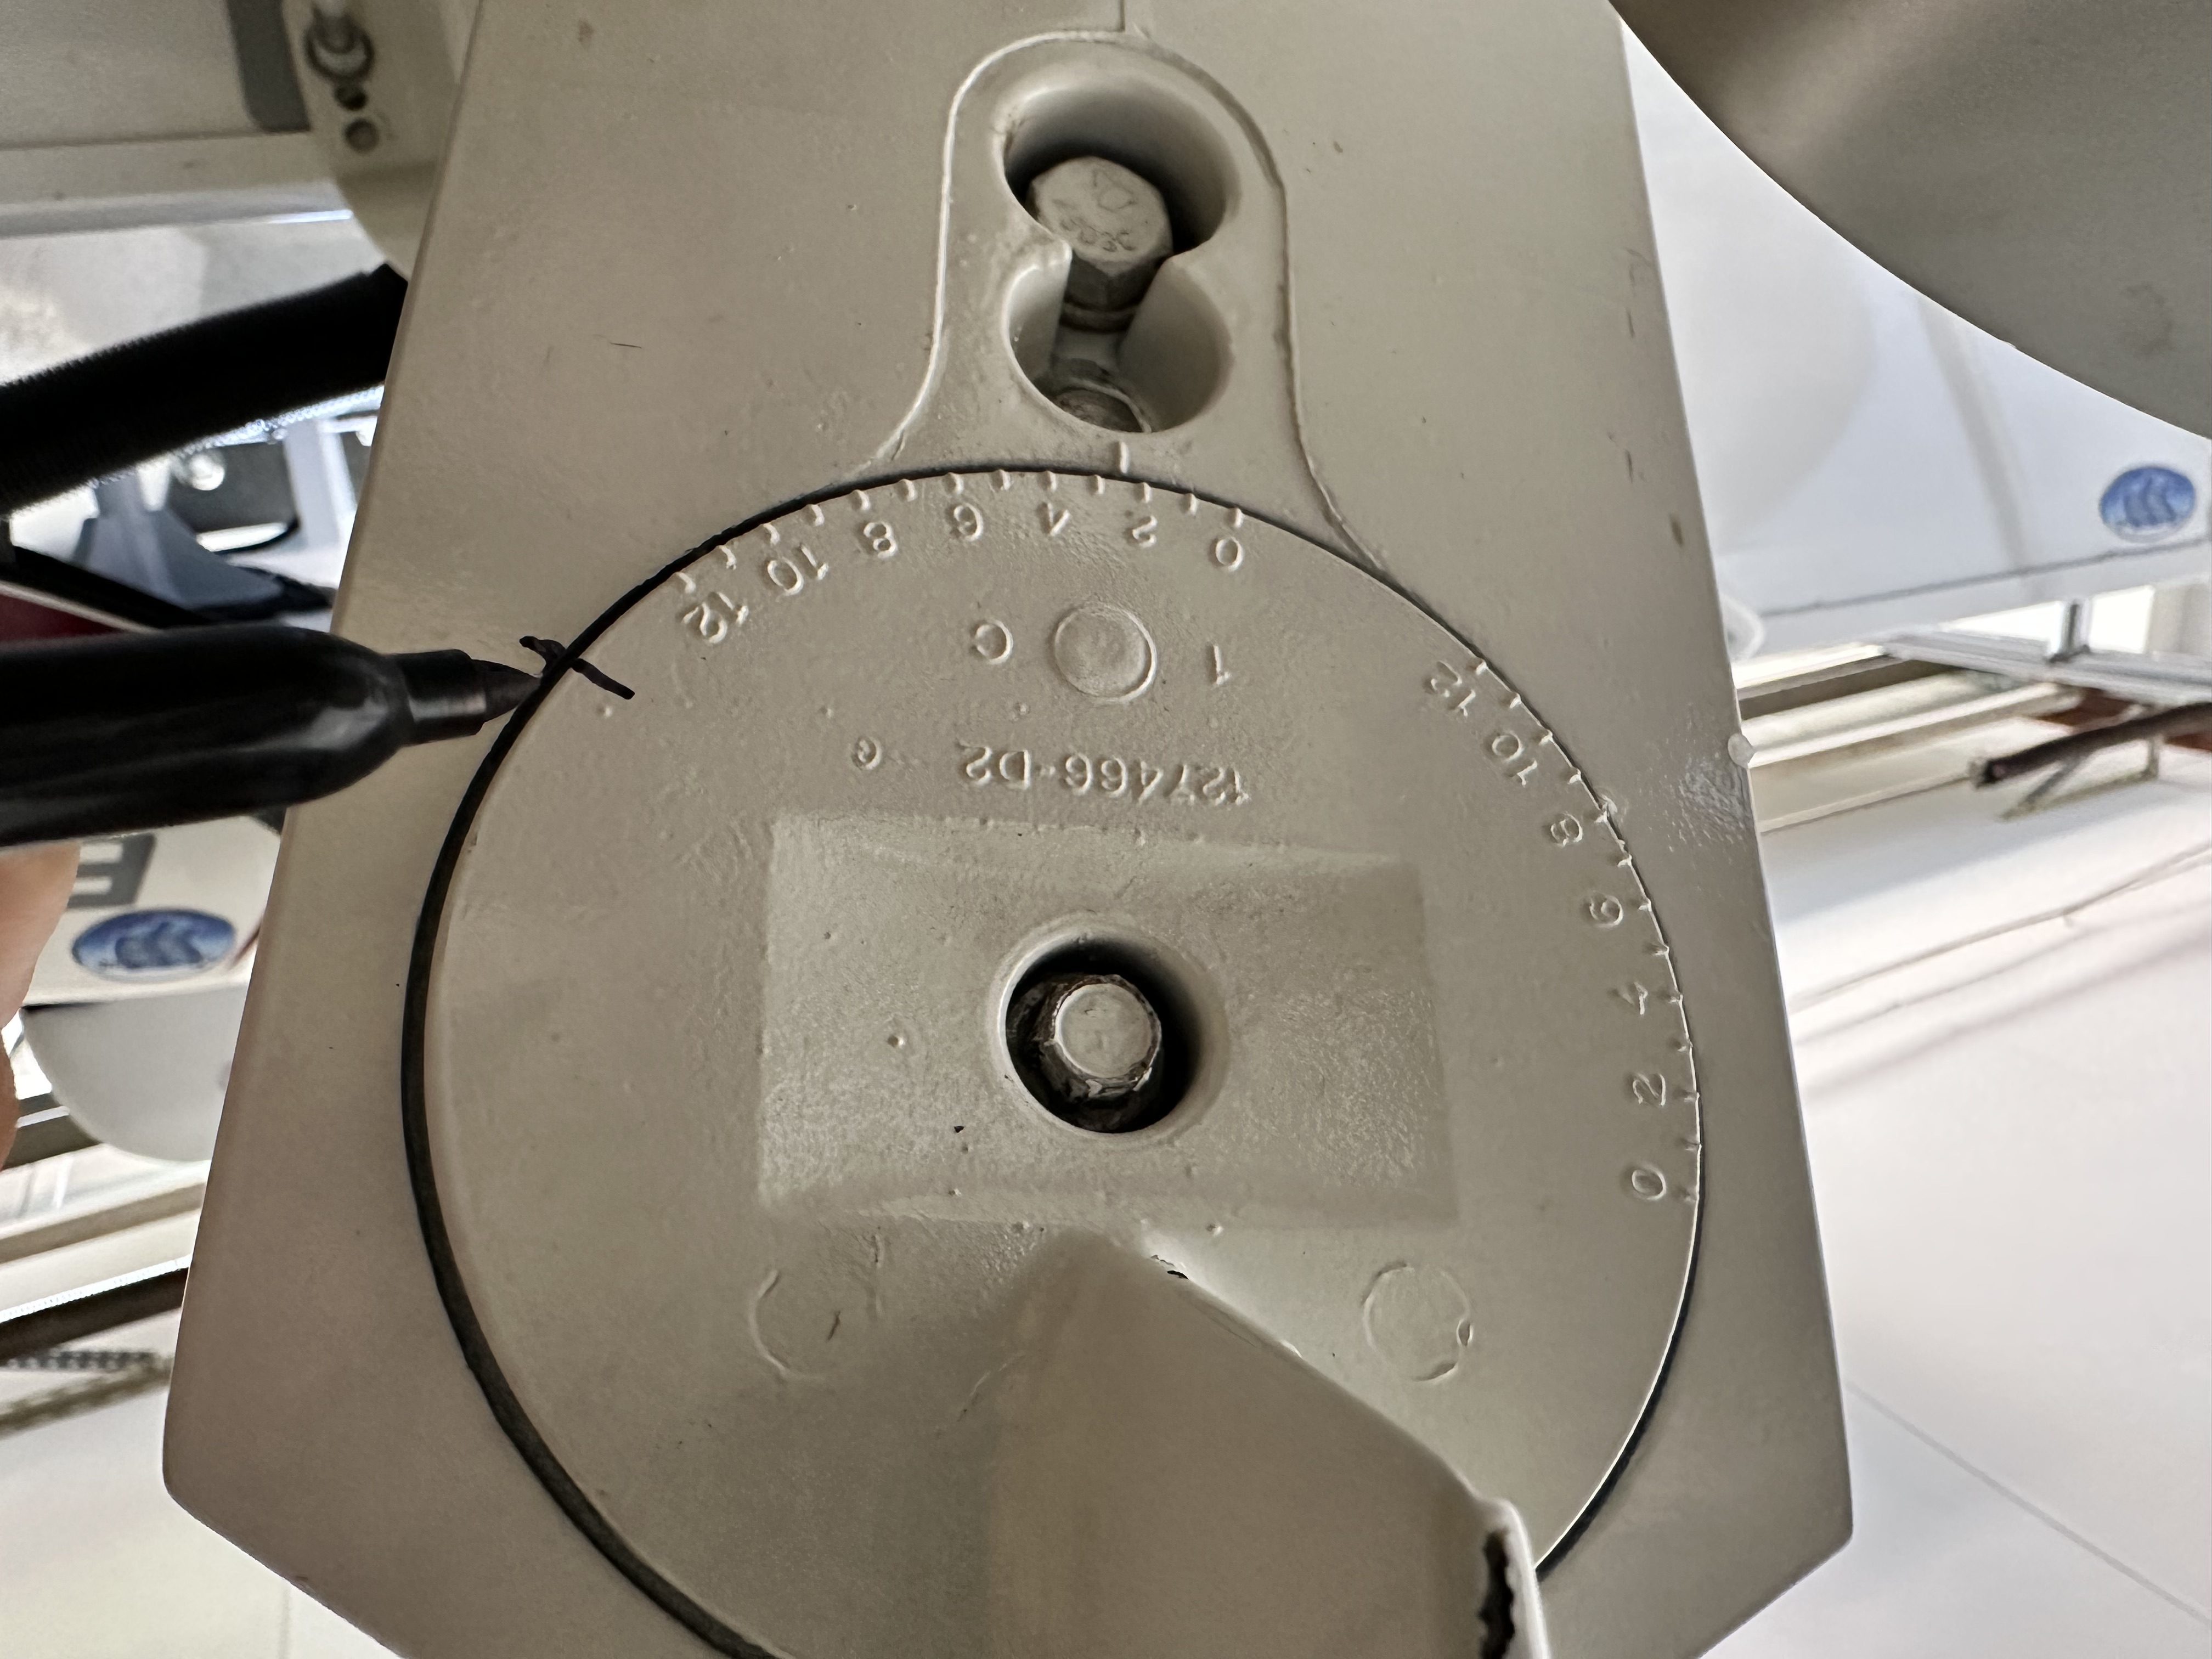
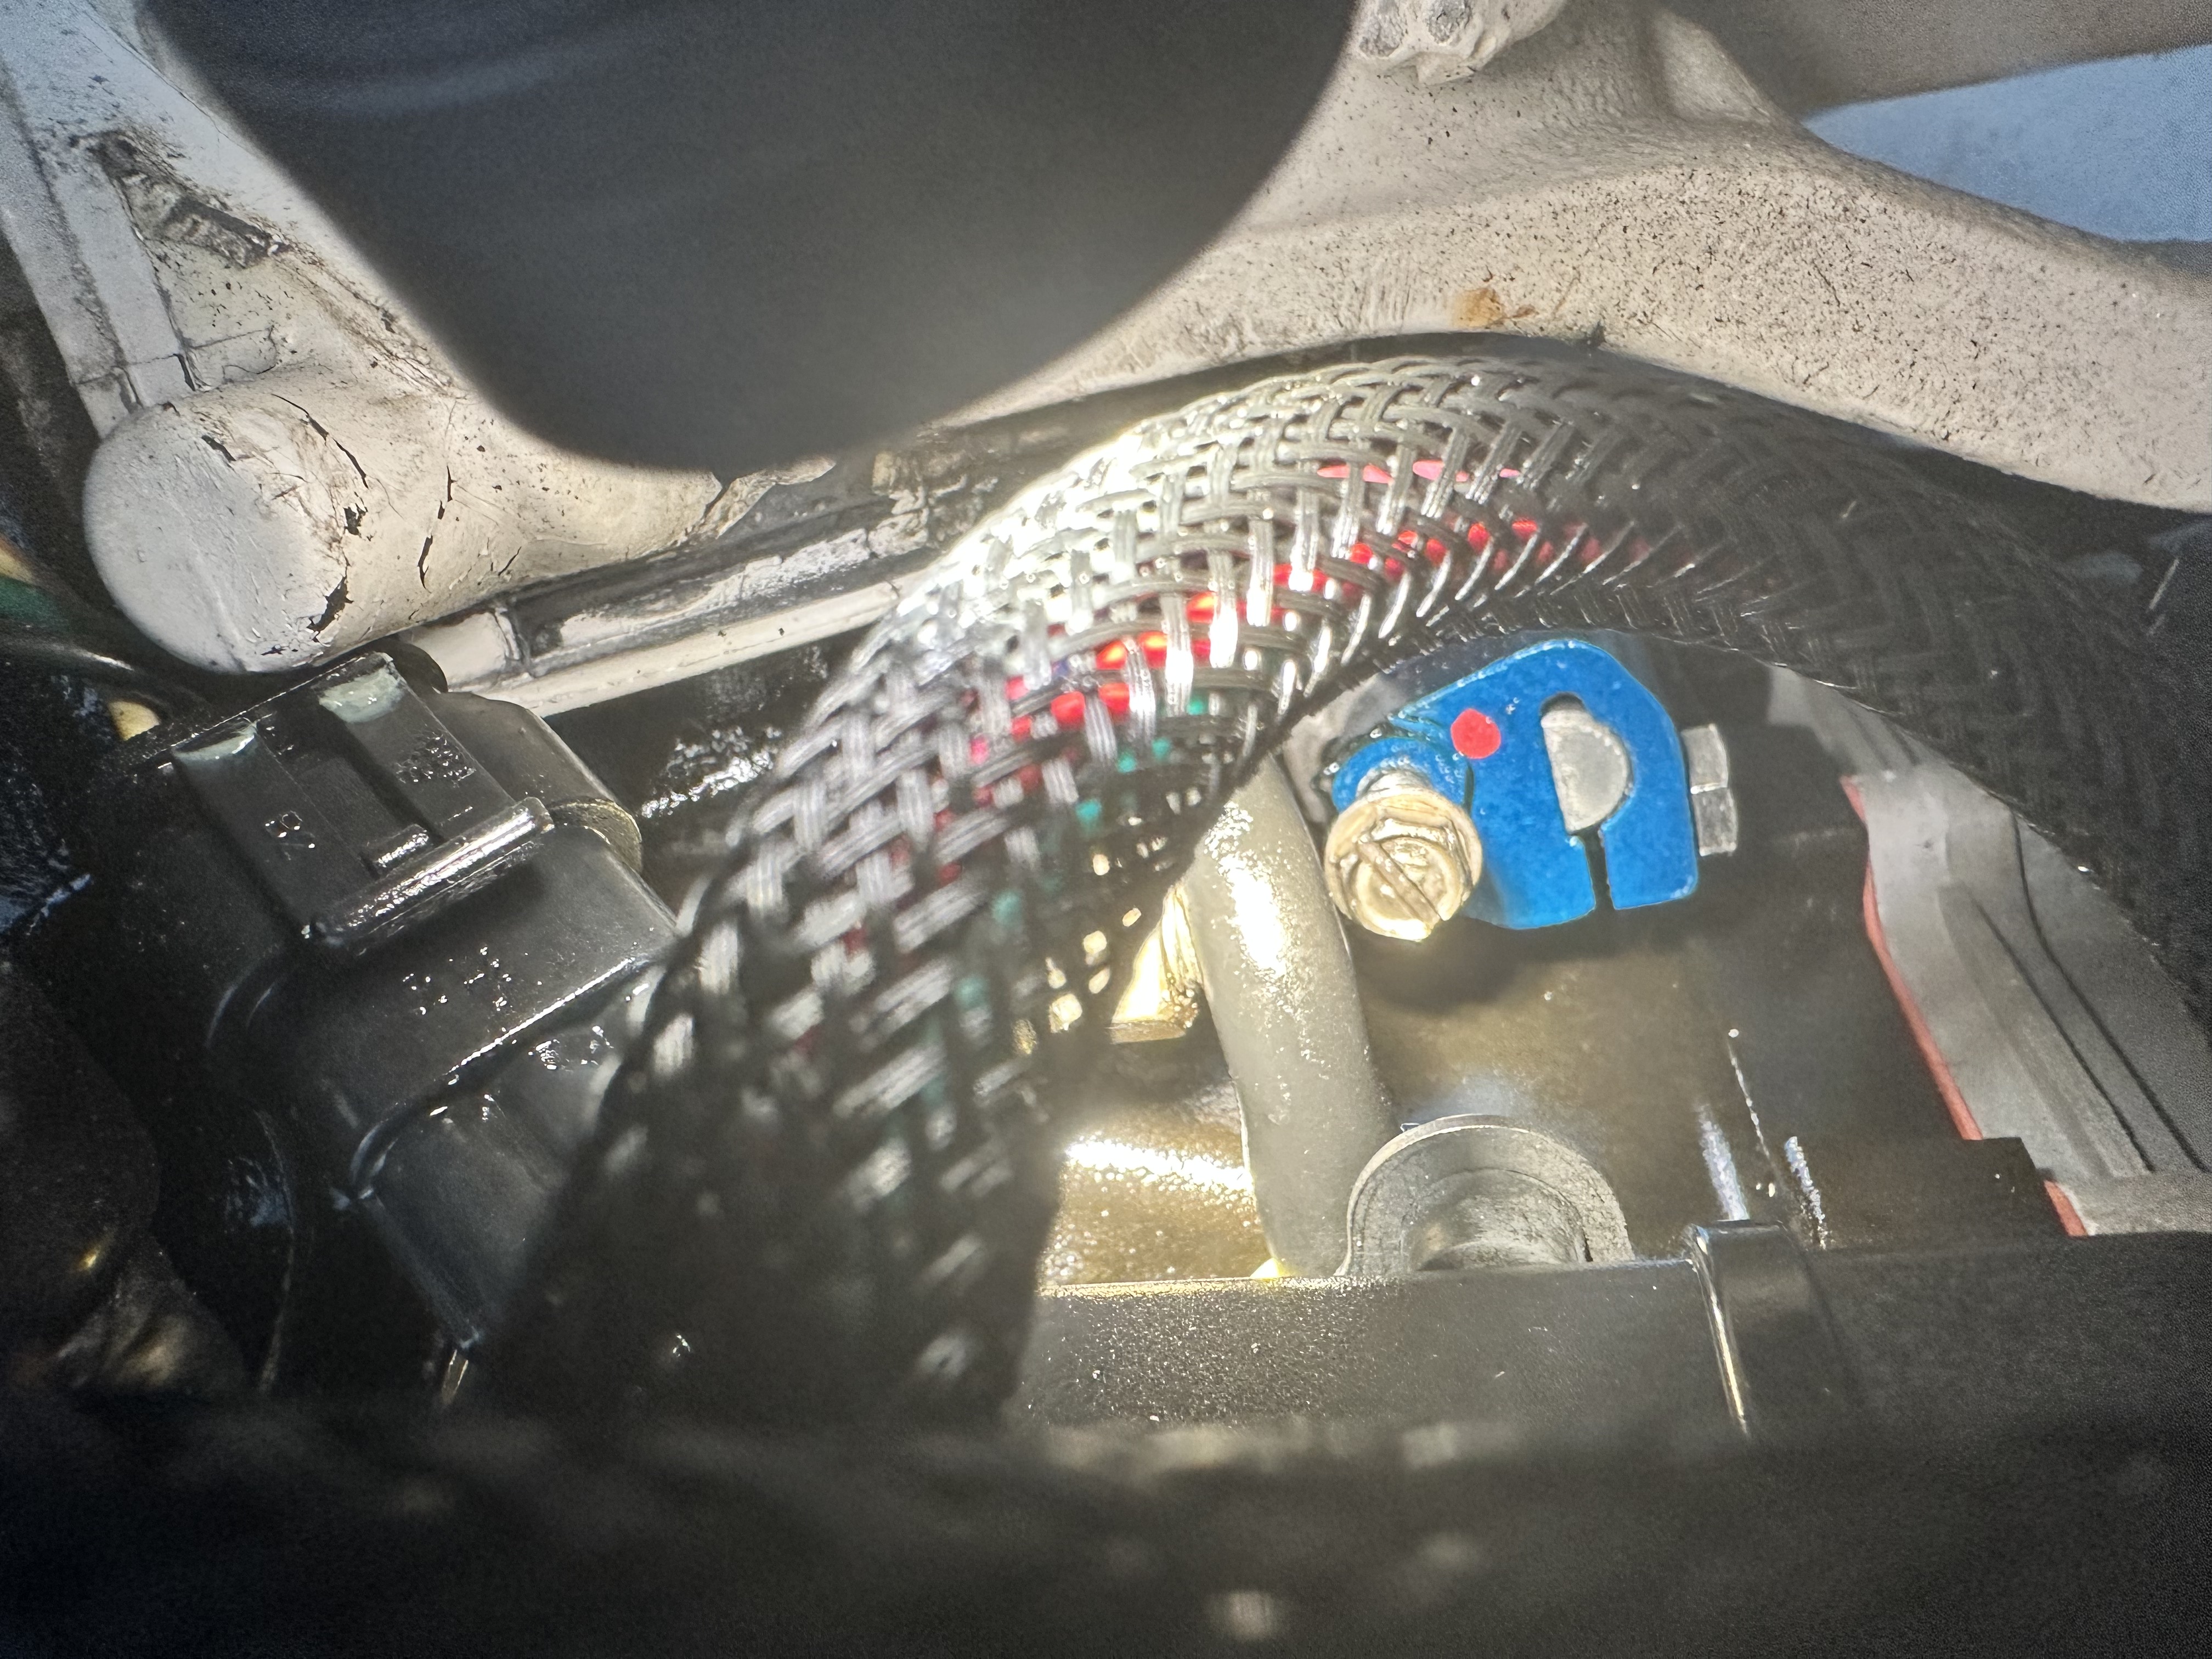
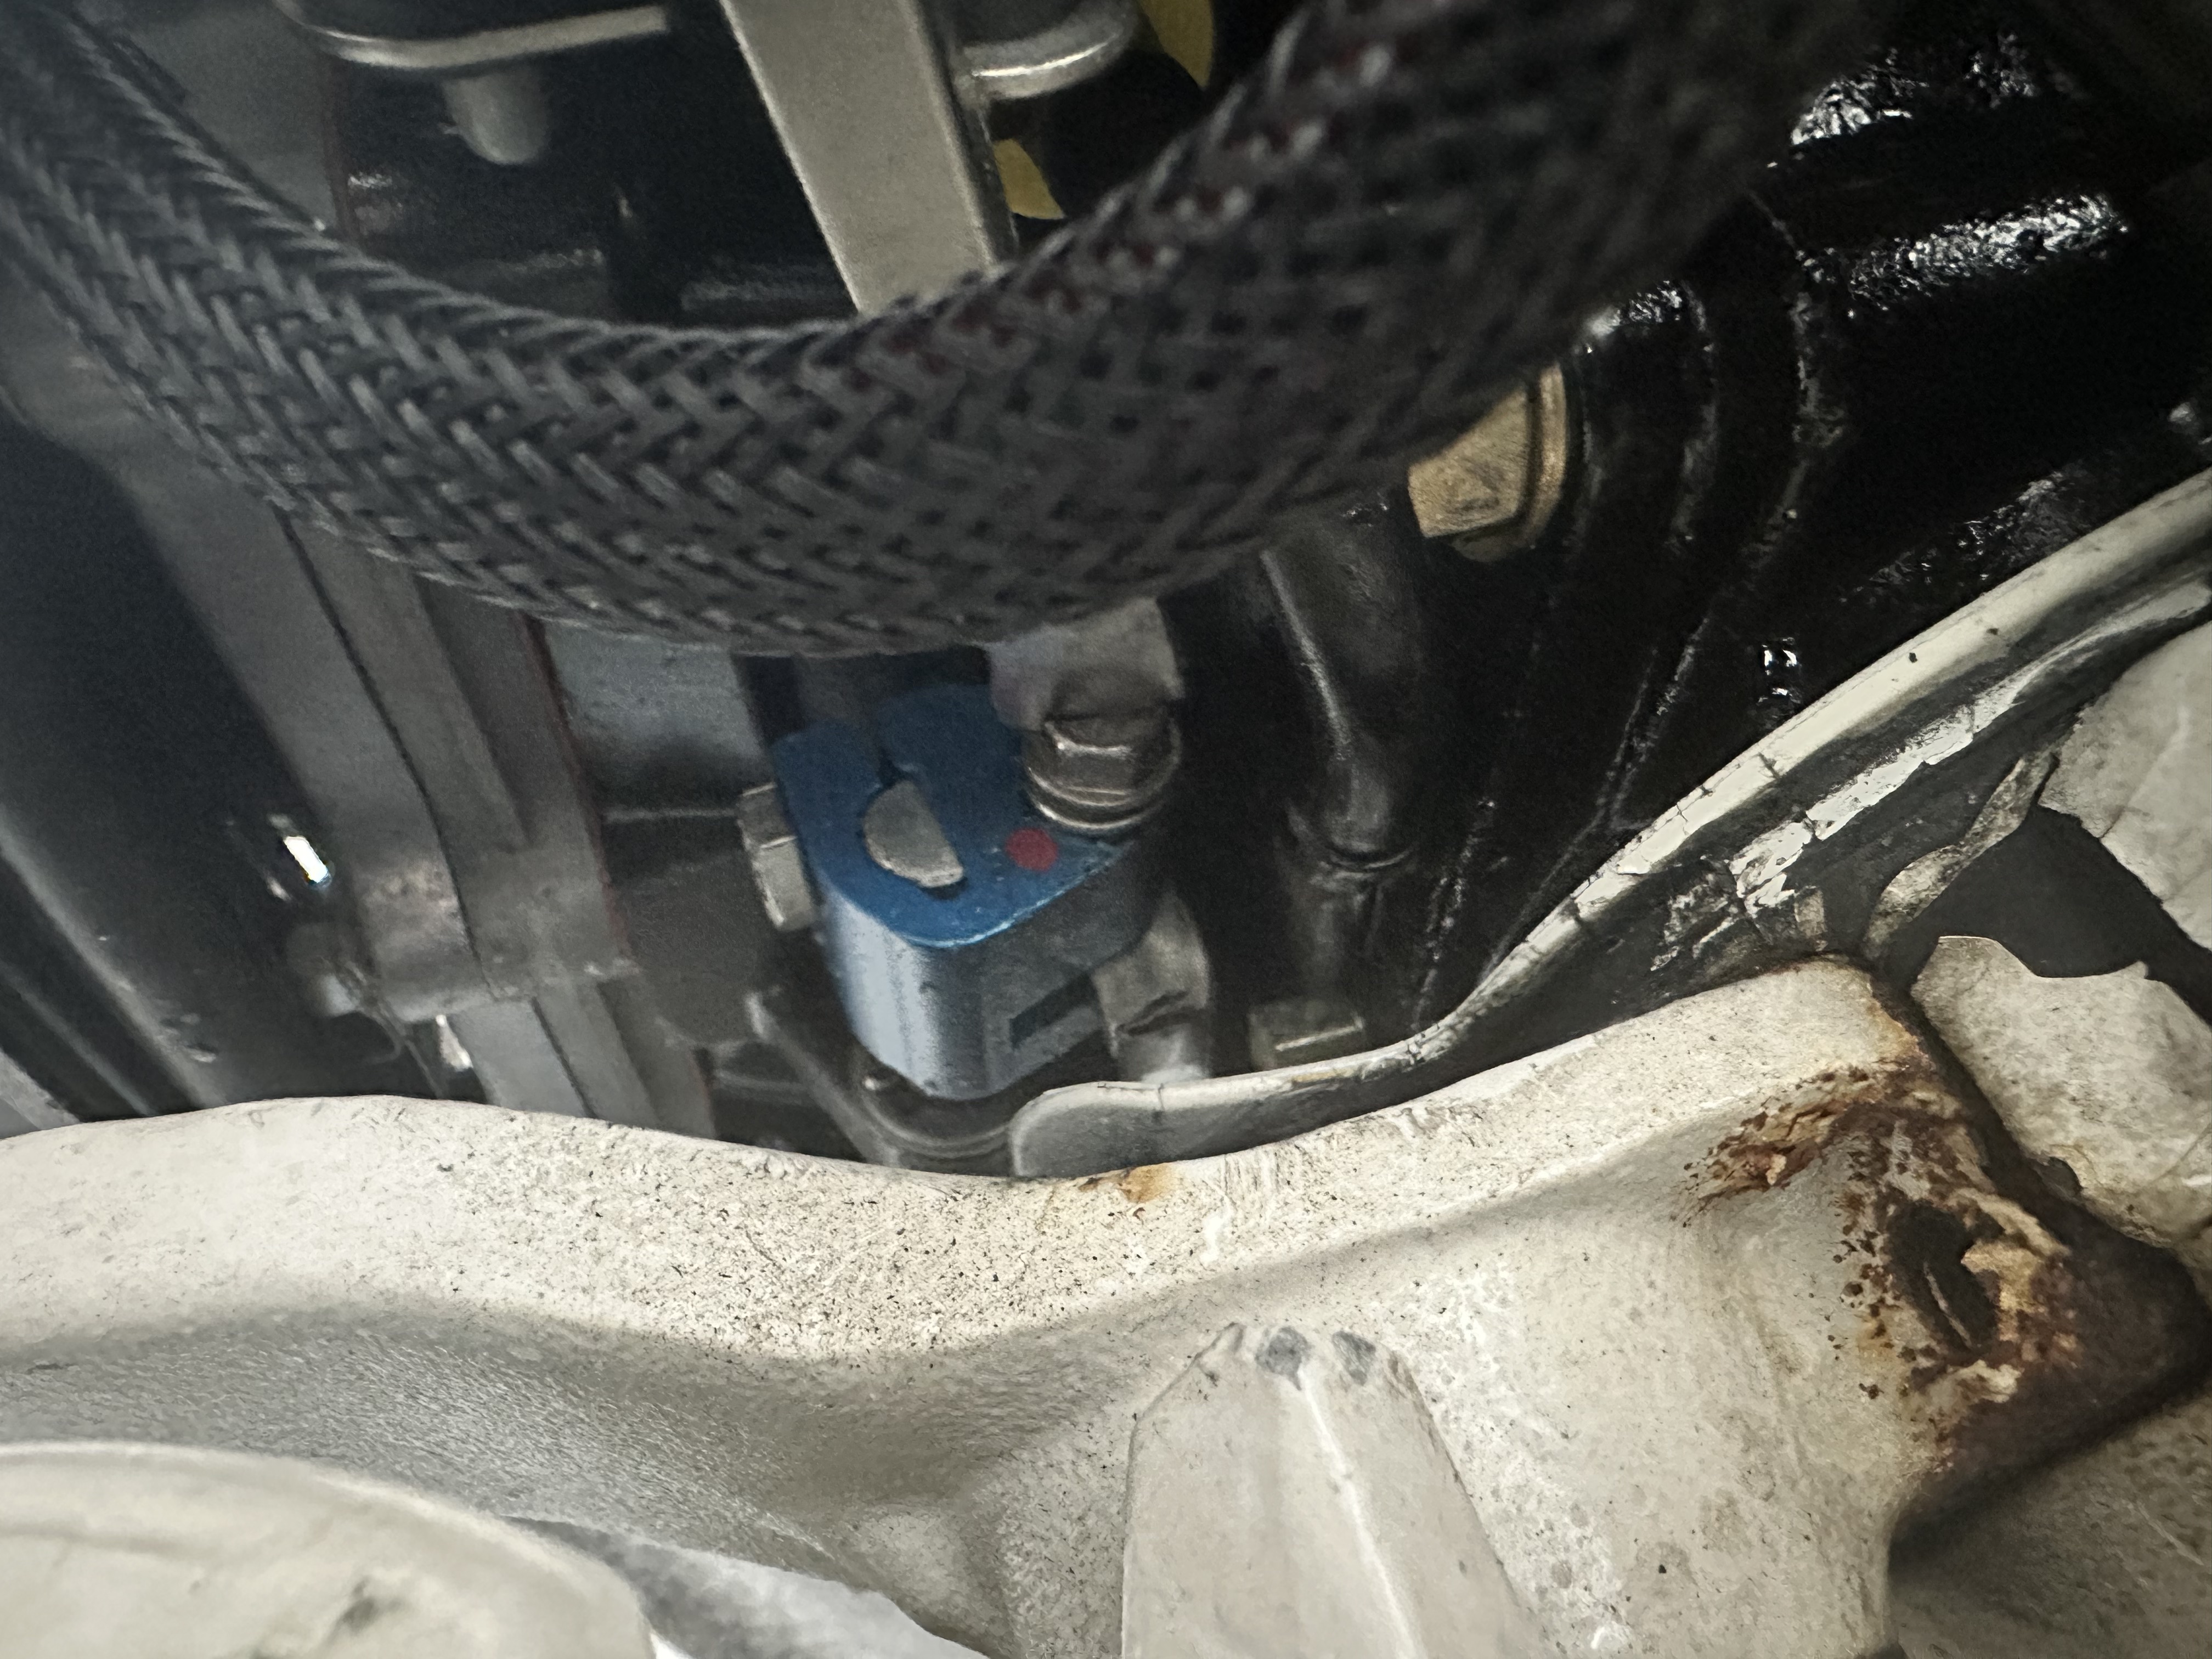
- Mark the position of the trim tab.
- Undo 3 of the 4 outside screws. Leave one loose to hold the gearcase in place.
- Remove the trim tab.

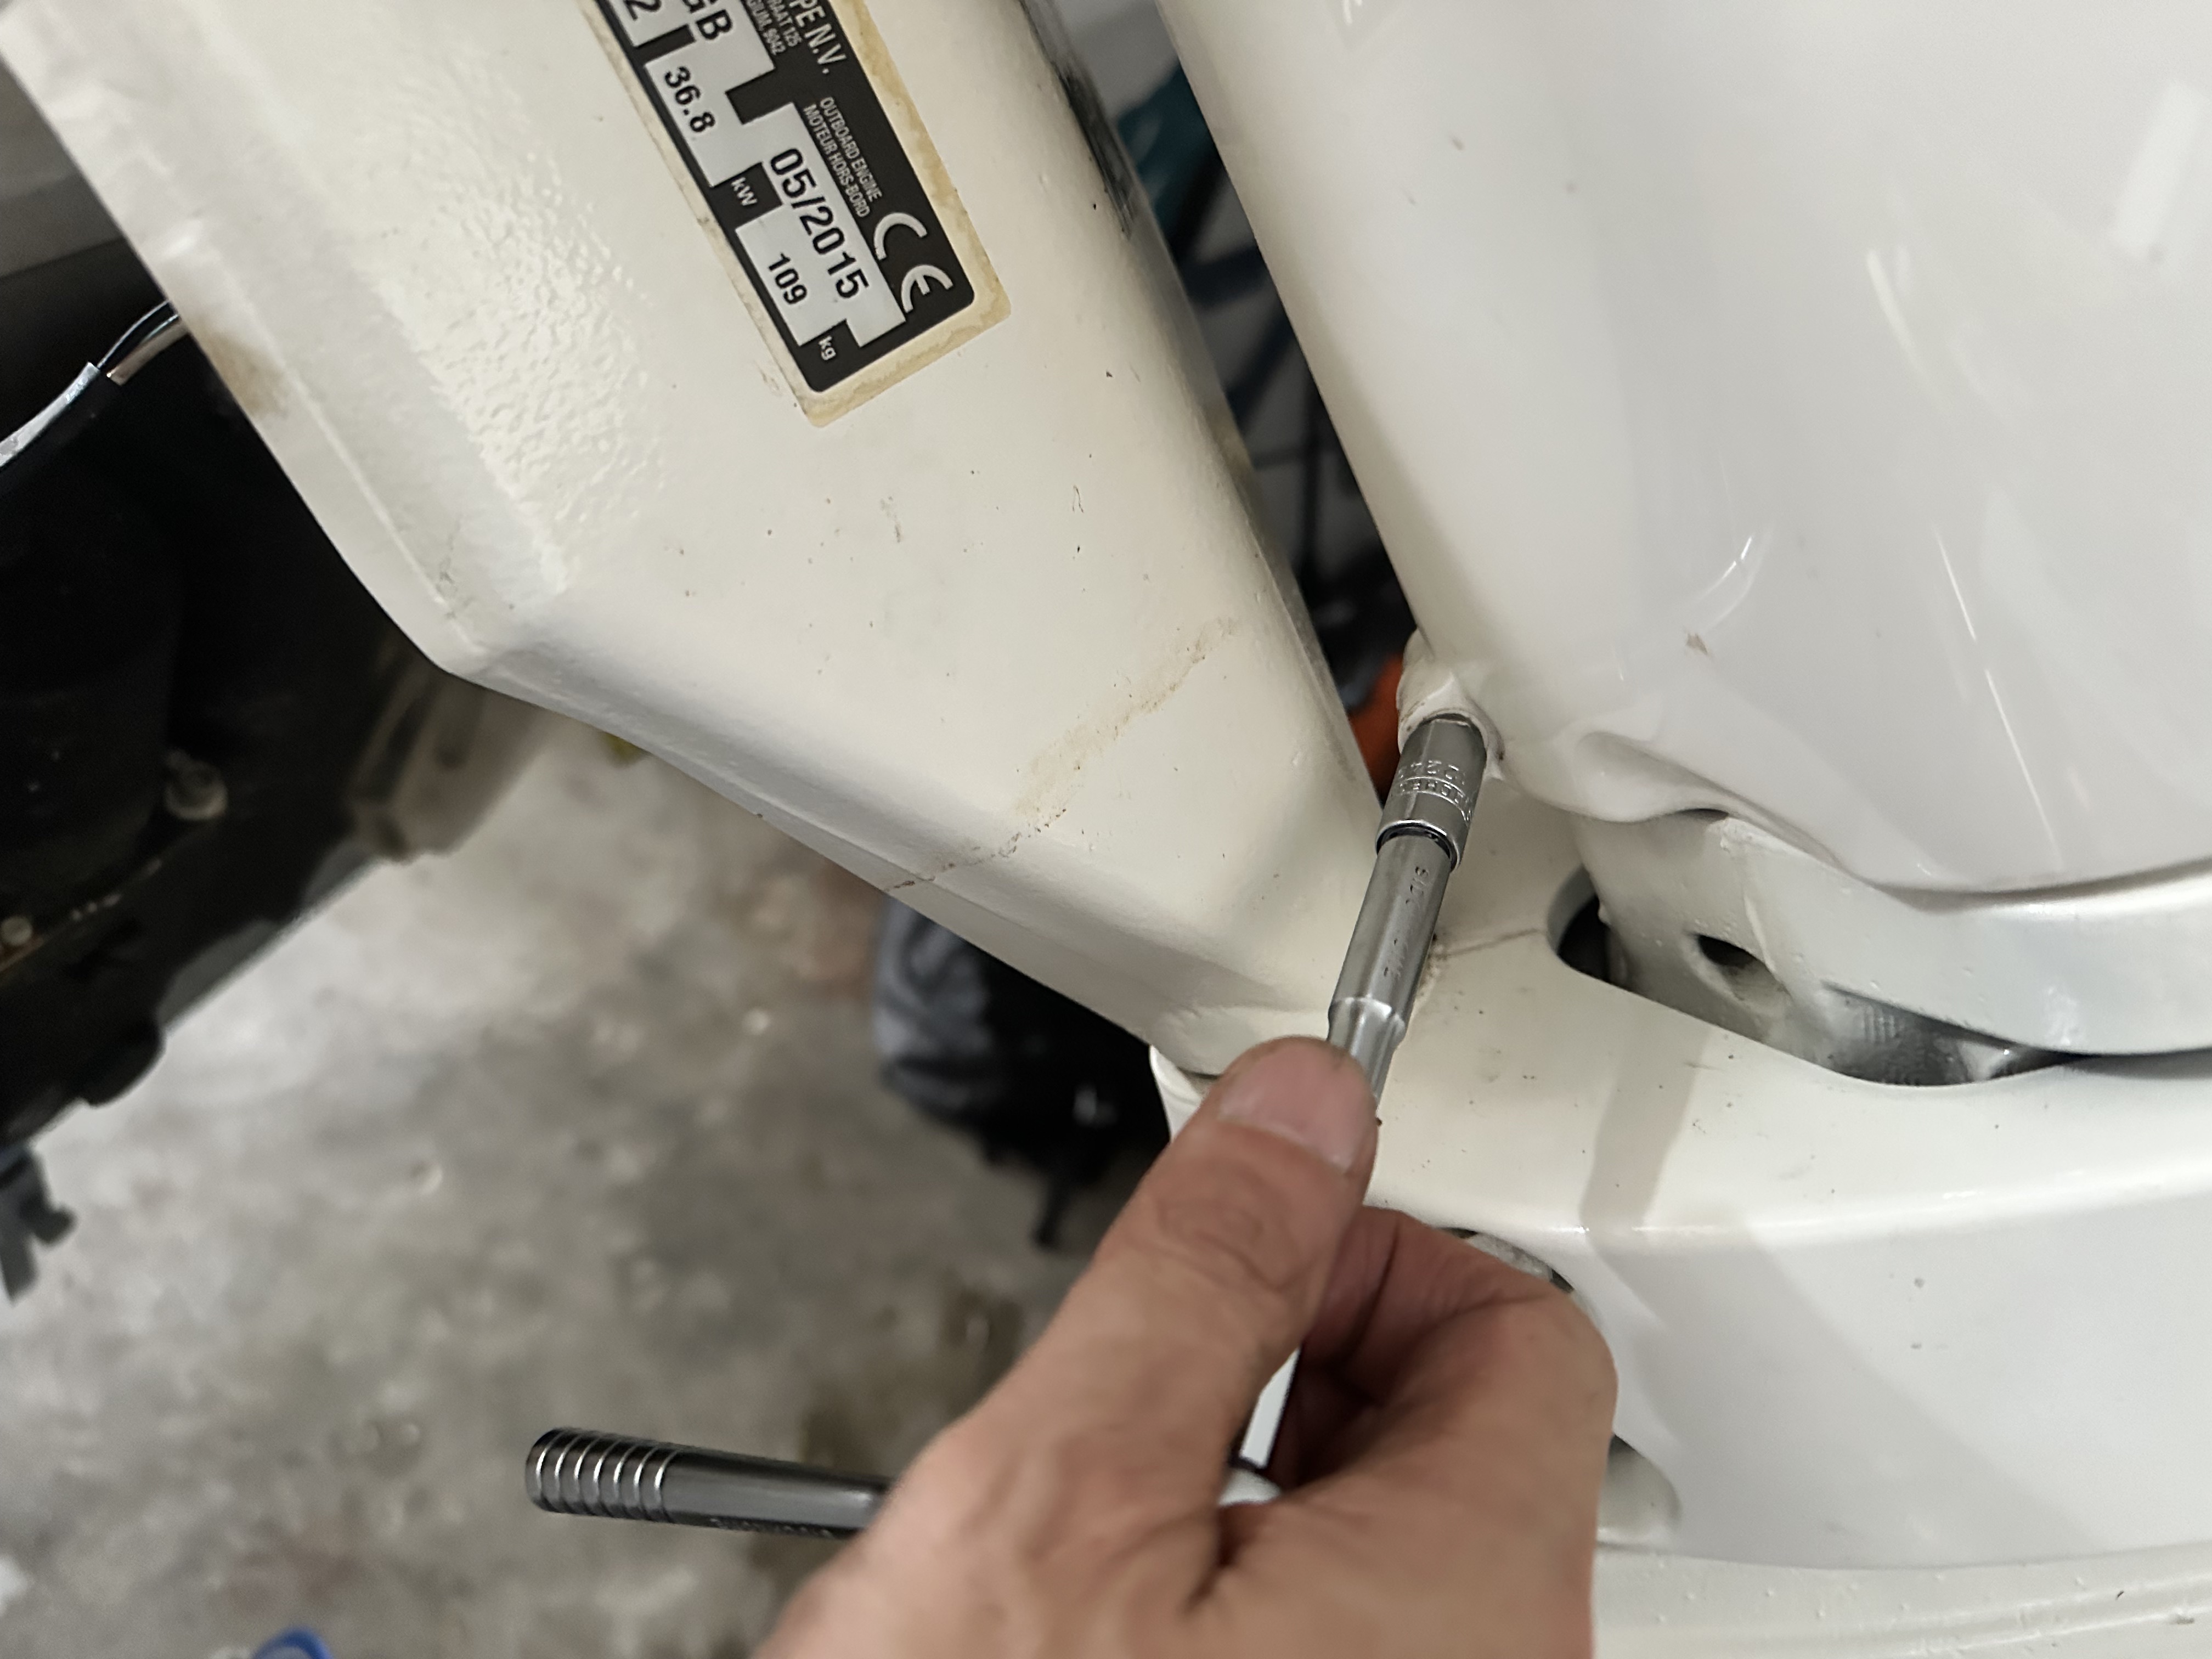
- Remove the two remaining screws (top is 5/16” and the bottom is 7/16”).
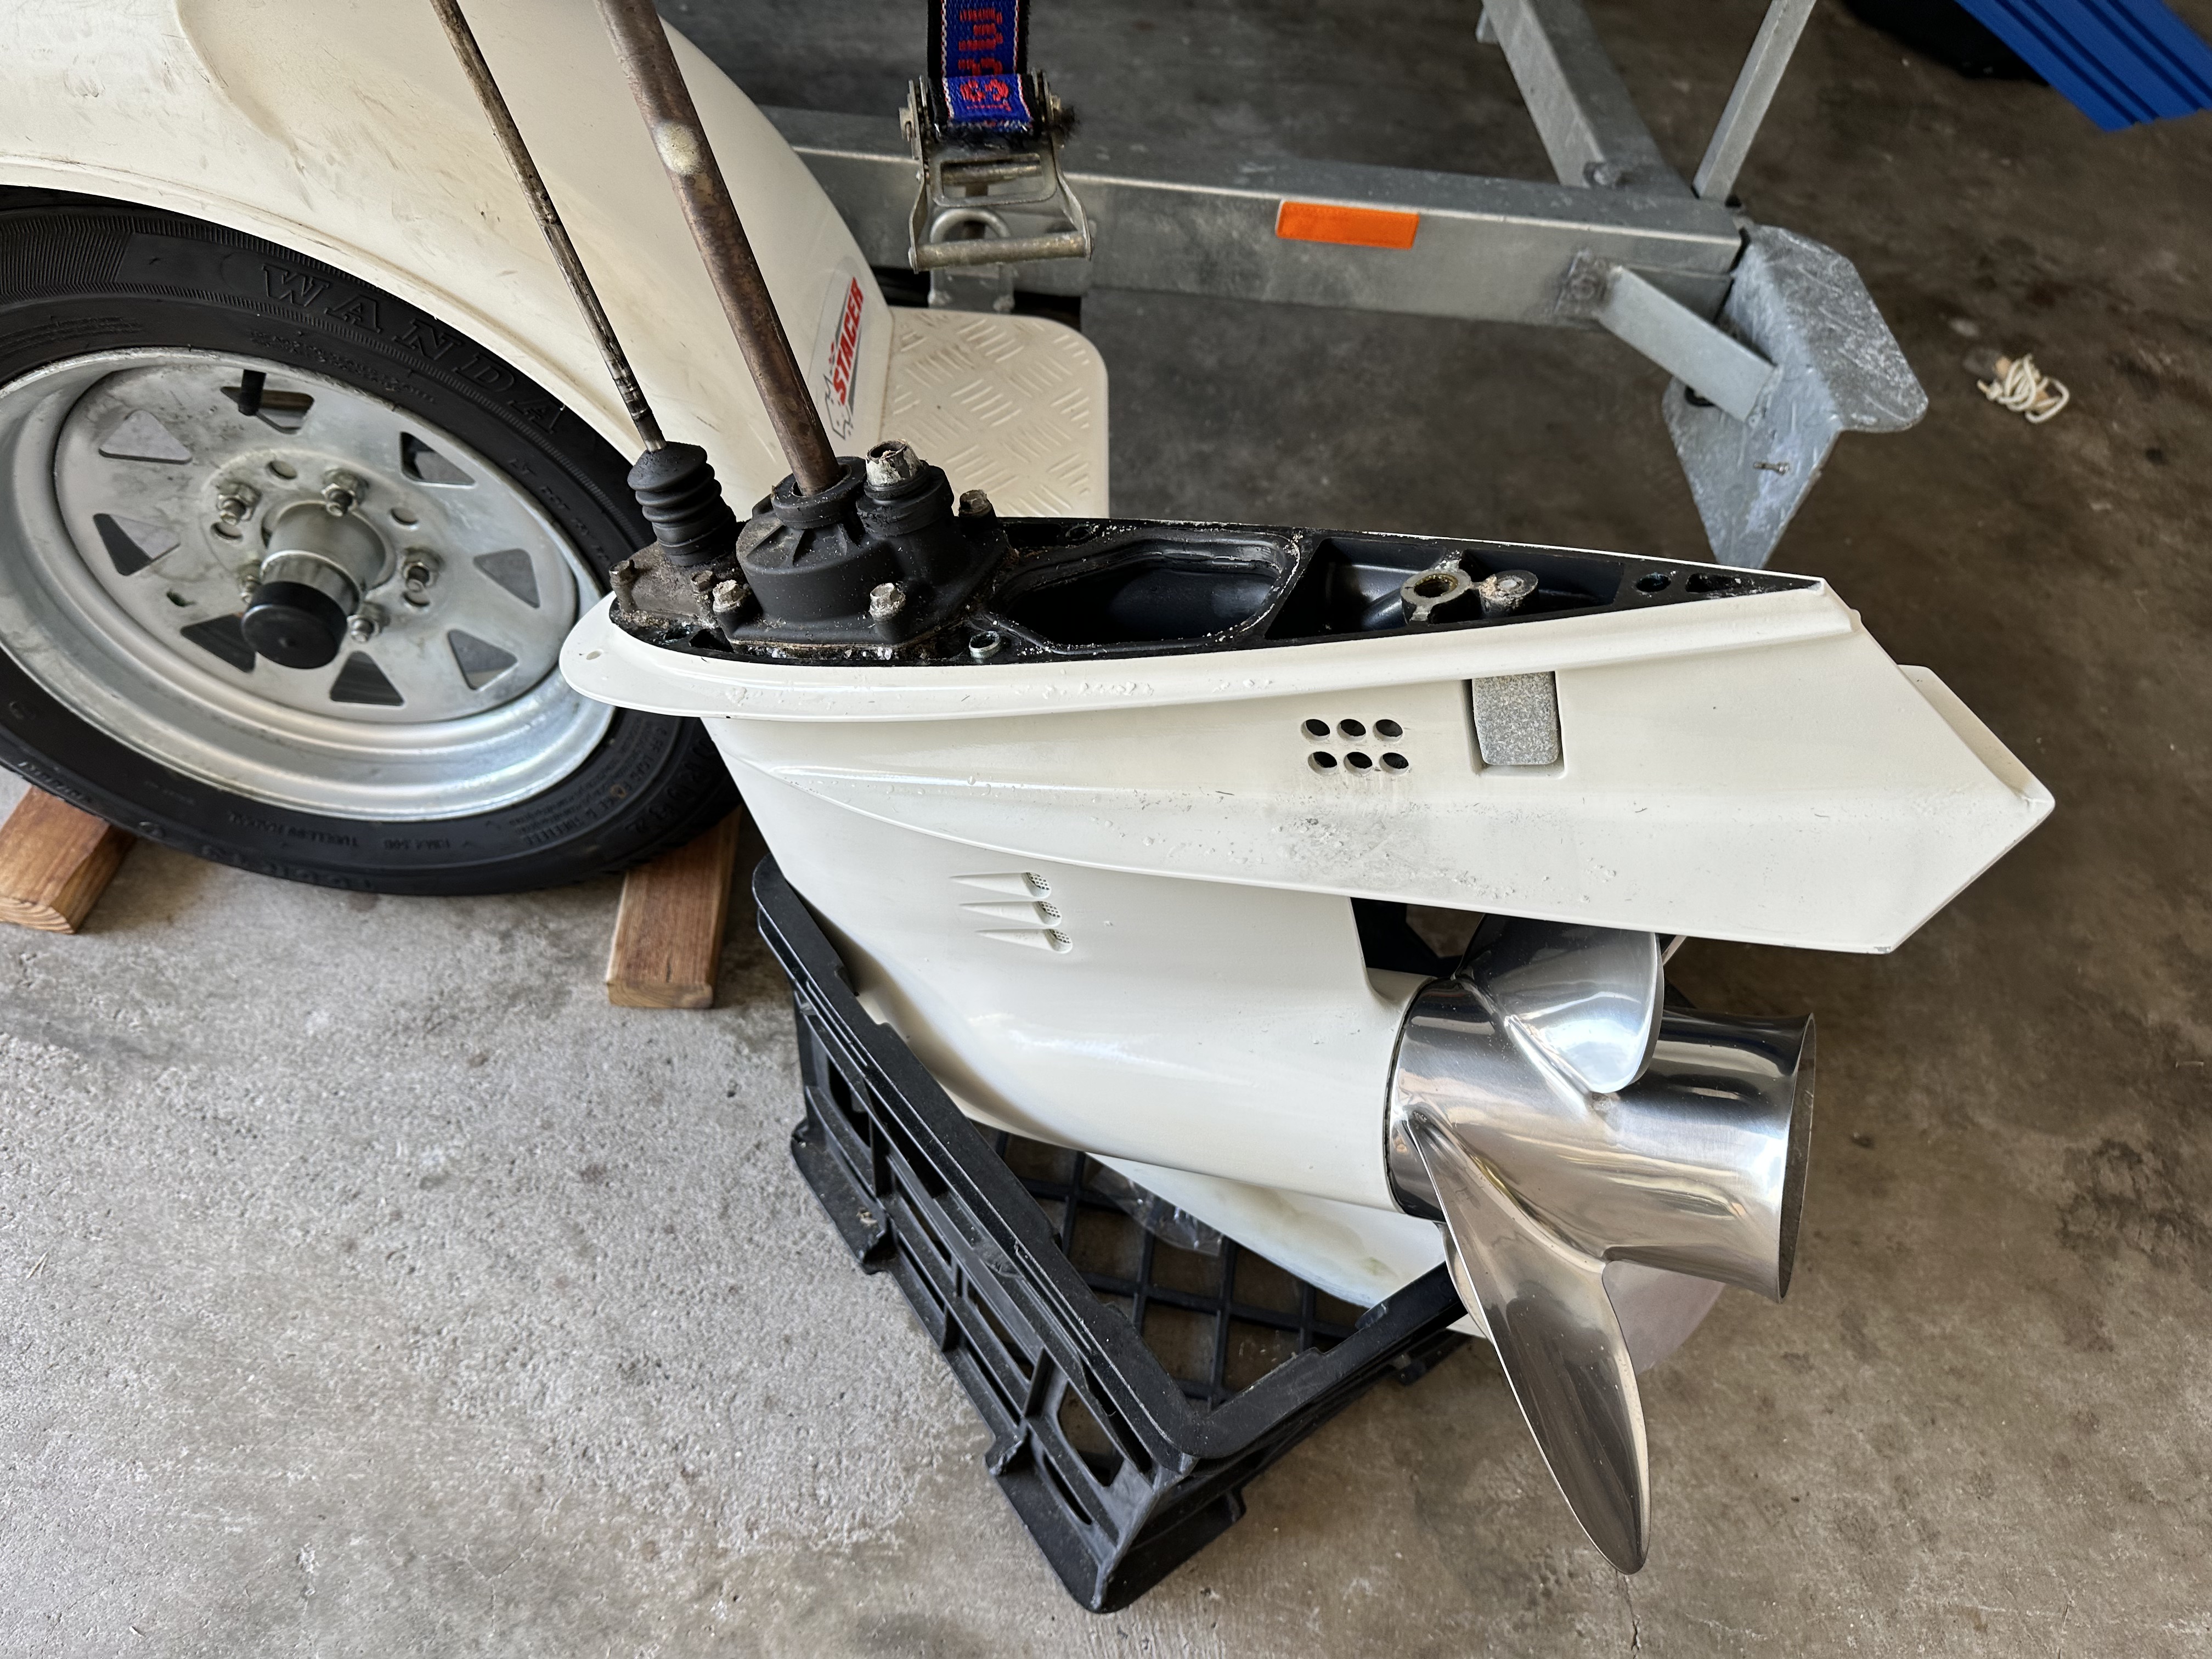
- The gearcase is now held in with the remaining outside screw. Wiggle it until it comes loose and remove.
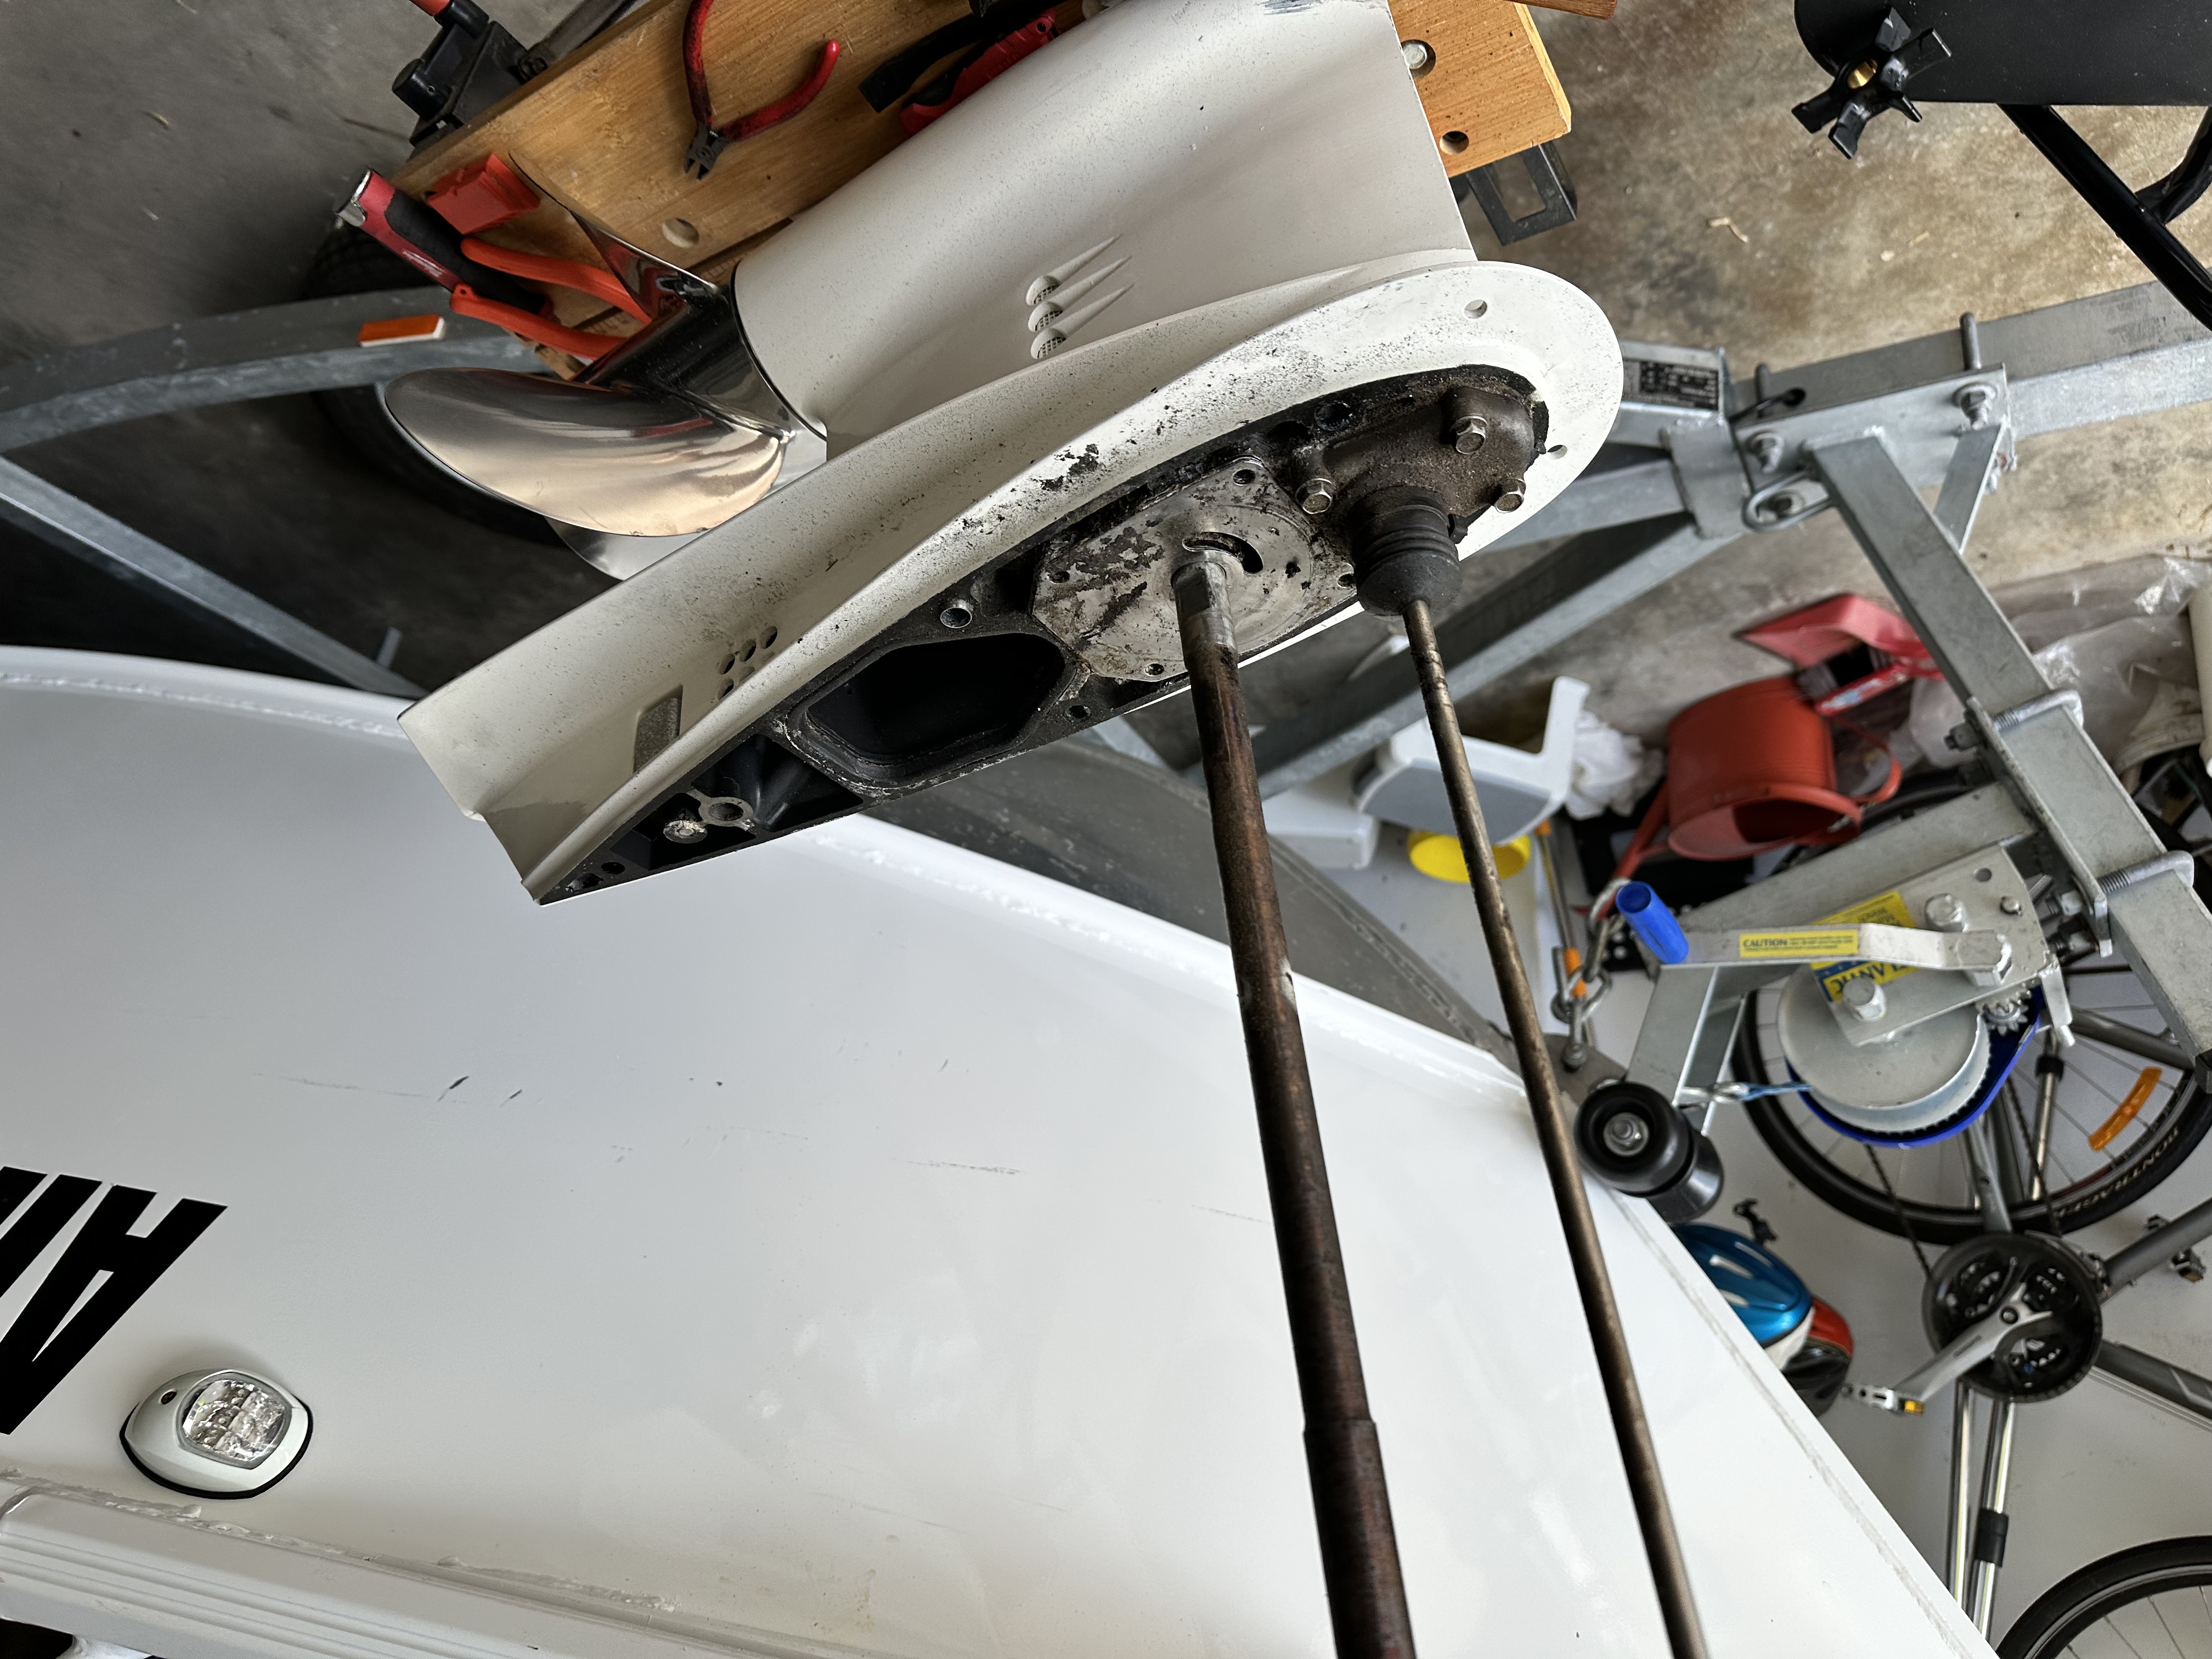
- Here is the gearcase.
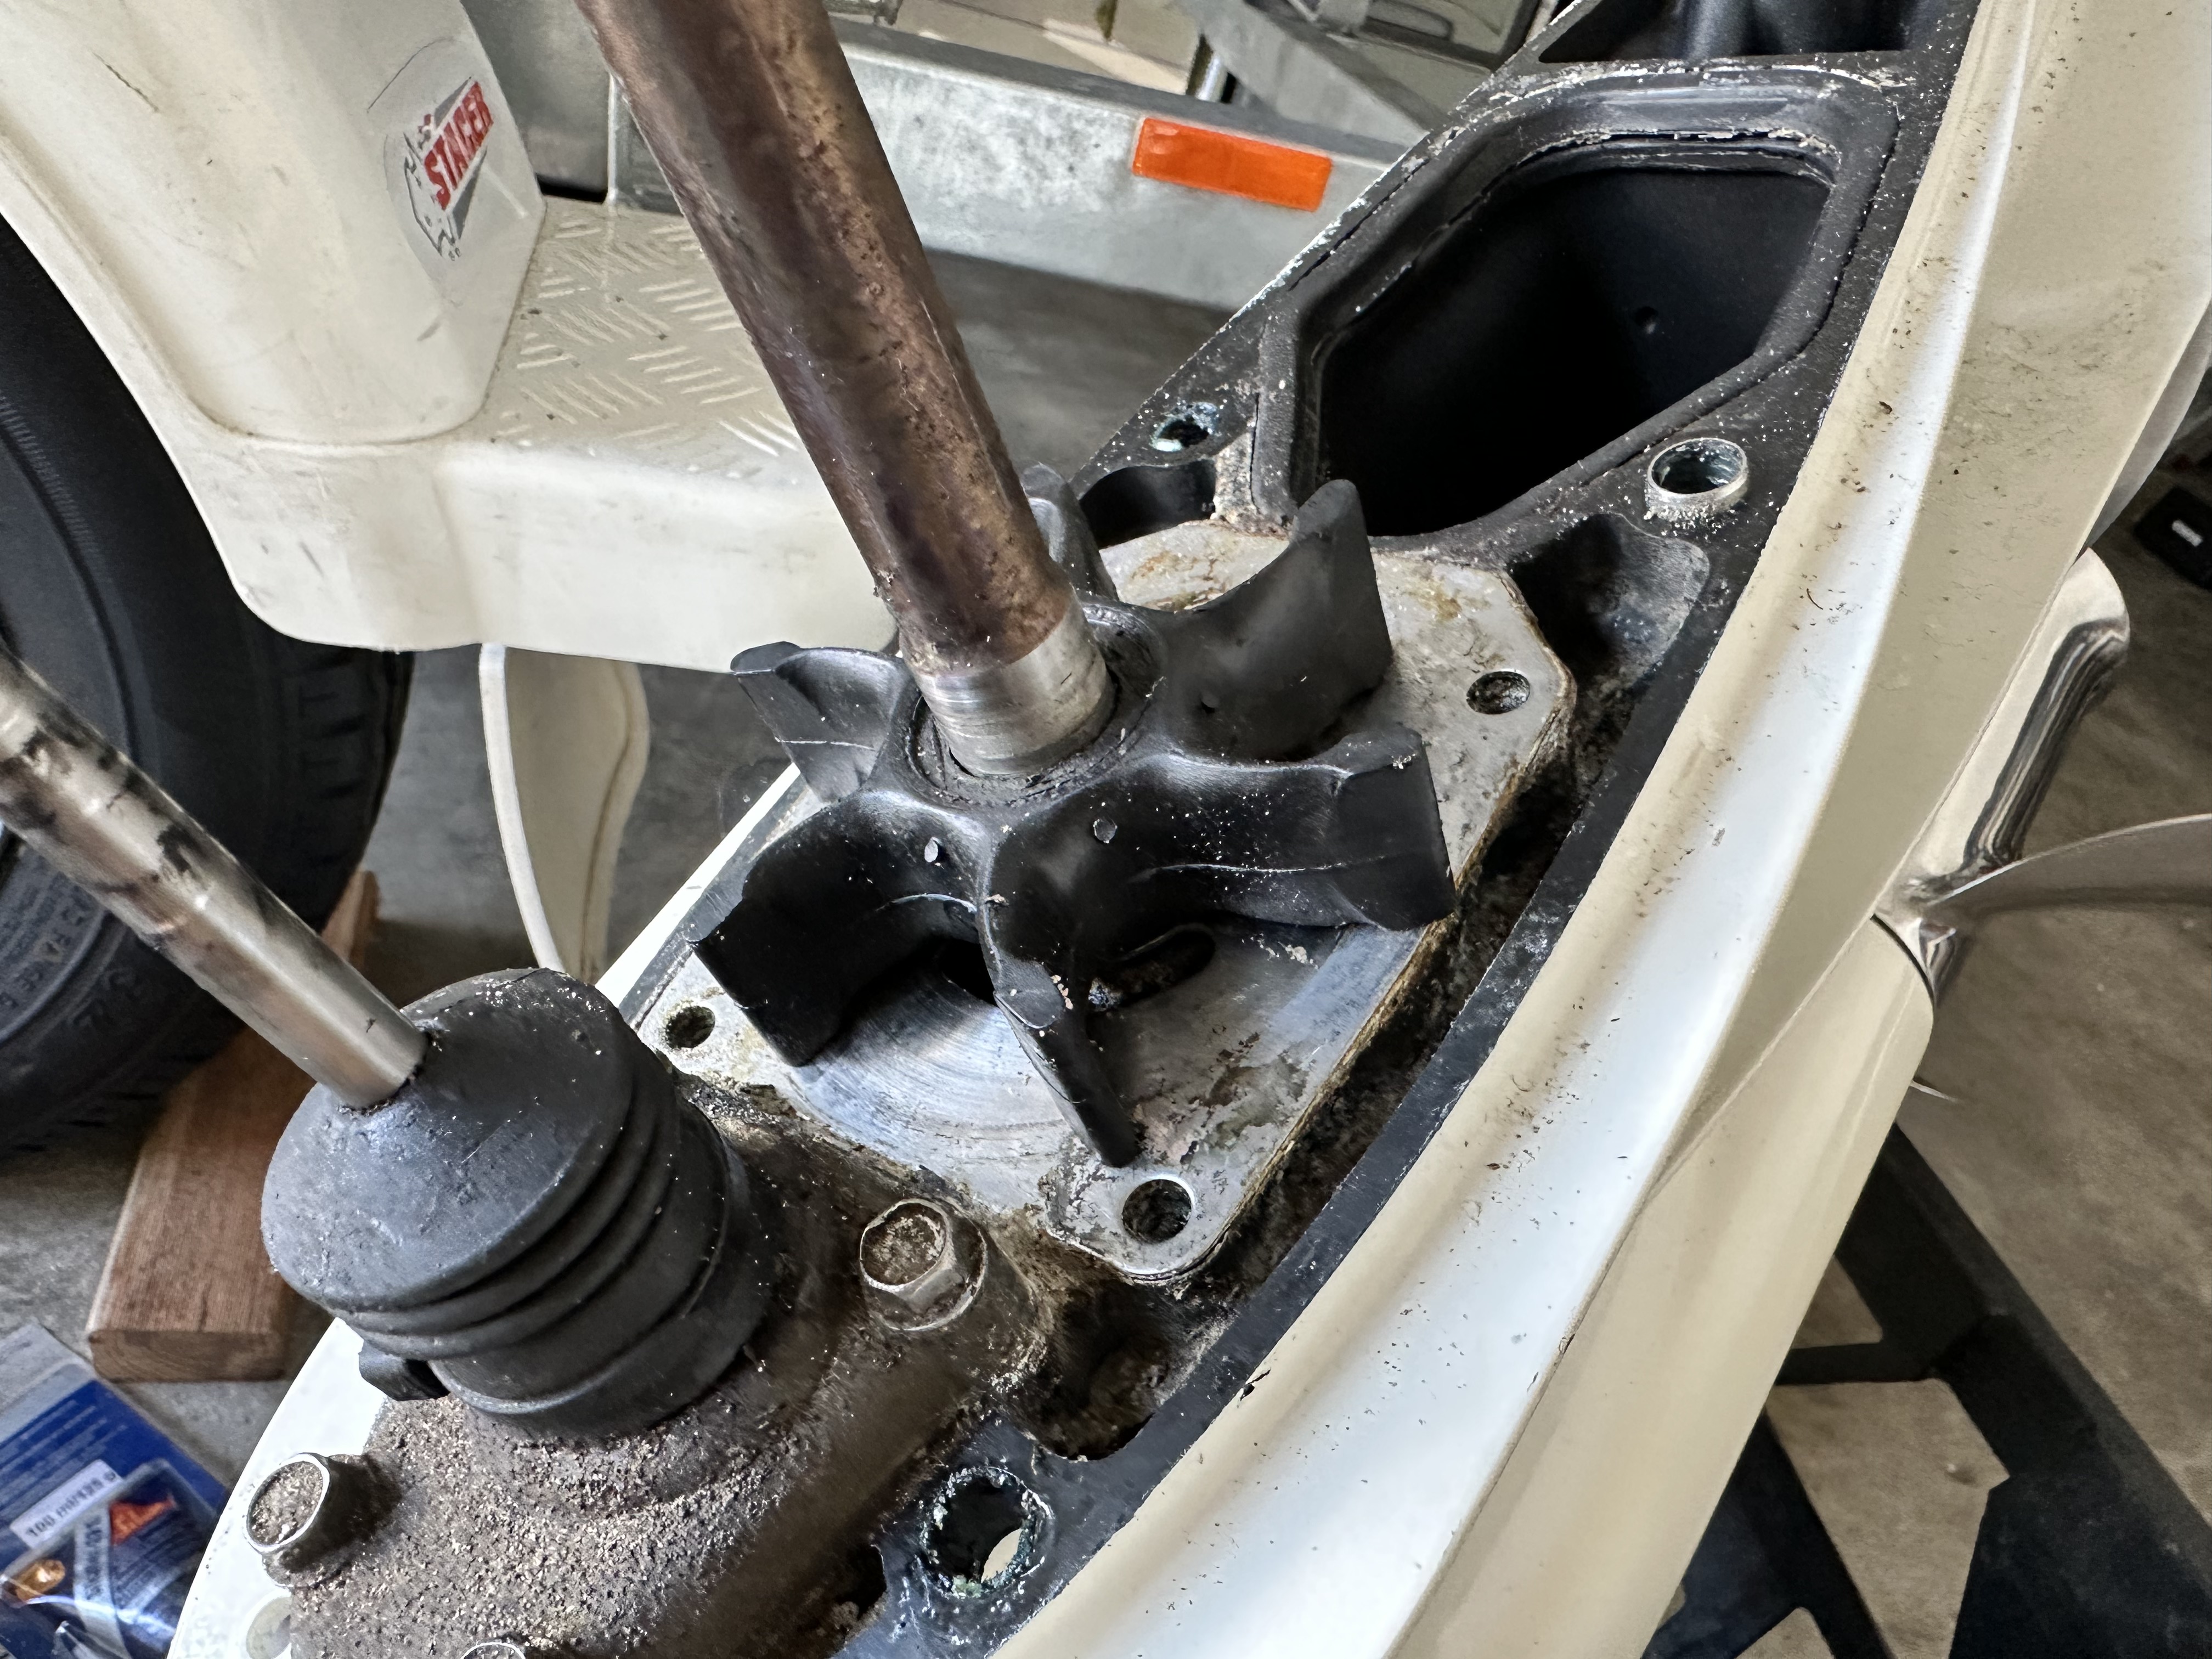
Water Pump Removal
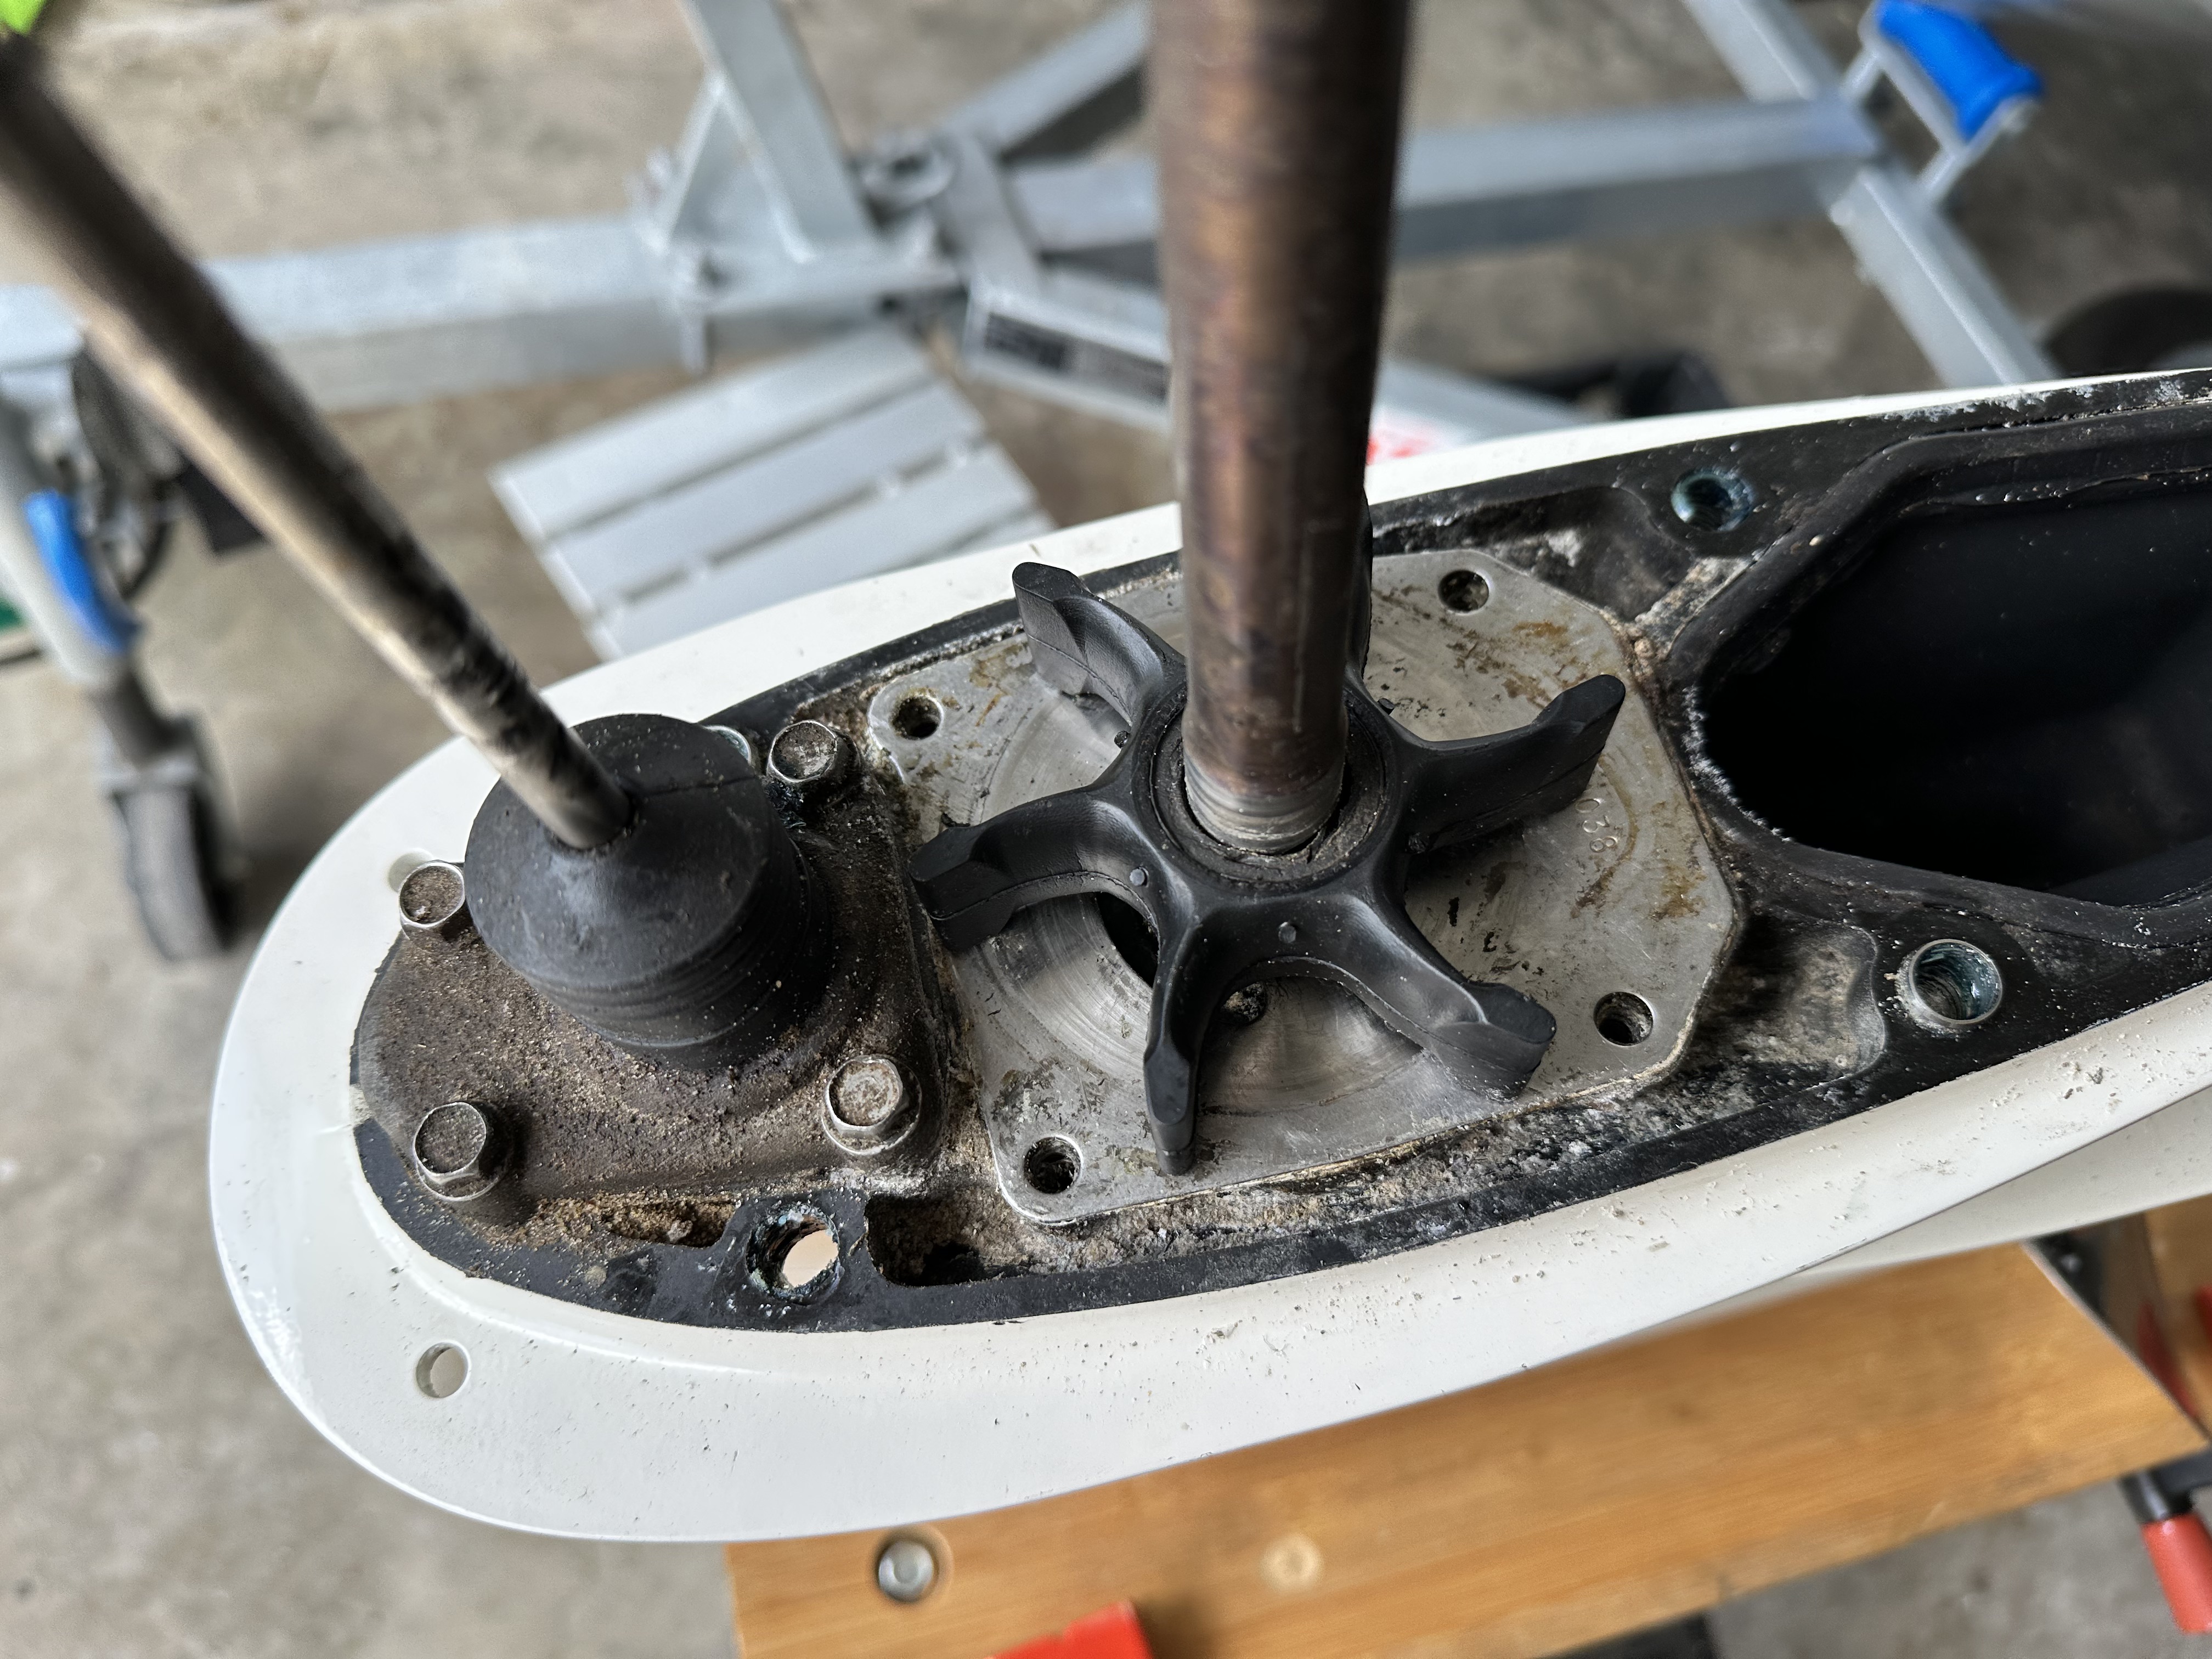
- Remove the 4 impeller housing screws to expose the impeller. Slide the water pump off the driveshaft.
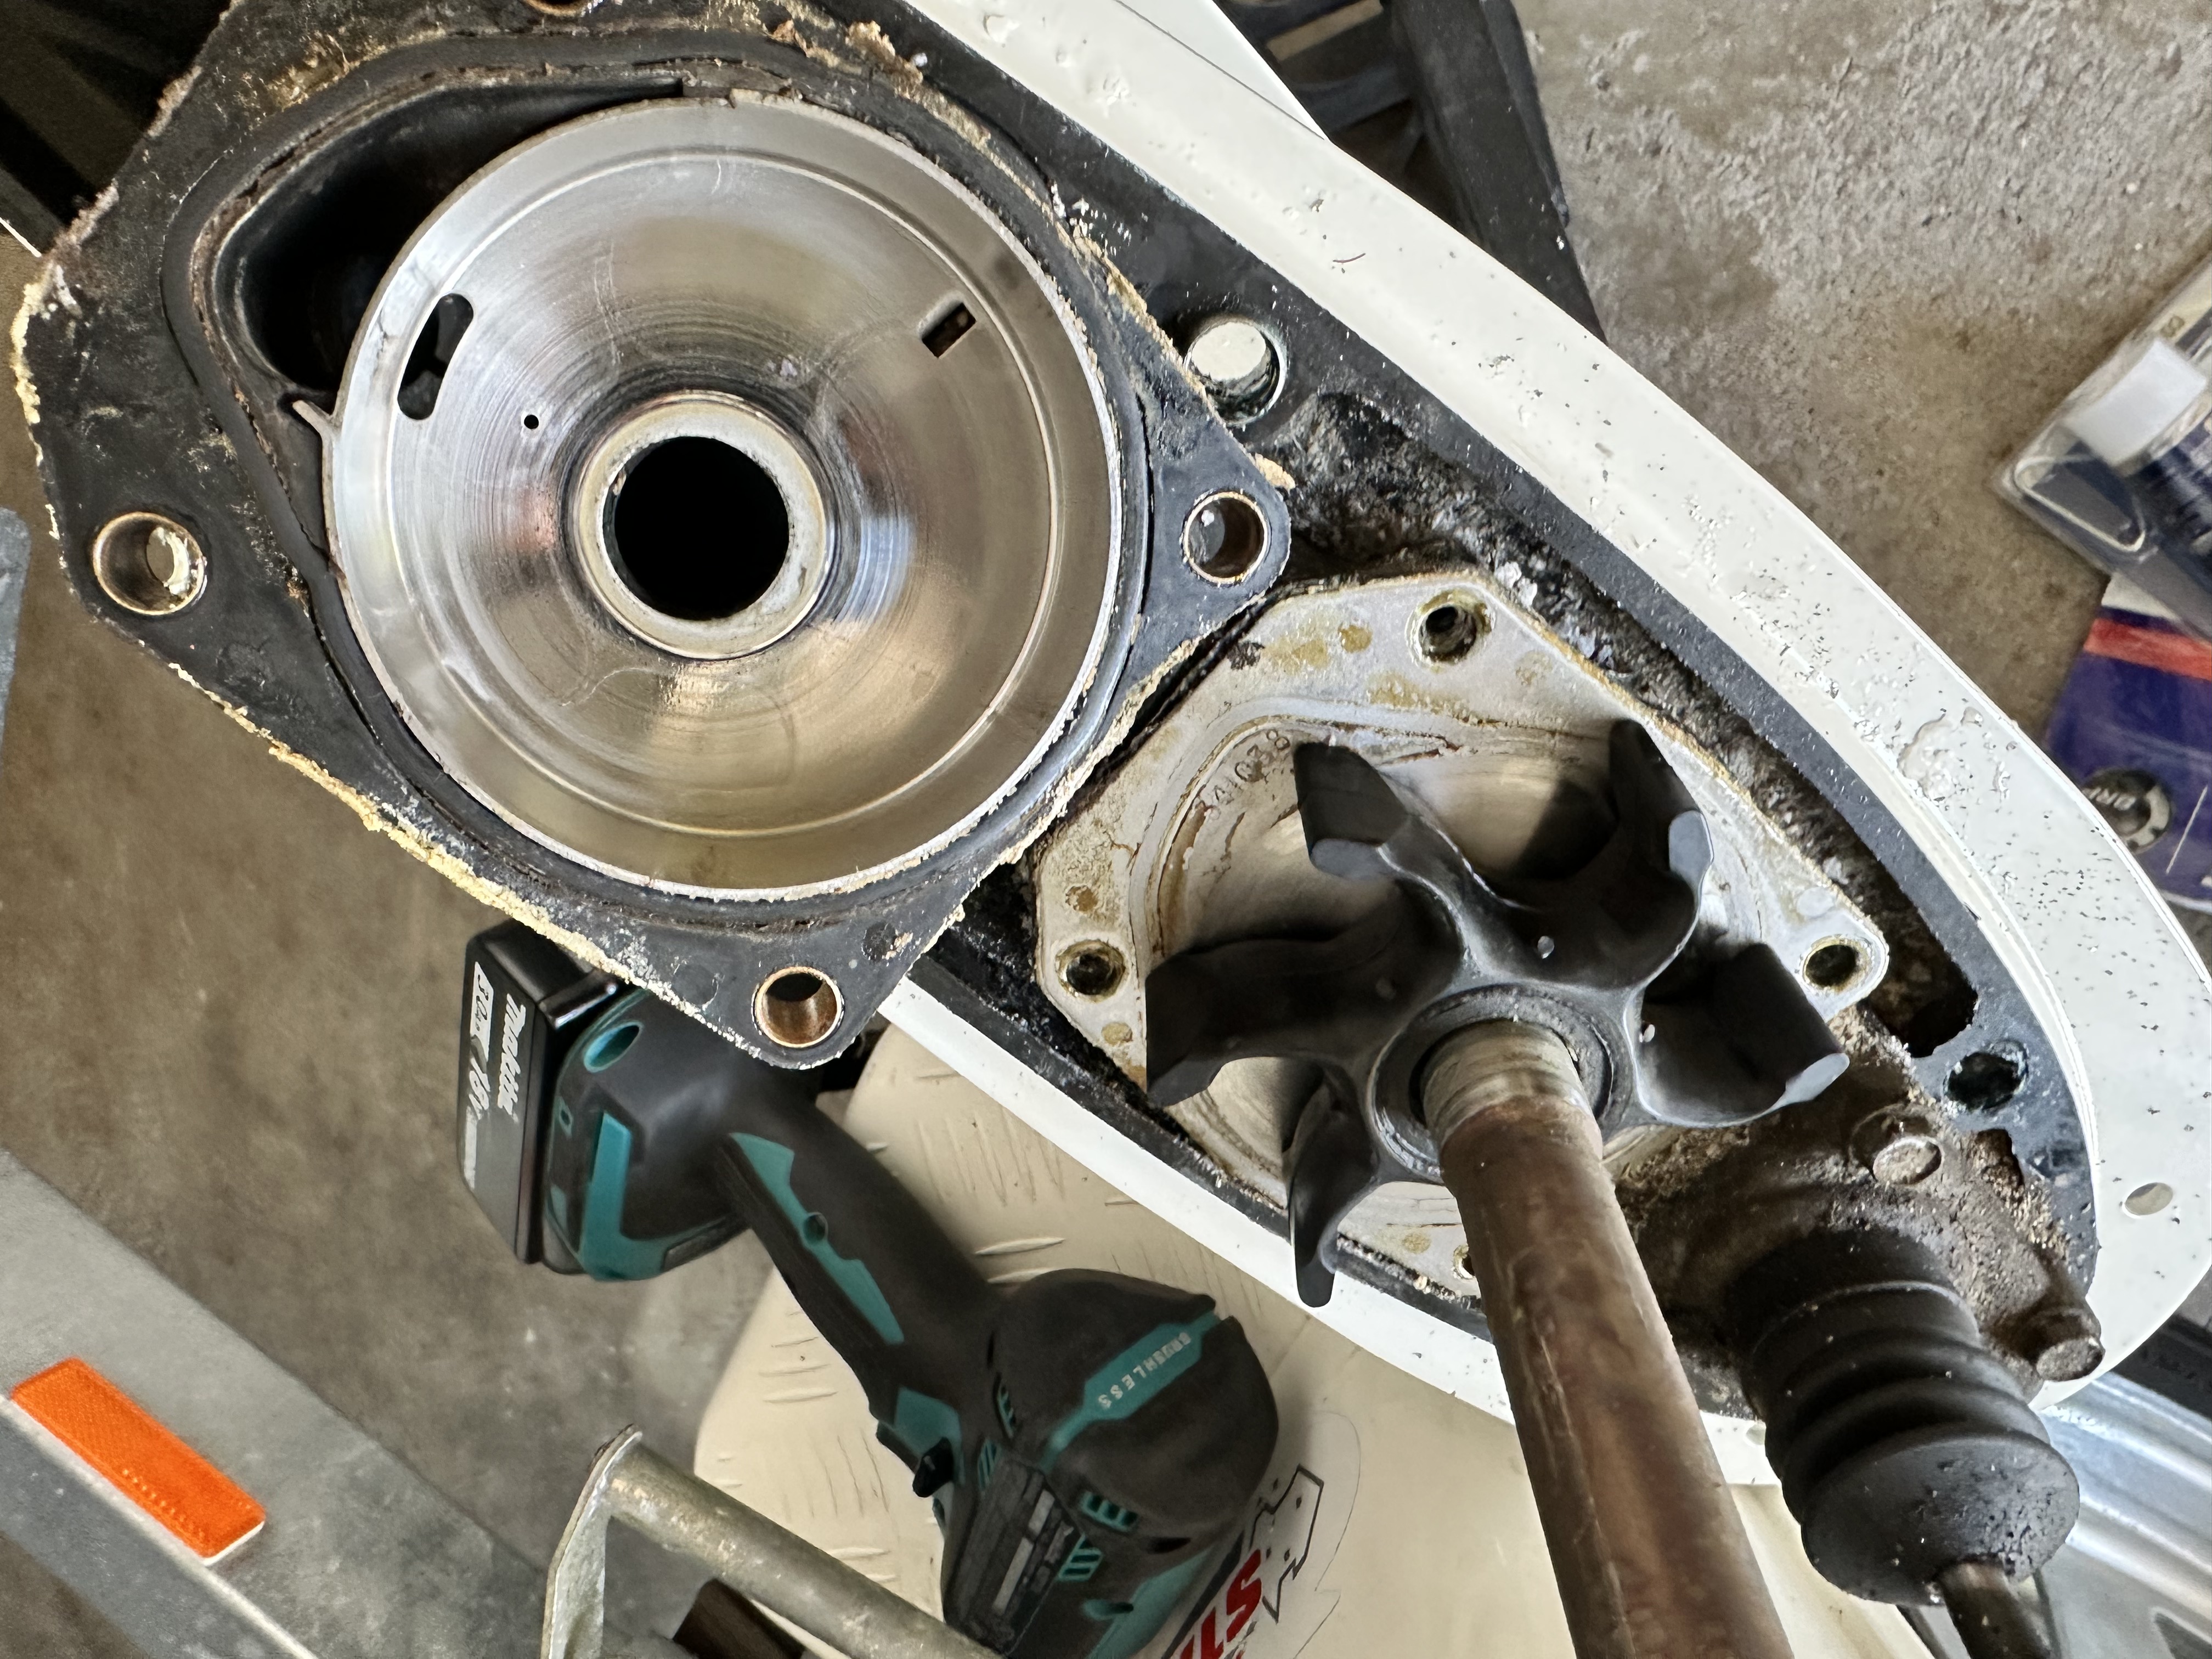
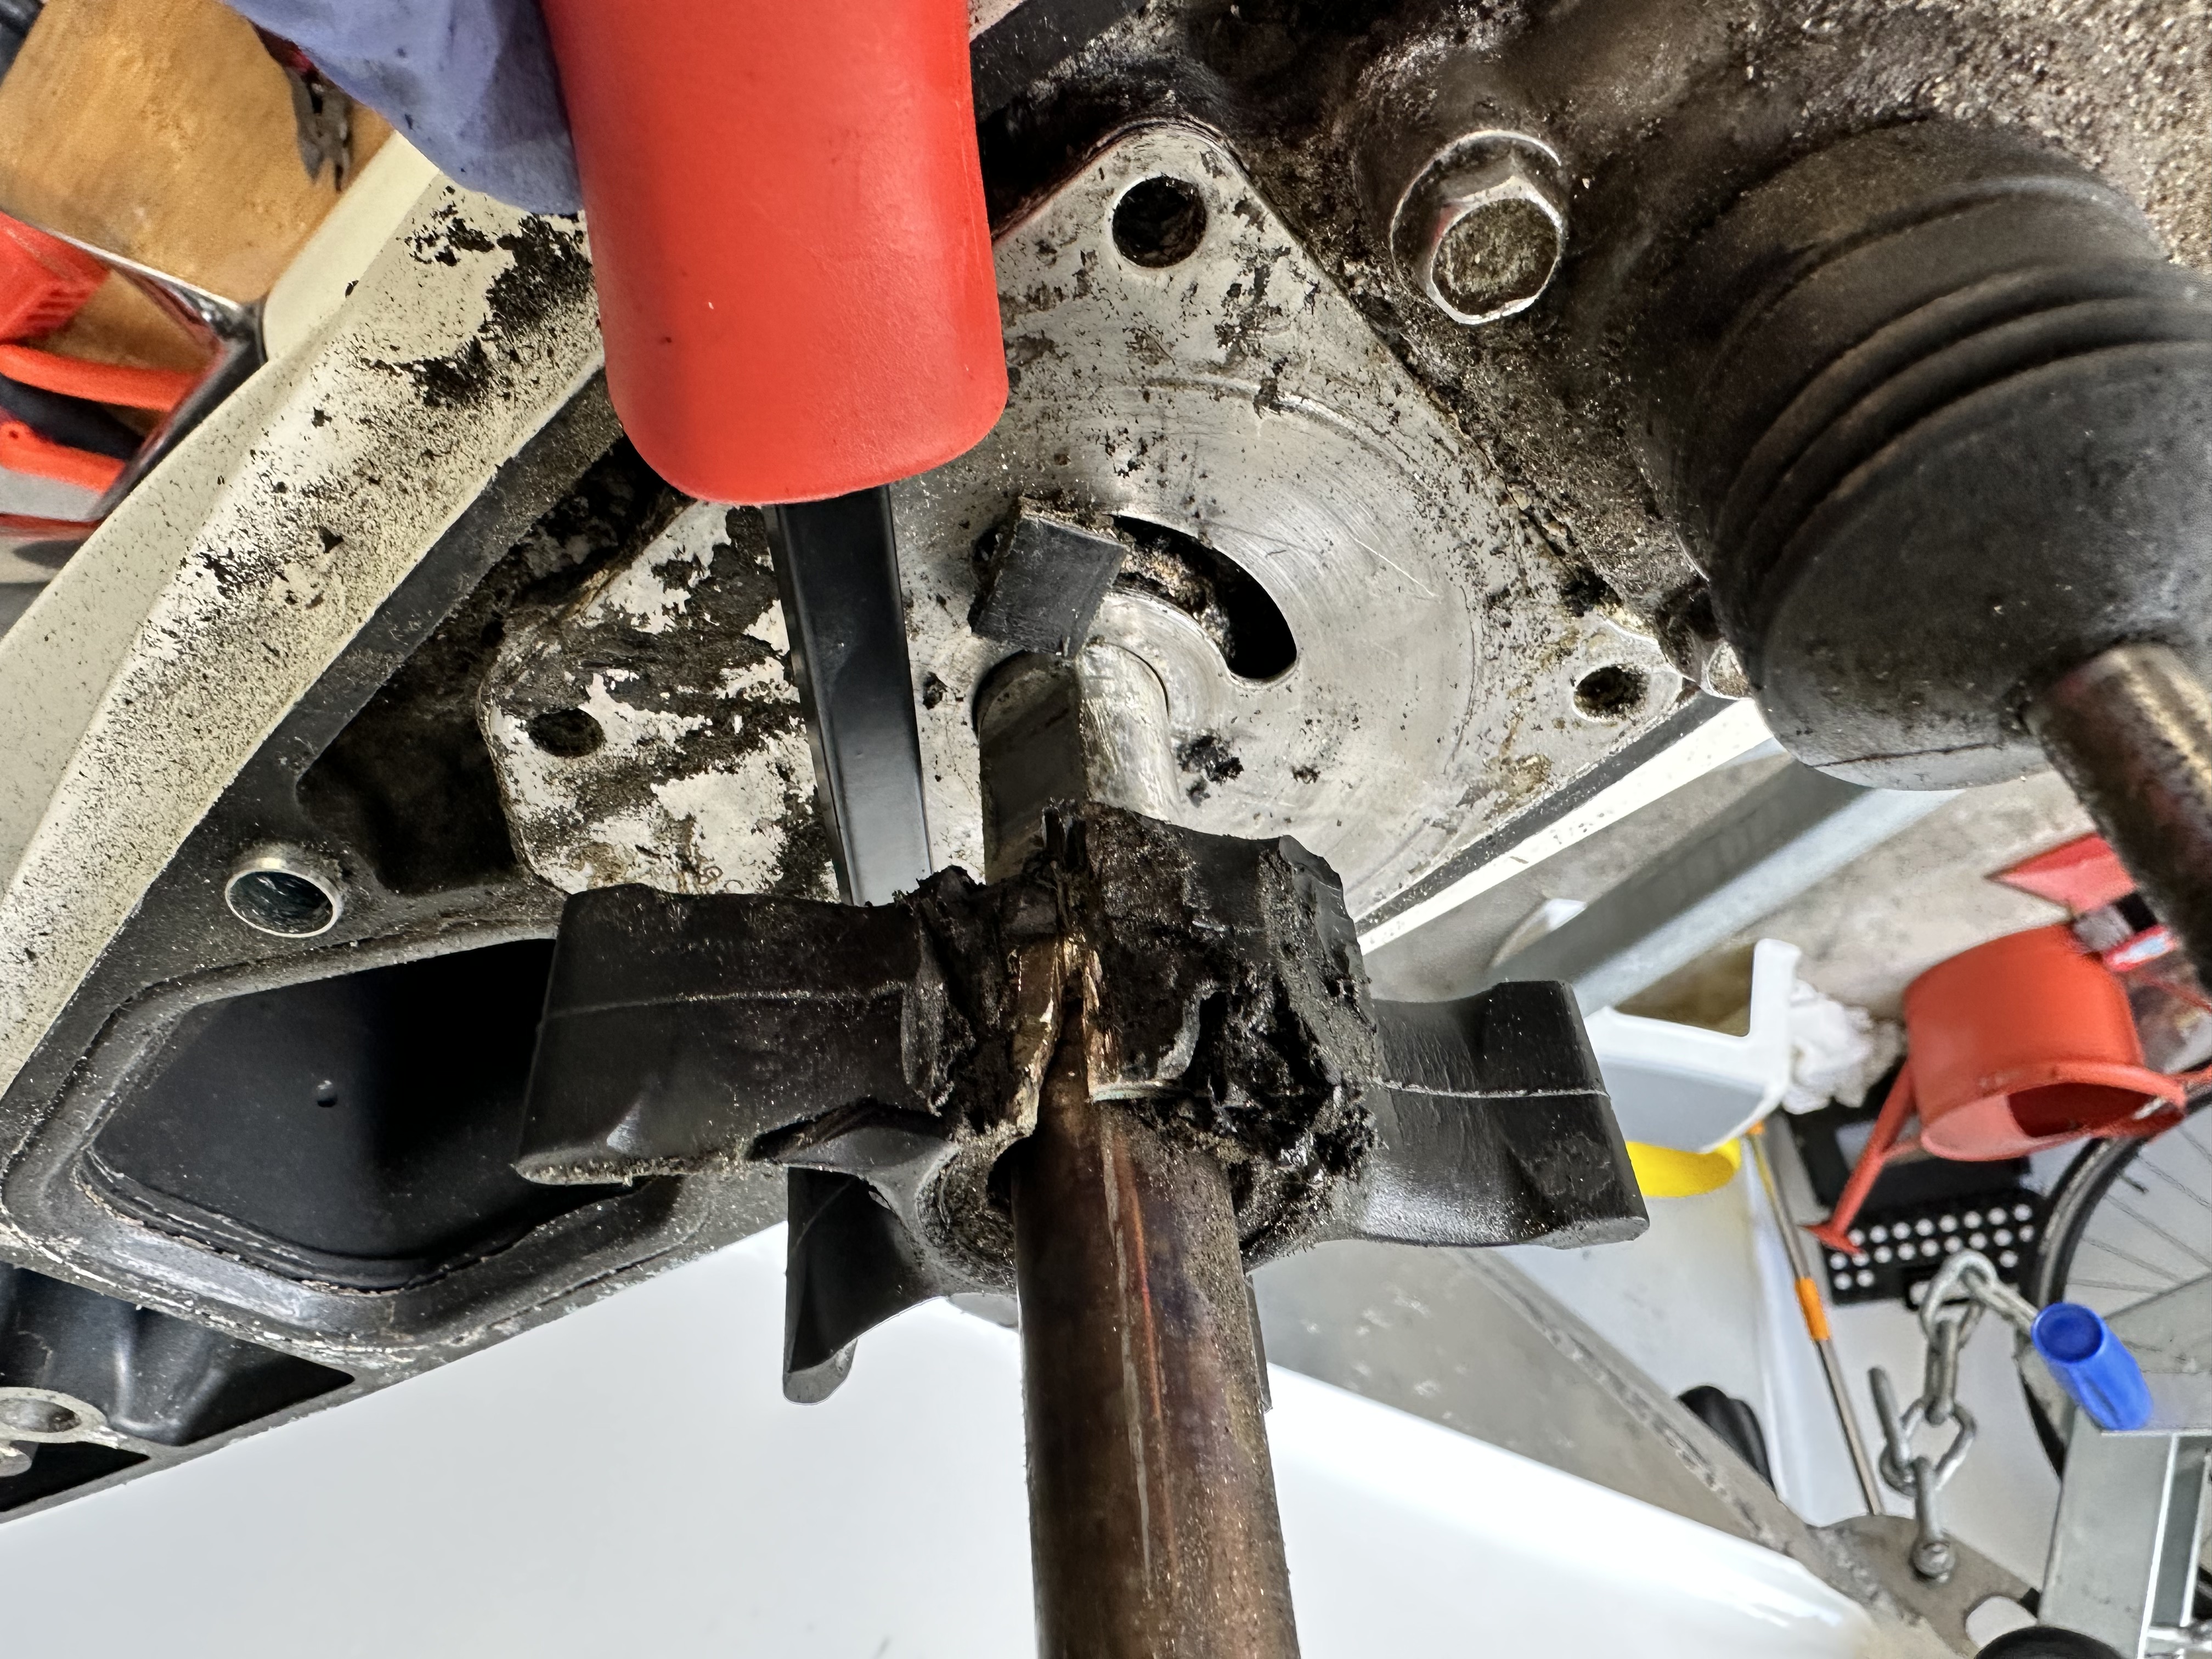
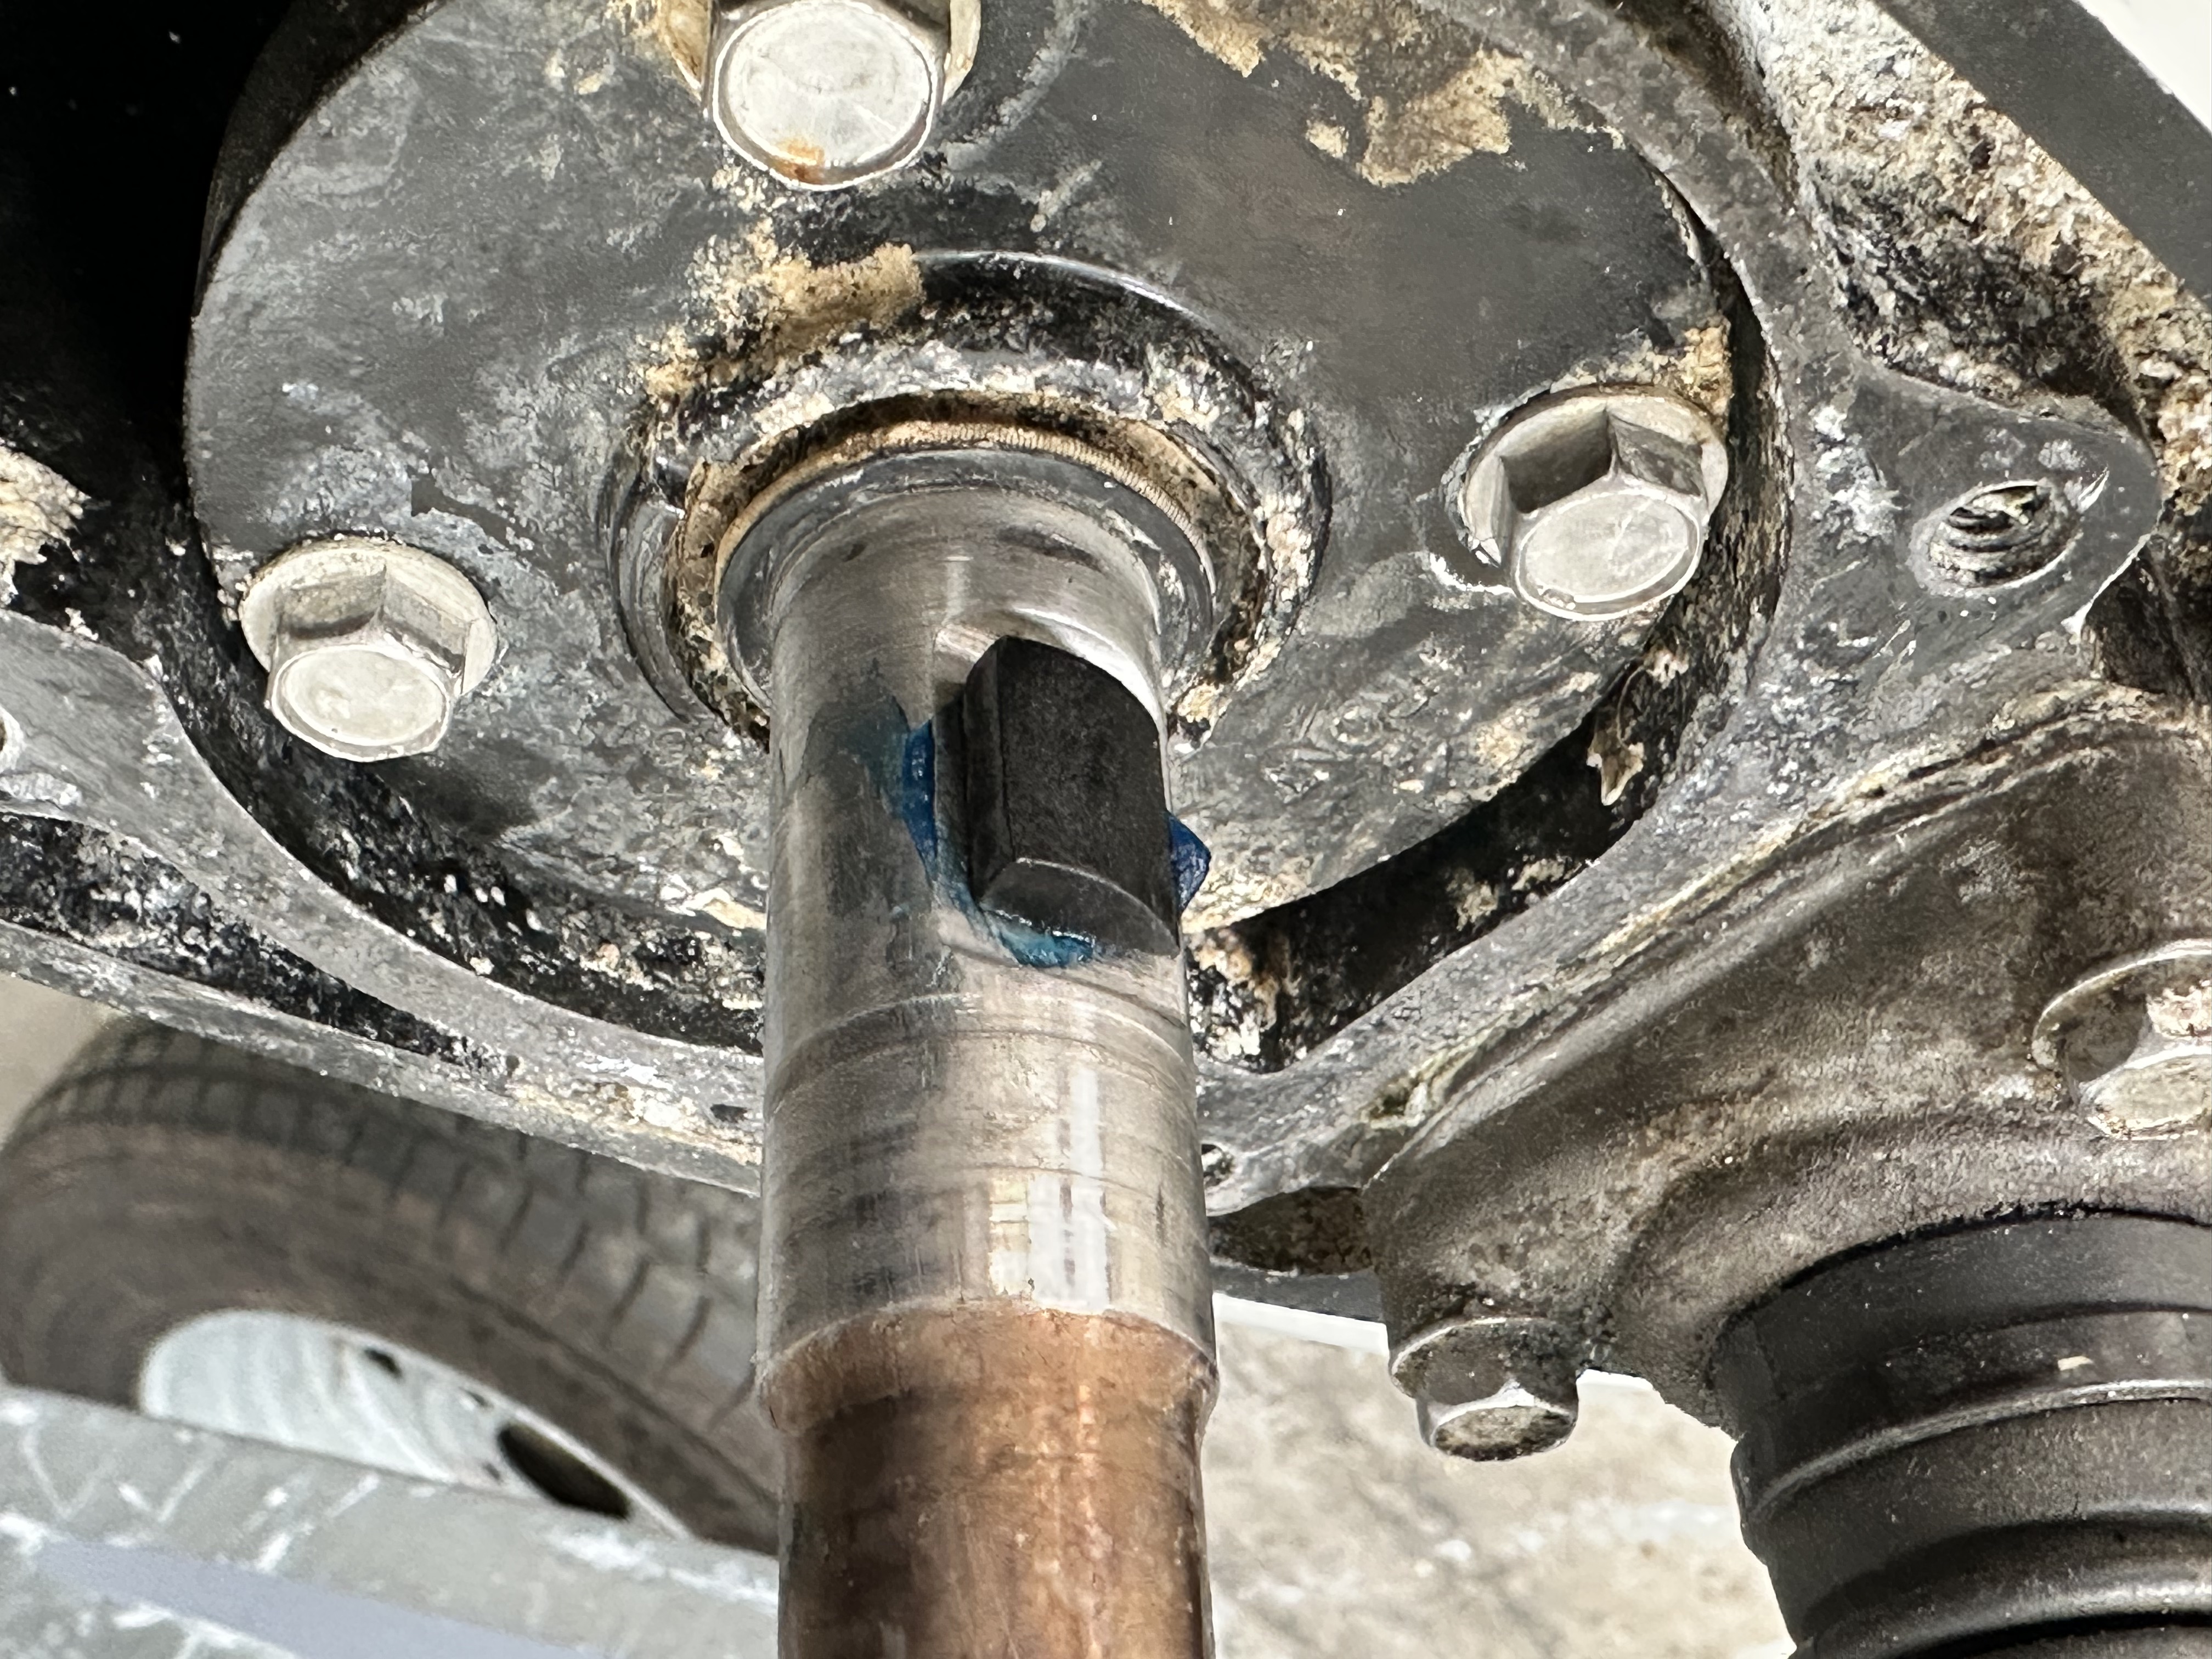
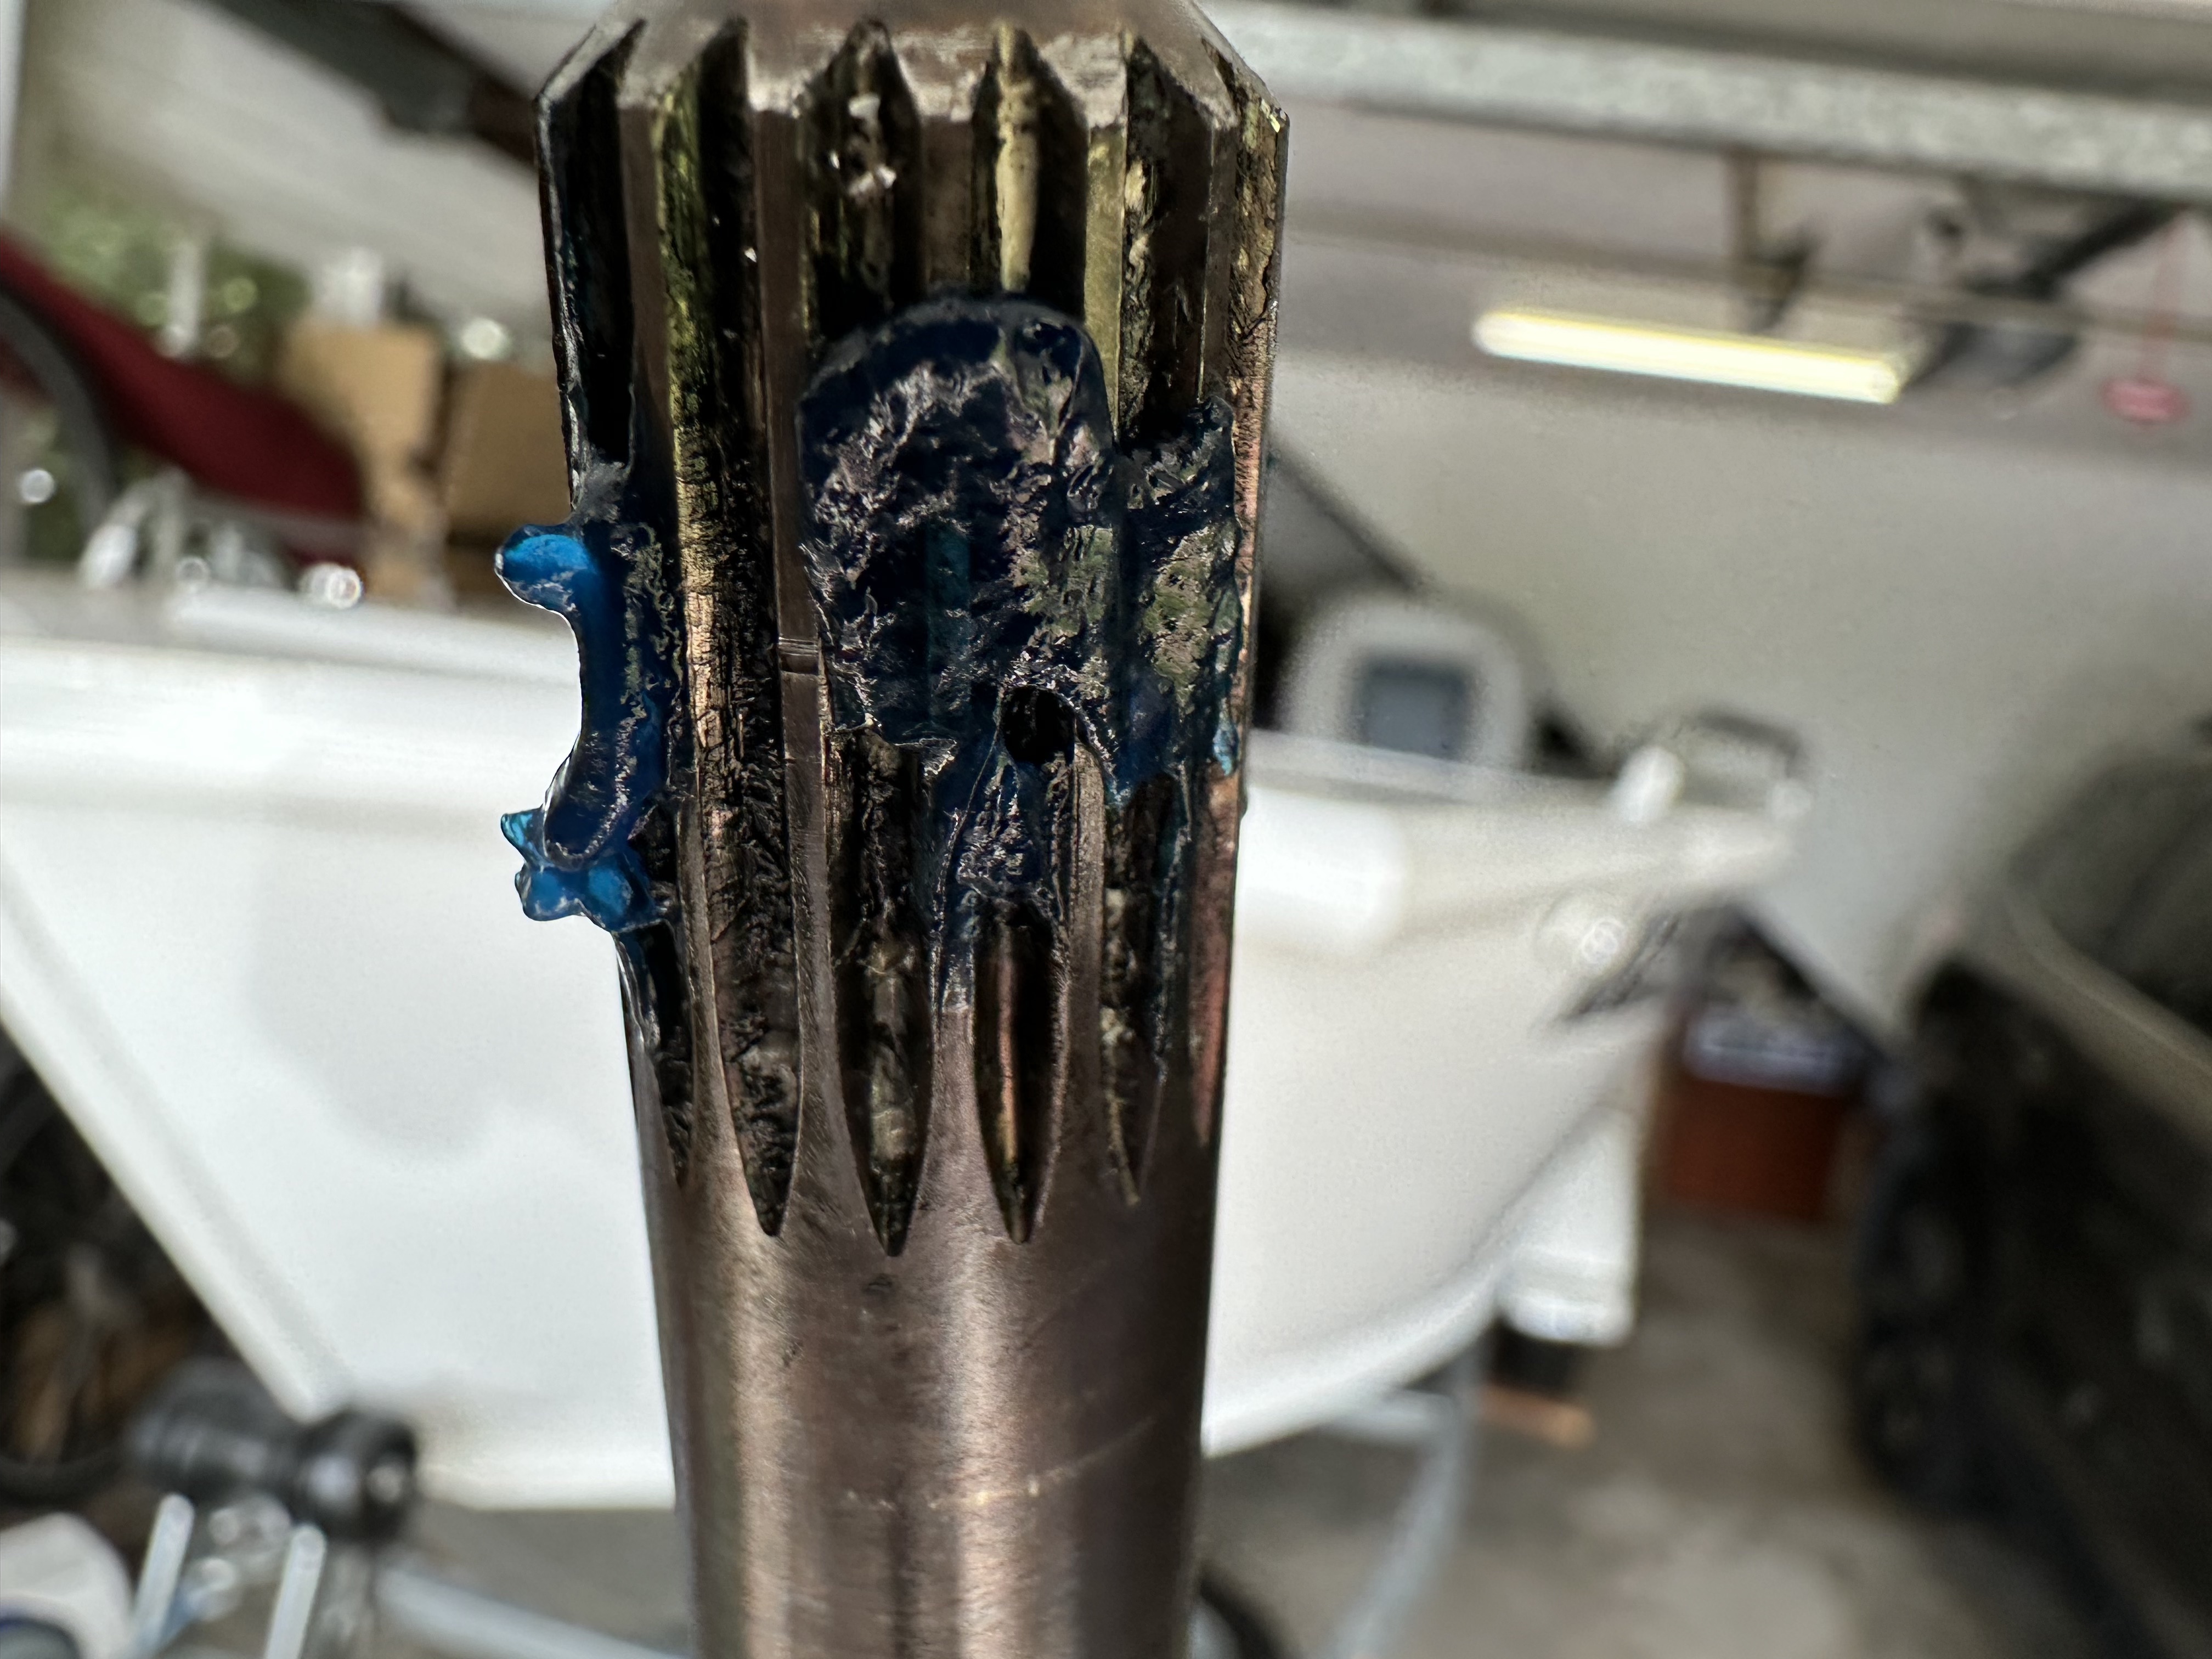
- At this point you are supposed to be able to pry the impeller off the driveshaft. A drive cam is the only thing holding it in place.
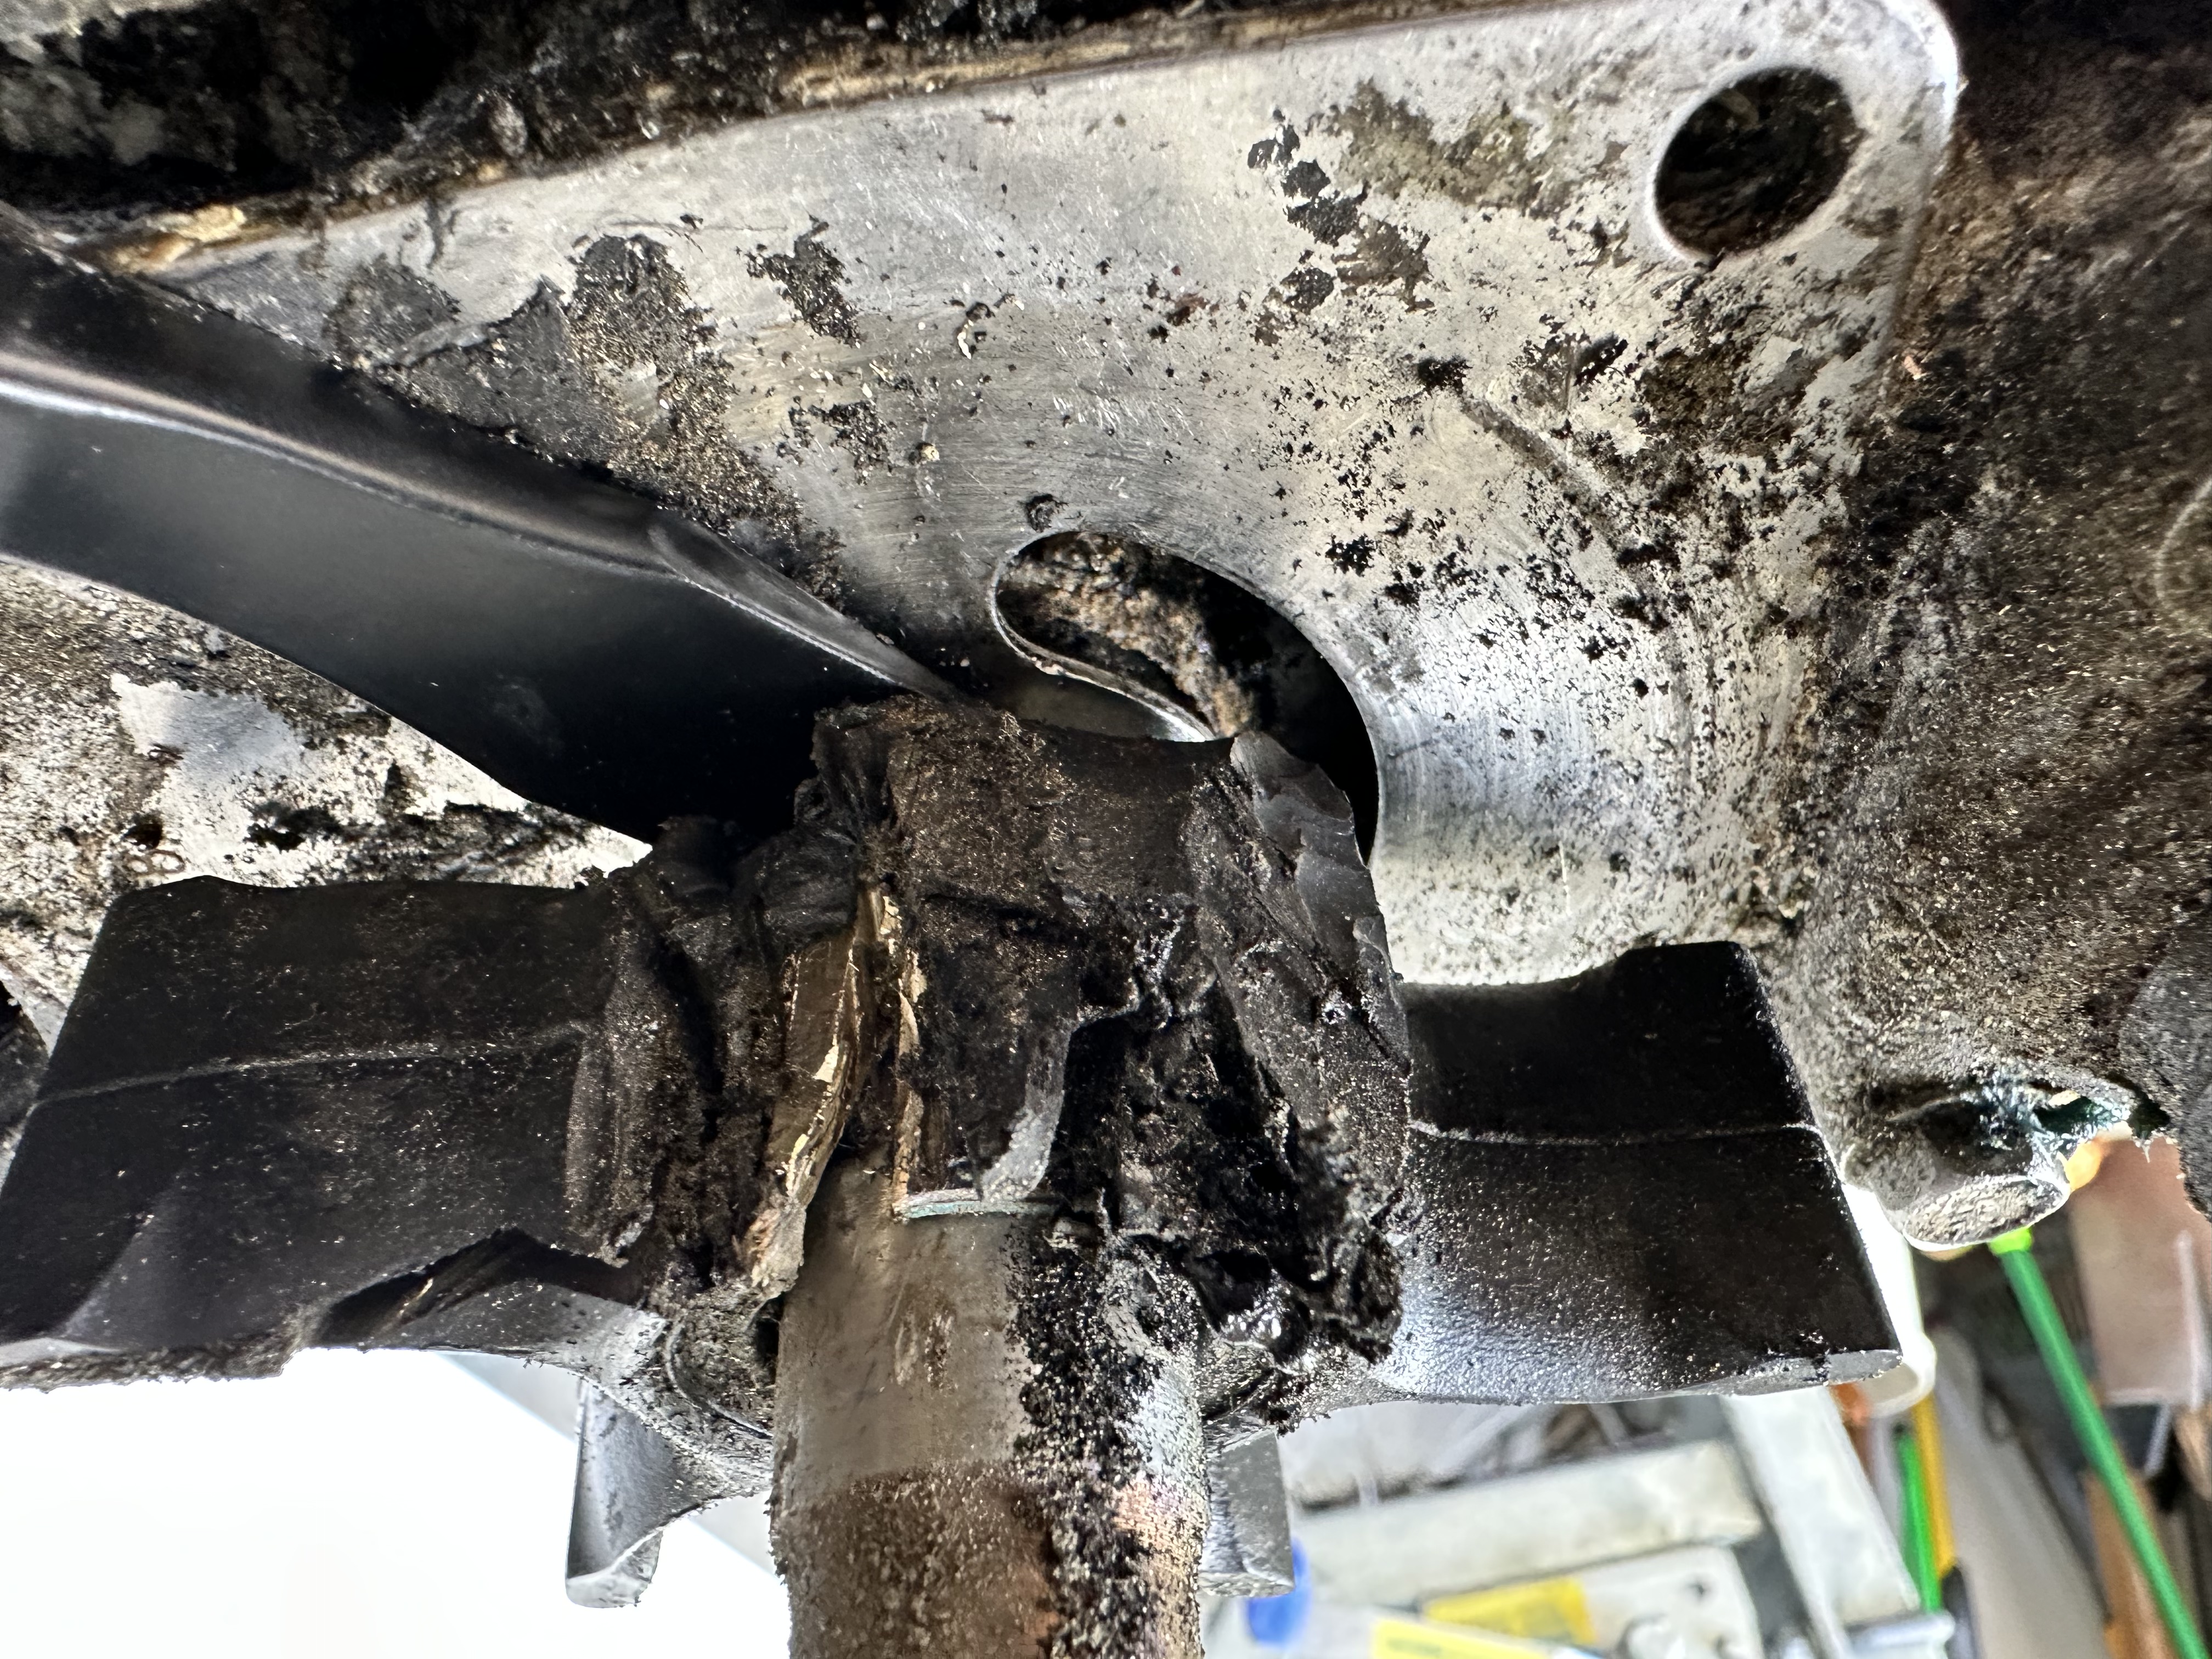
- After more than an hour trying to get the thing off, I gave up for the day. A few days later I used a Dremel tool to carefully cut through the rubber and brass ring (in front of the recess in the driveshaft where the drive cam sits).
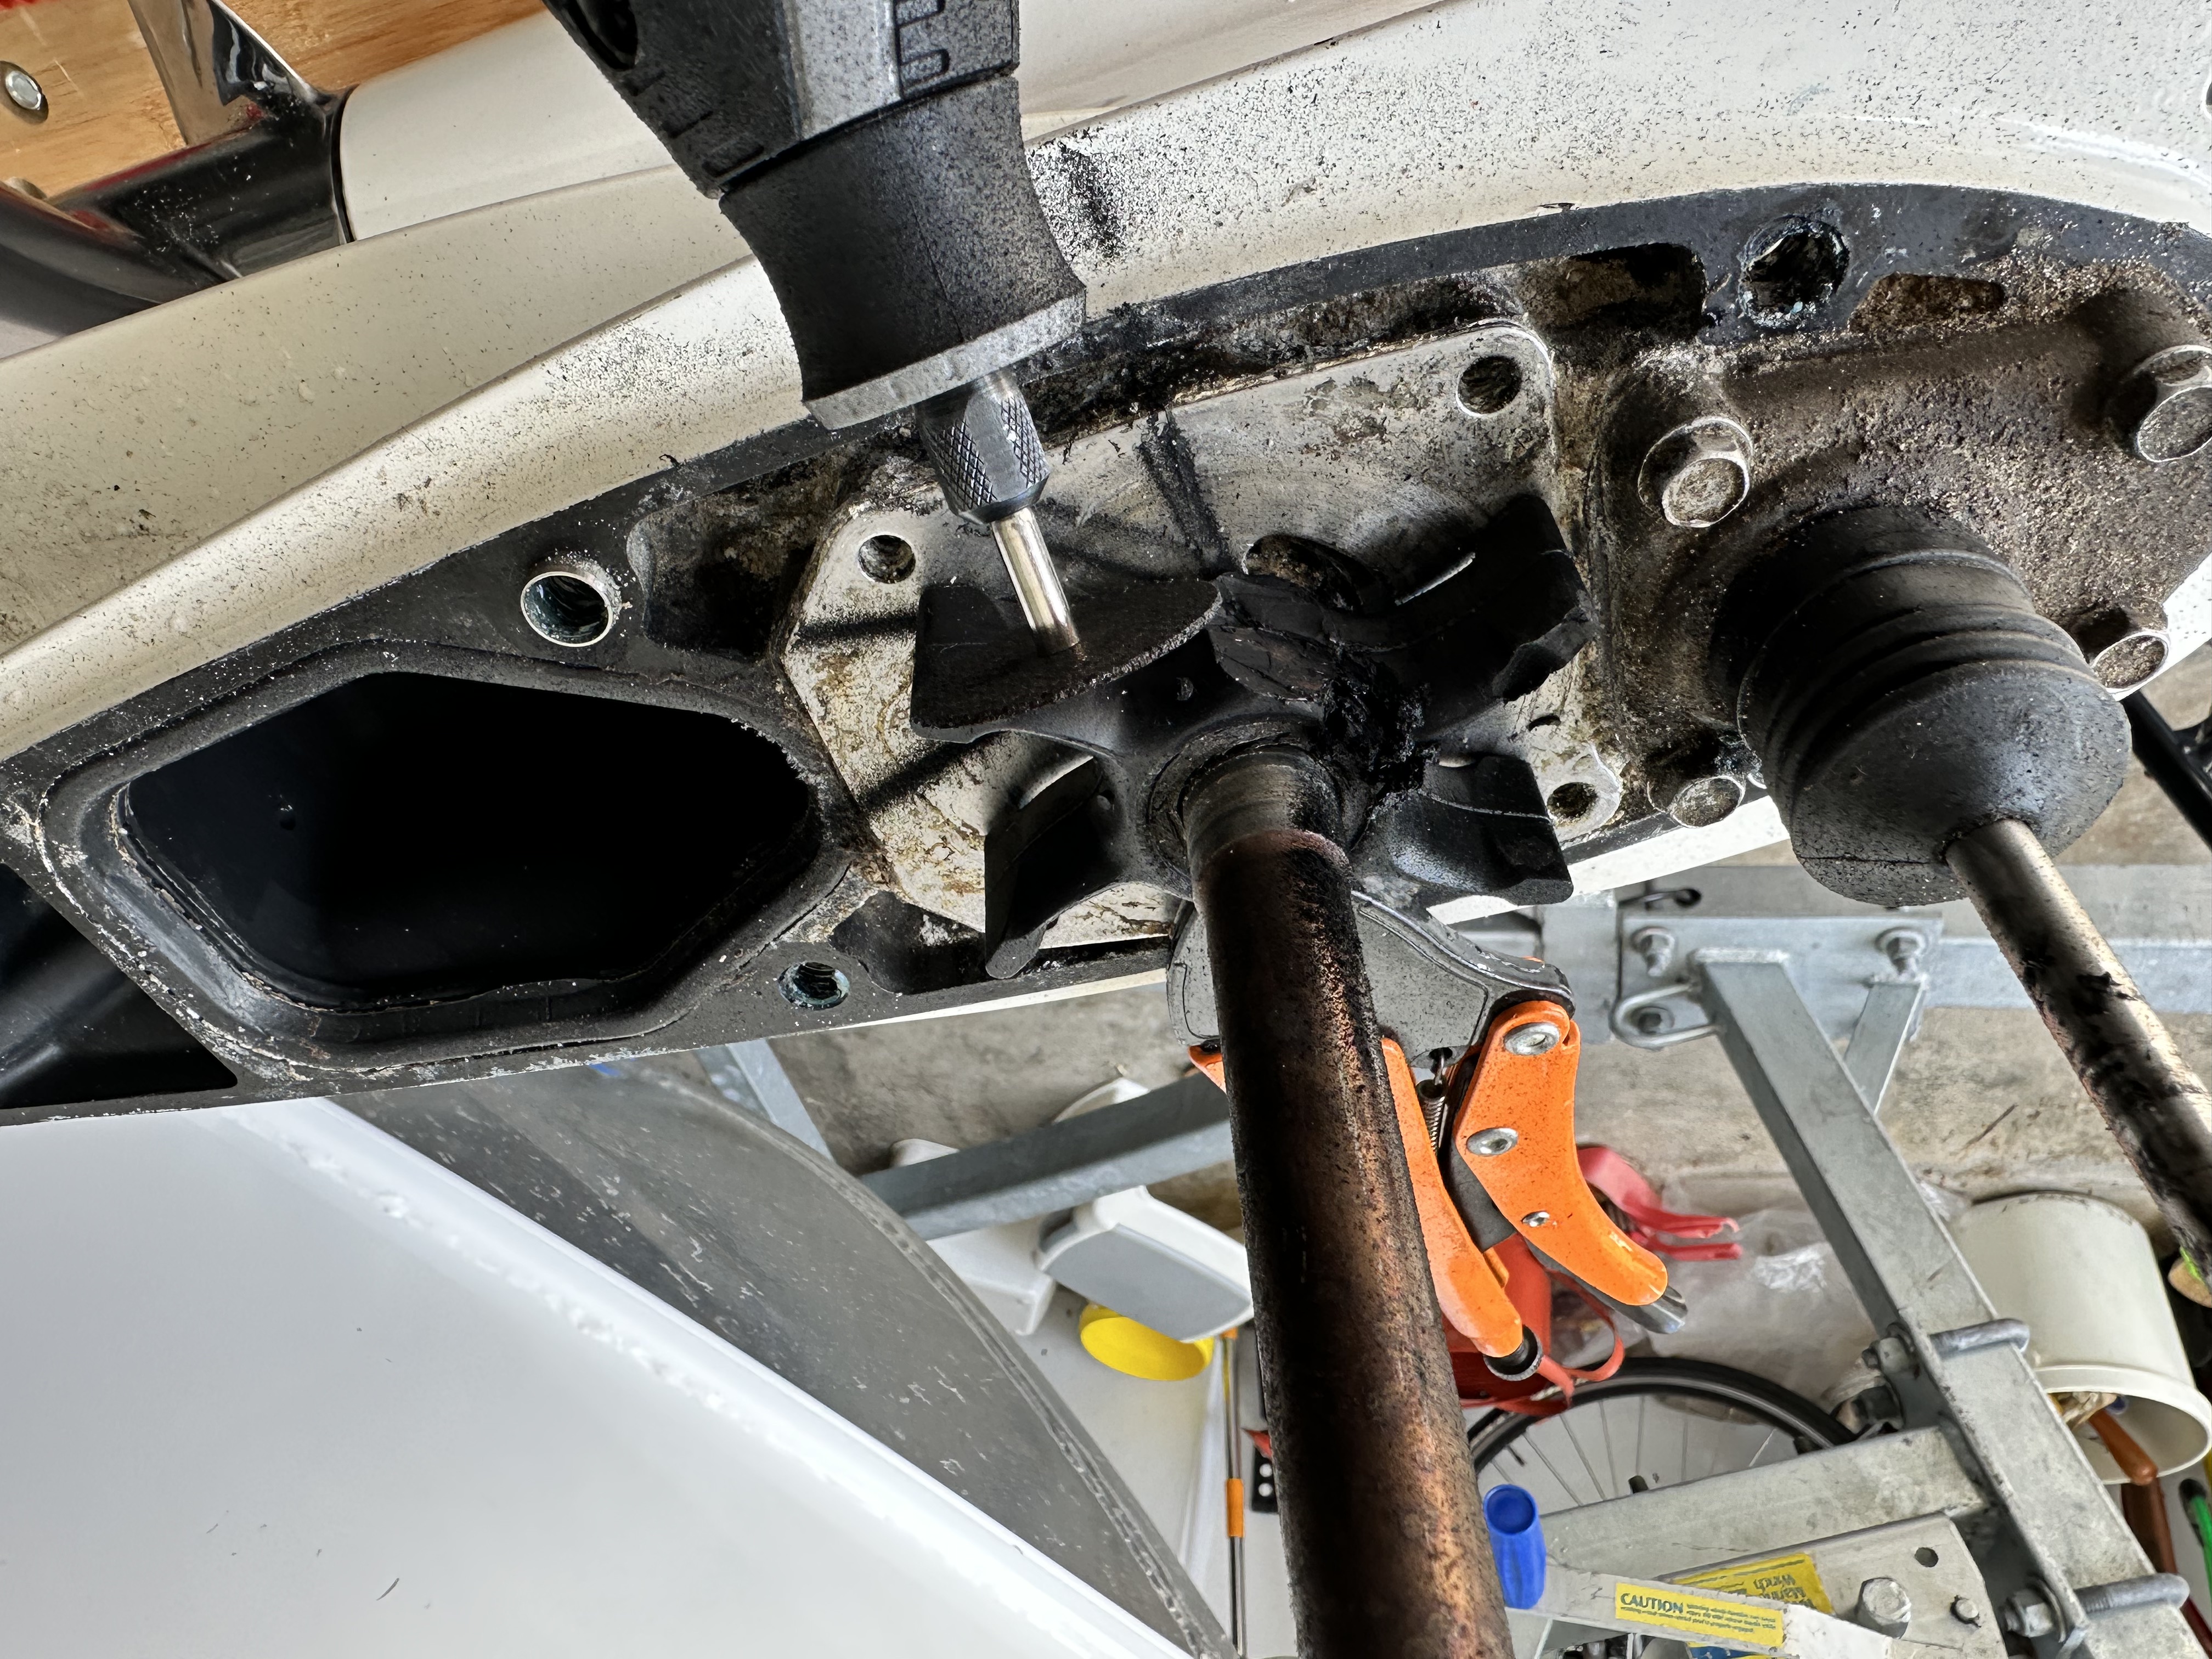
- Finally I was able to pry it off.
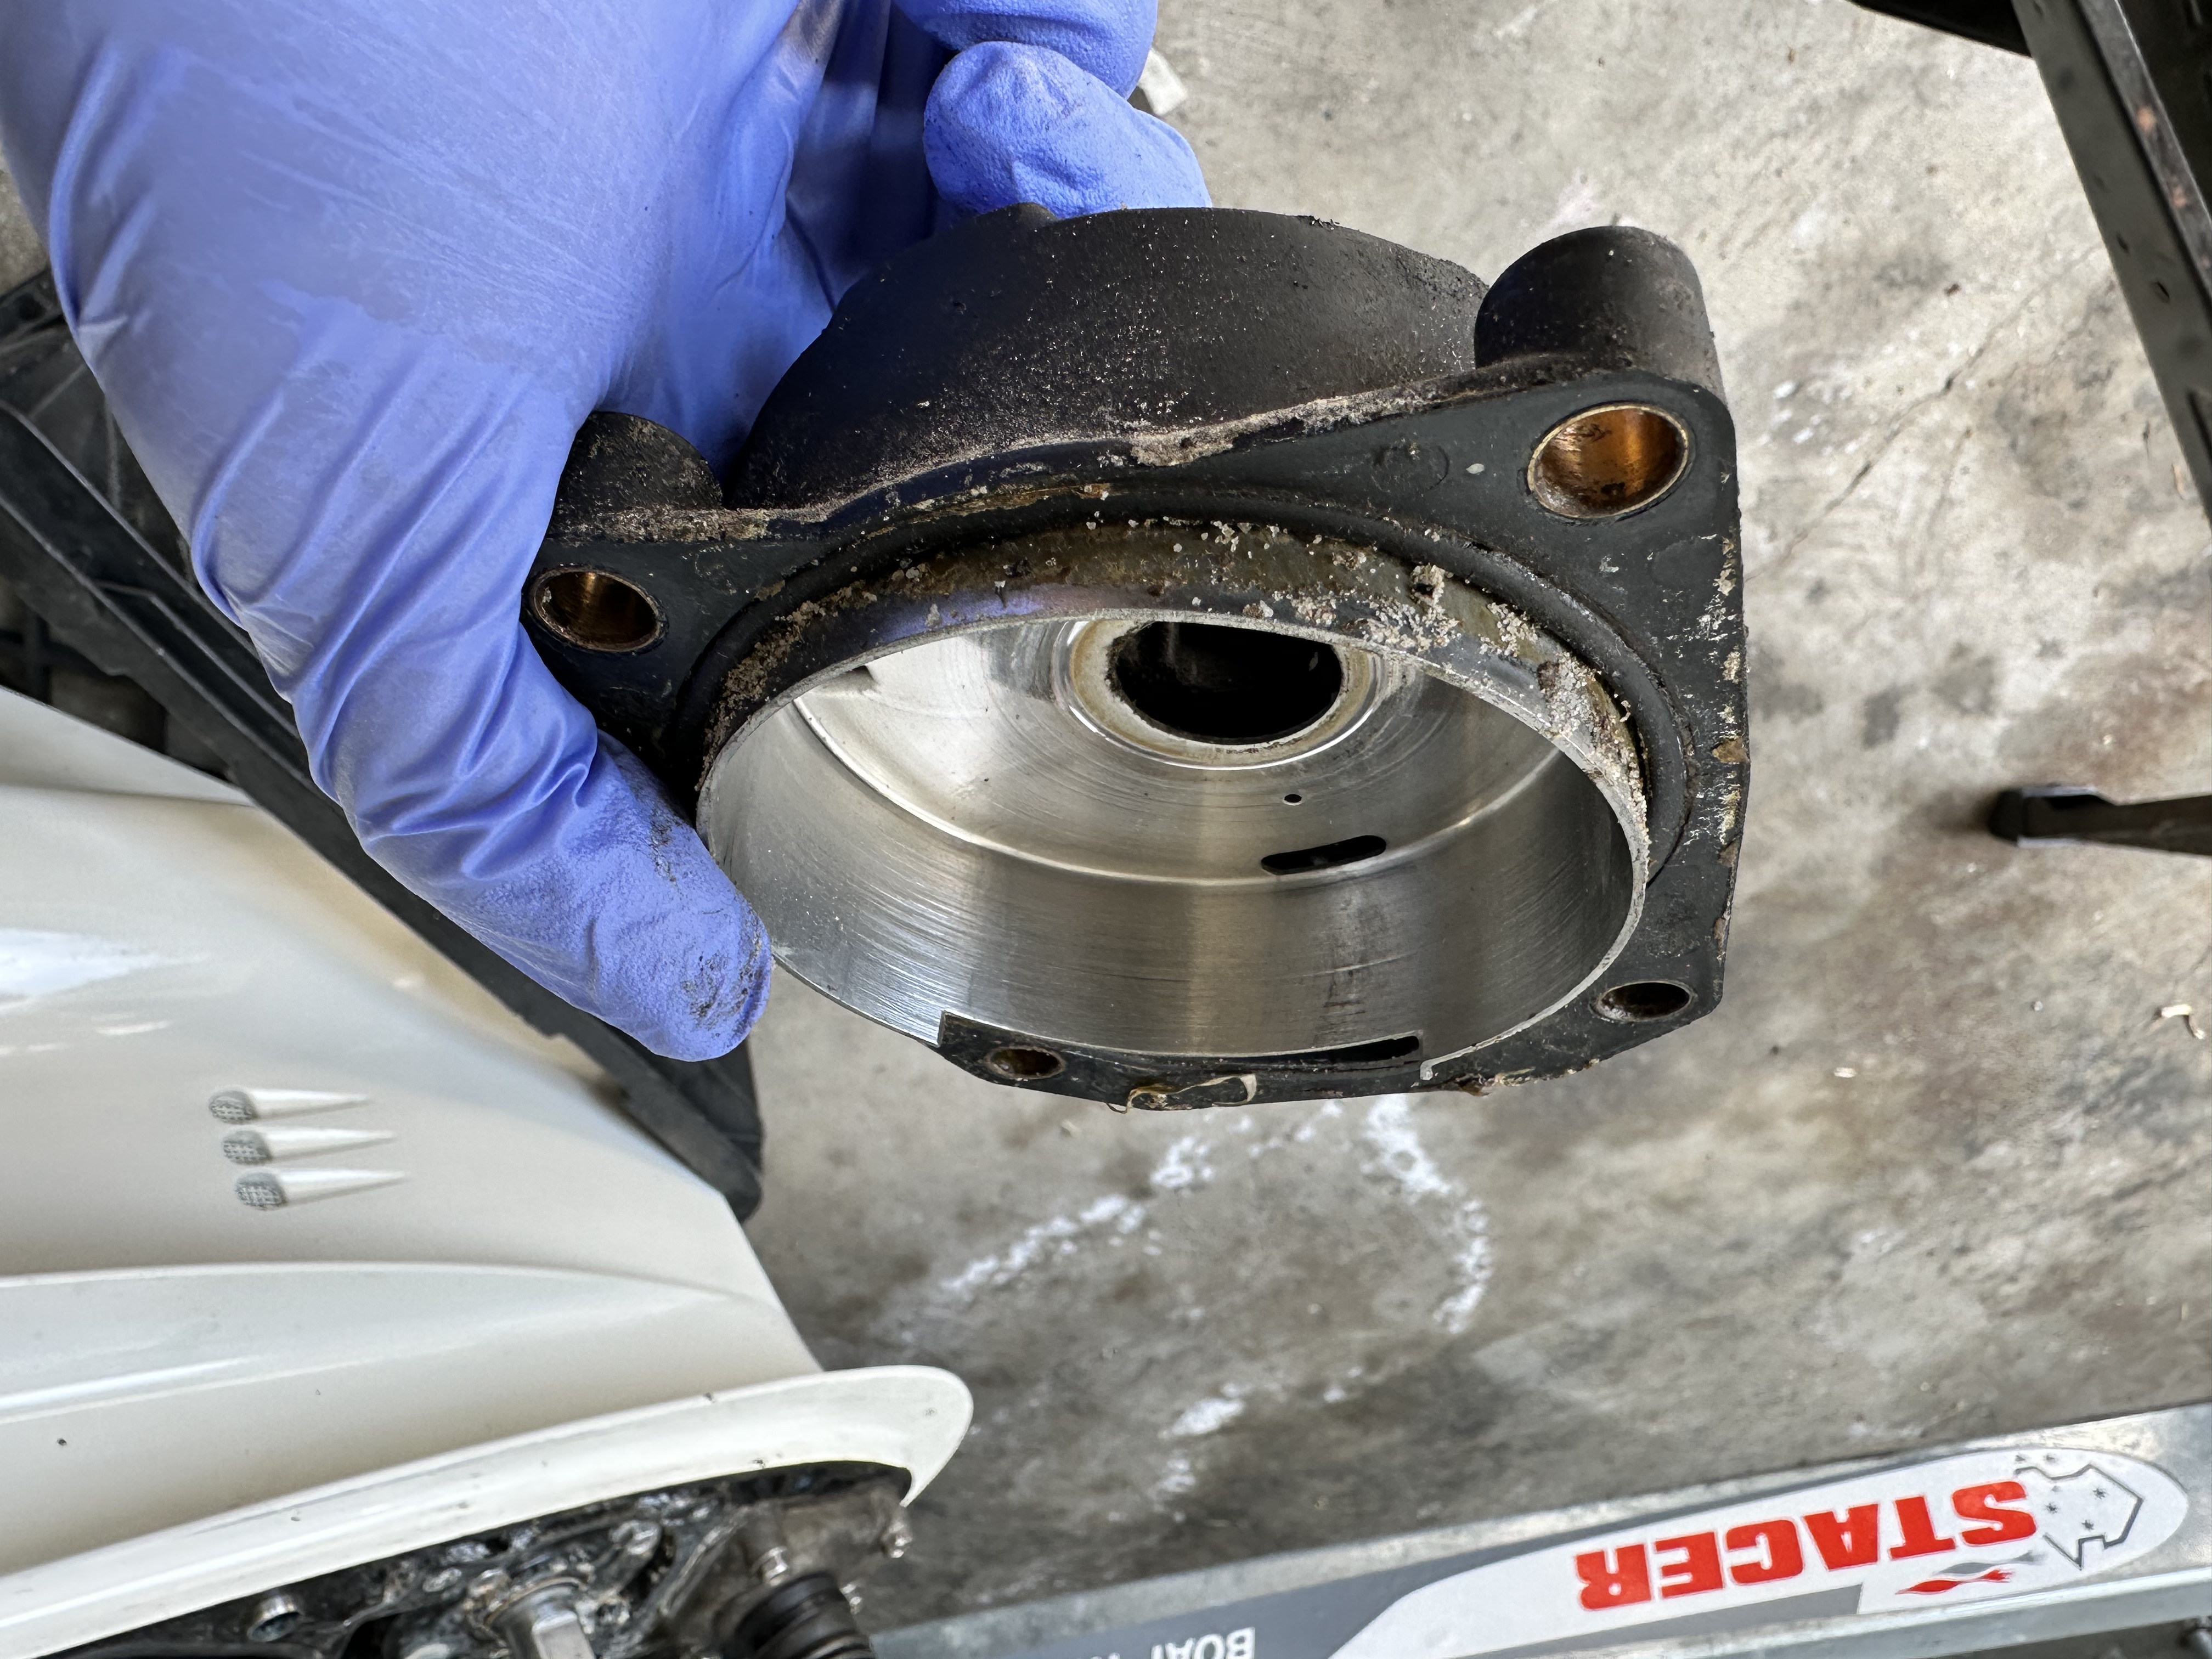
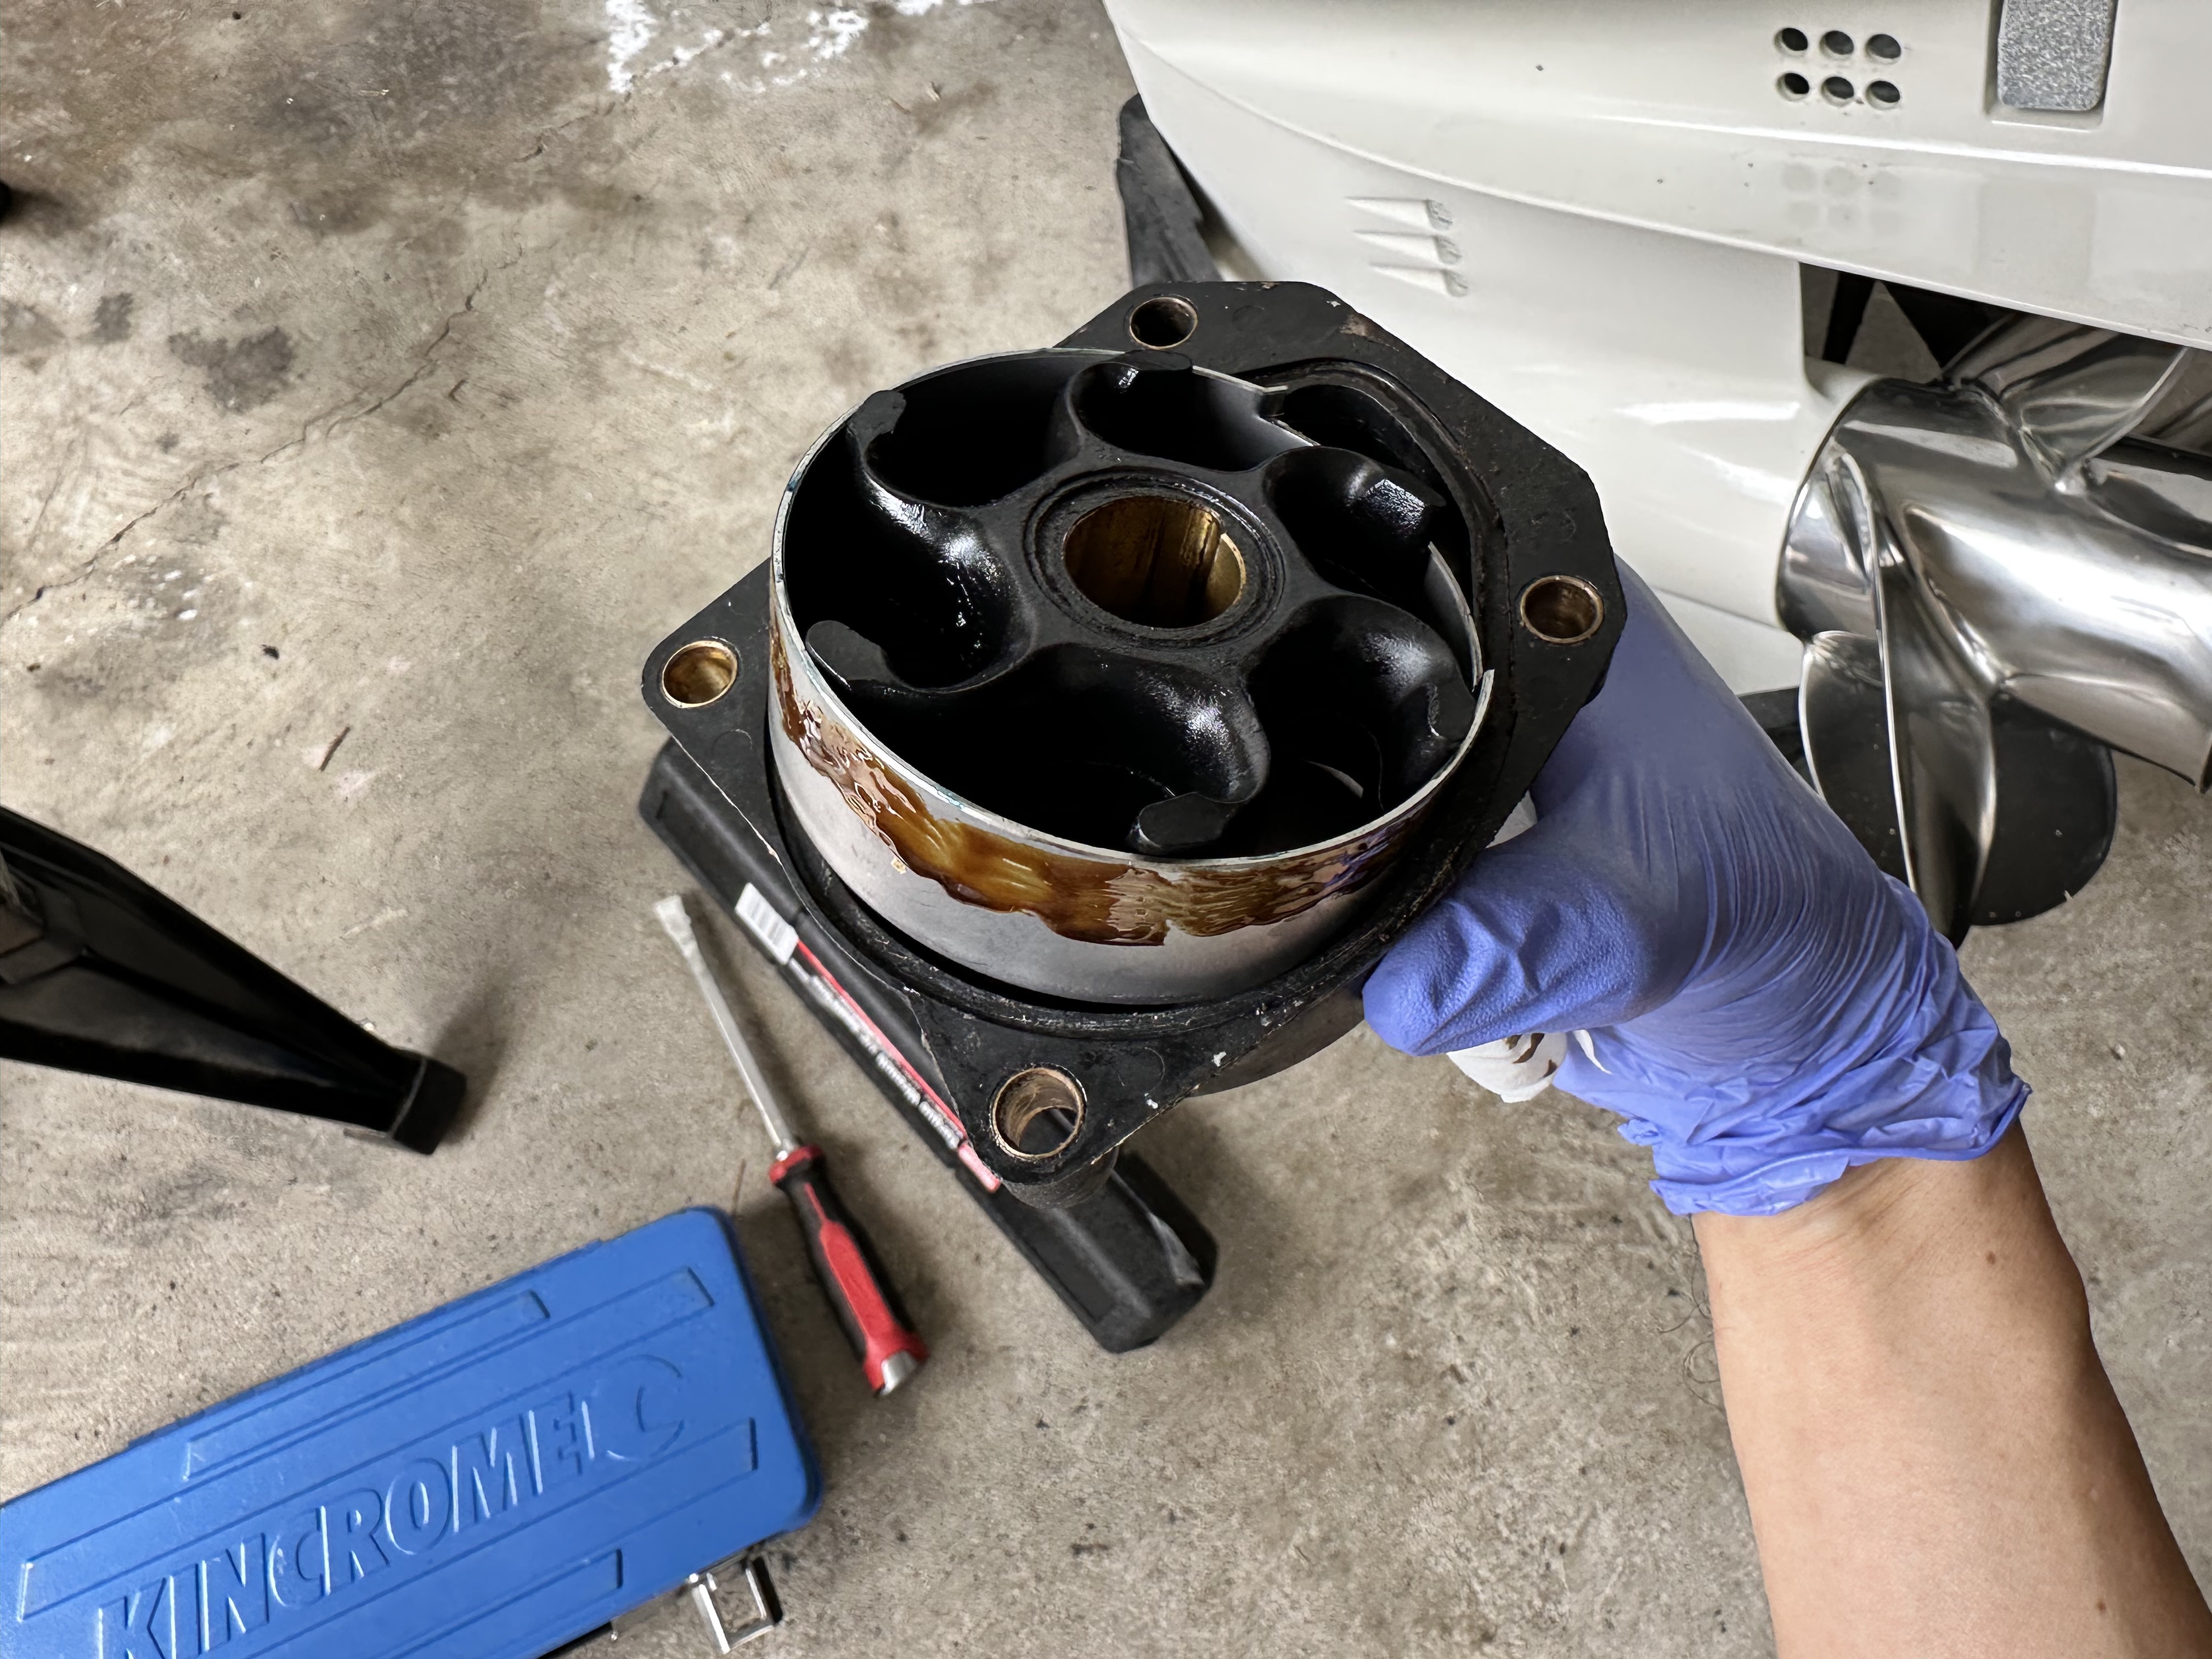
- Remove the backing plate.
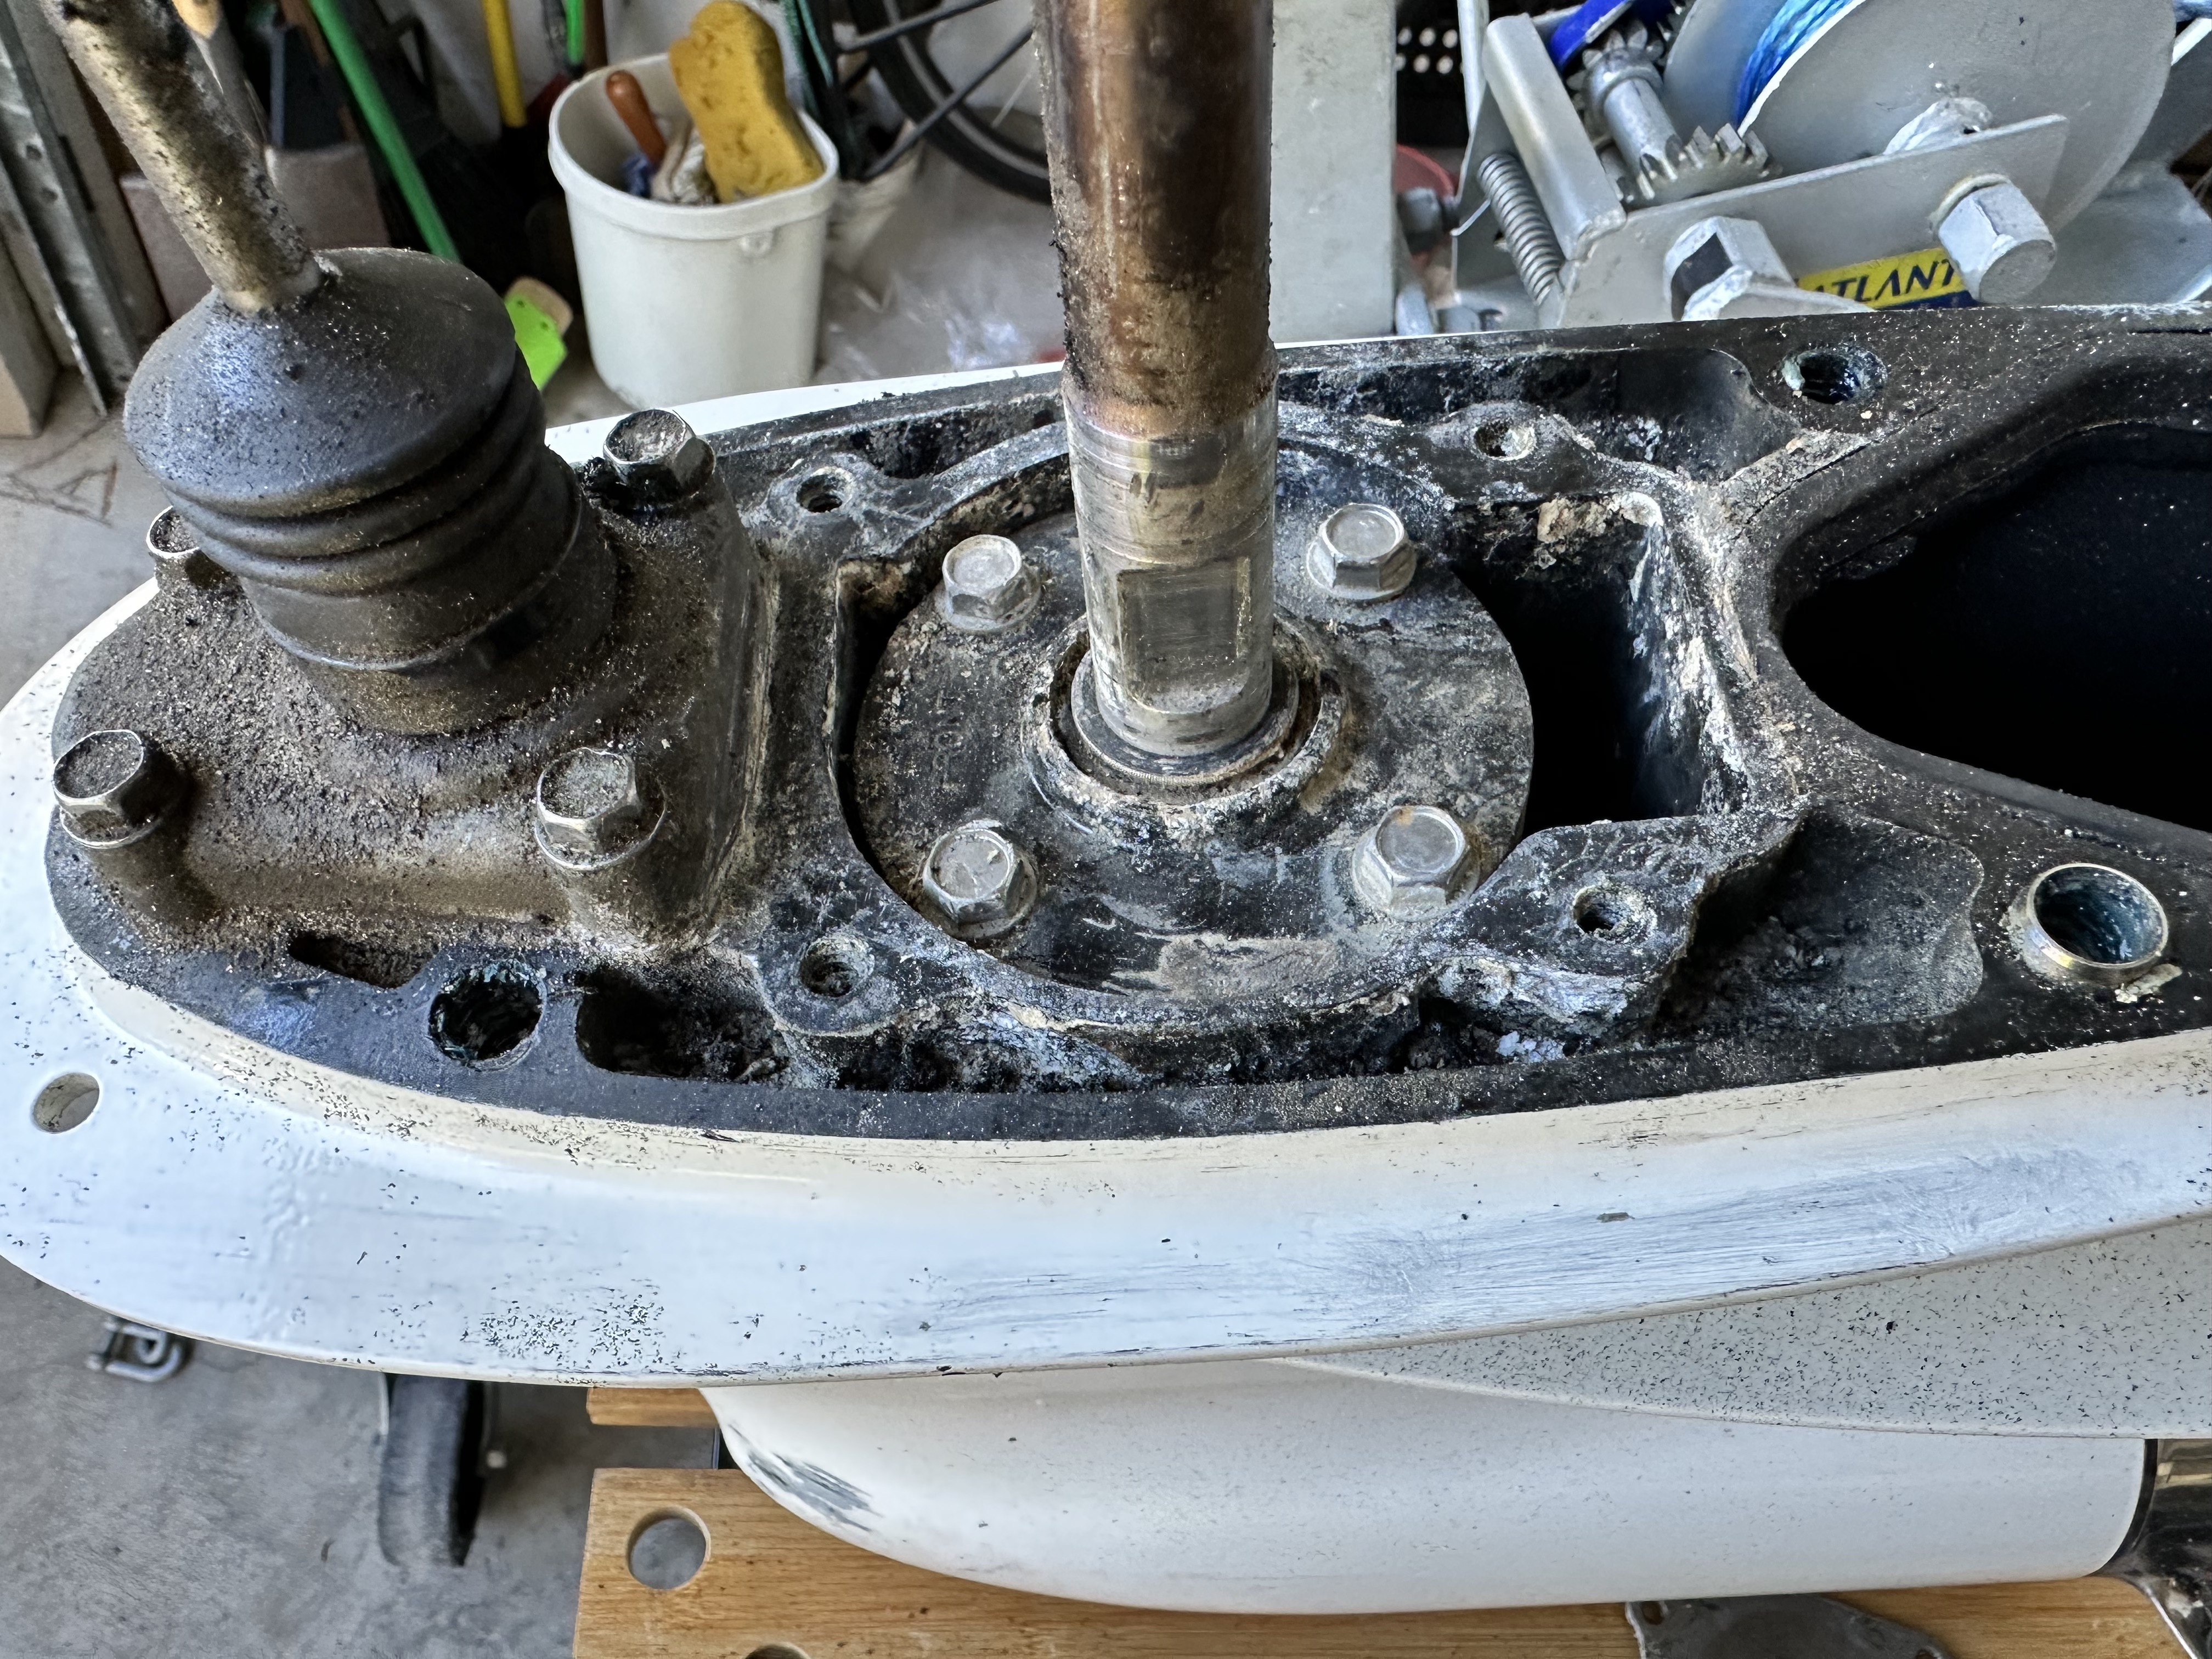
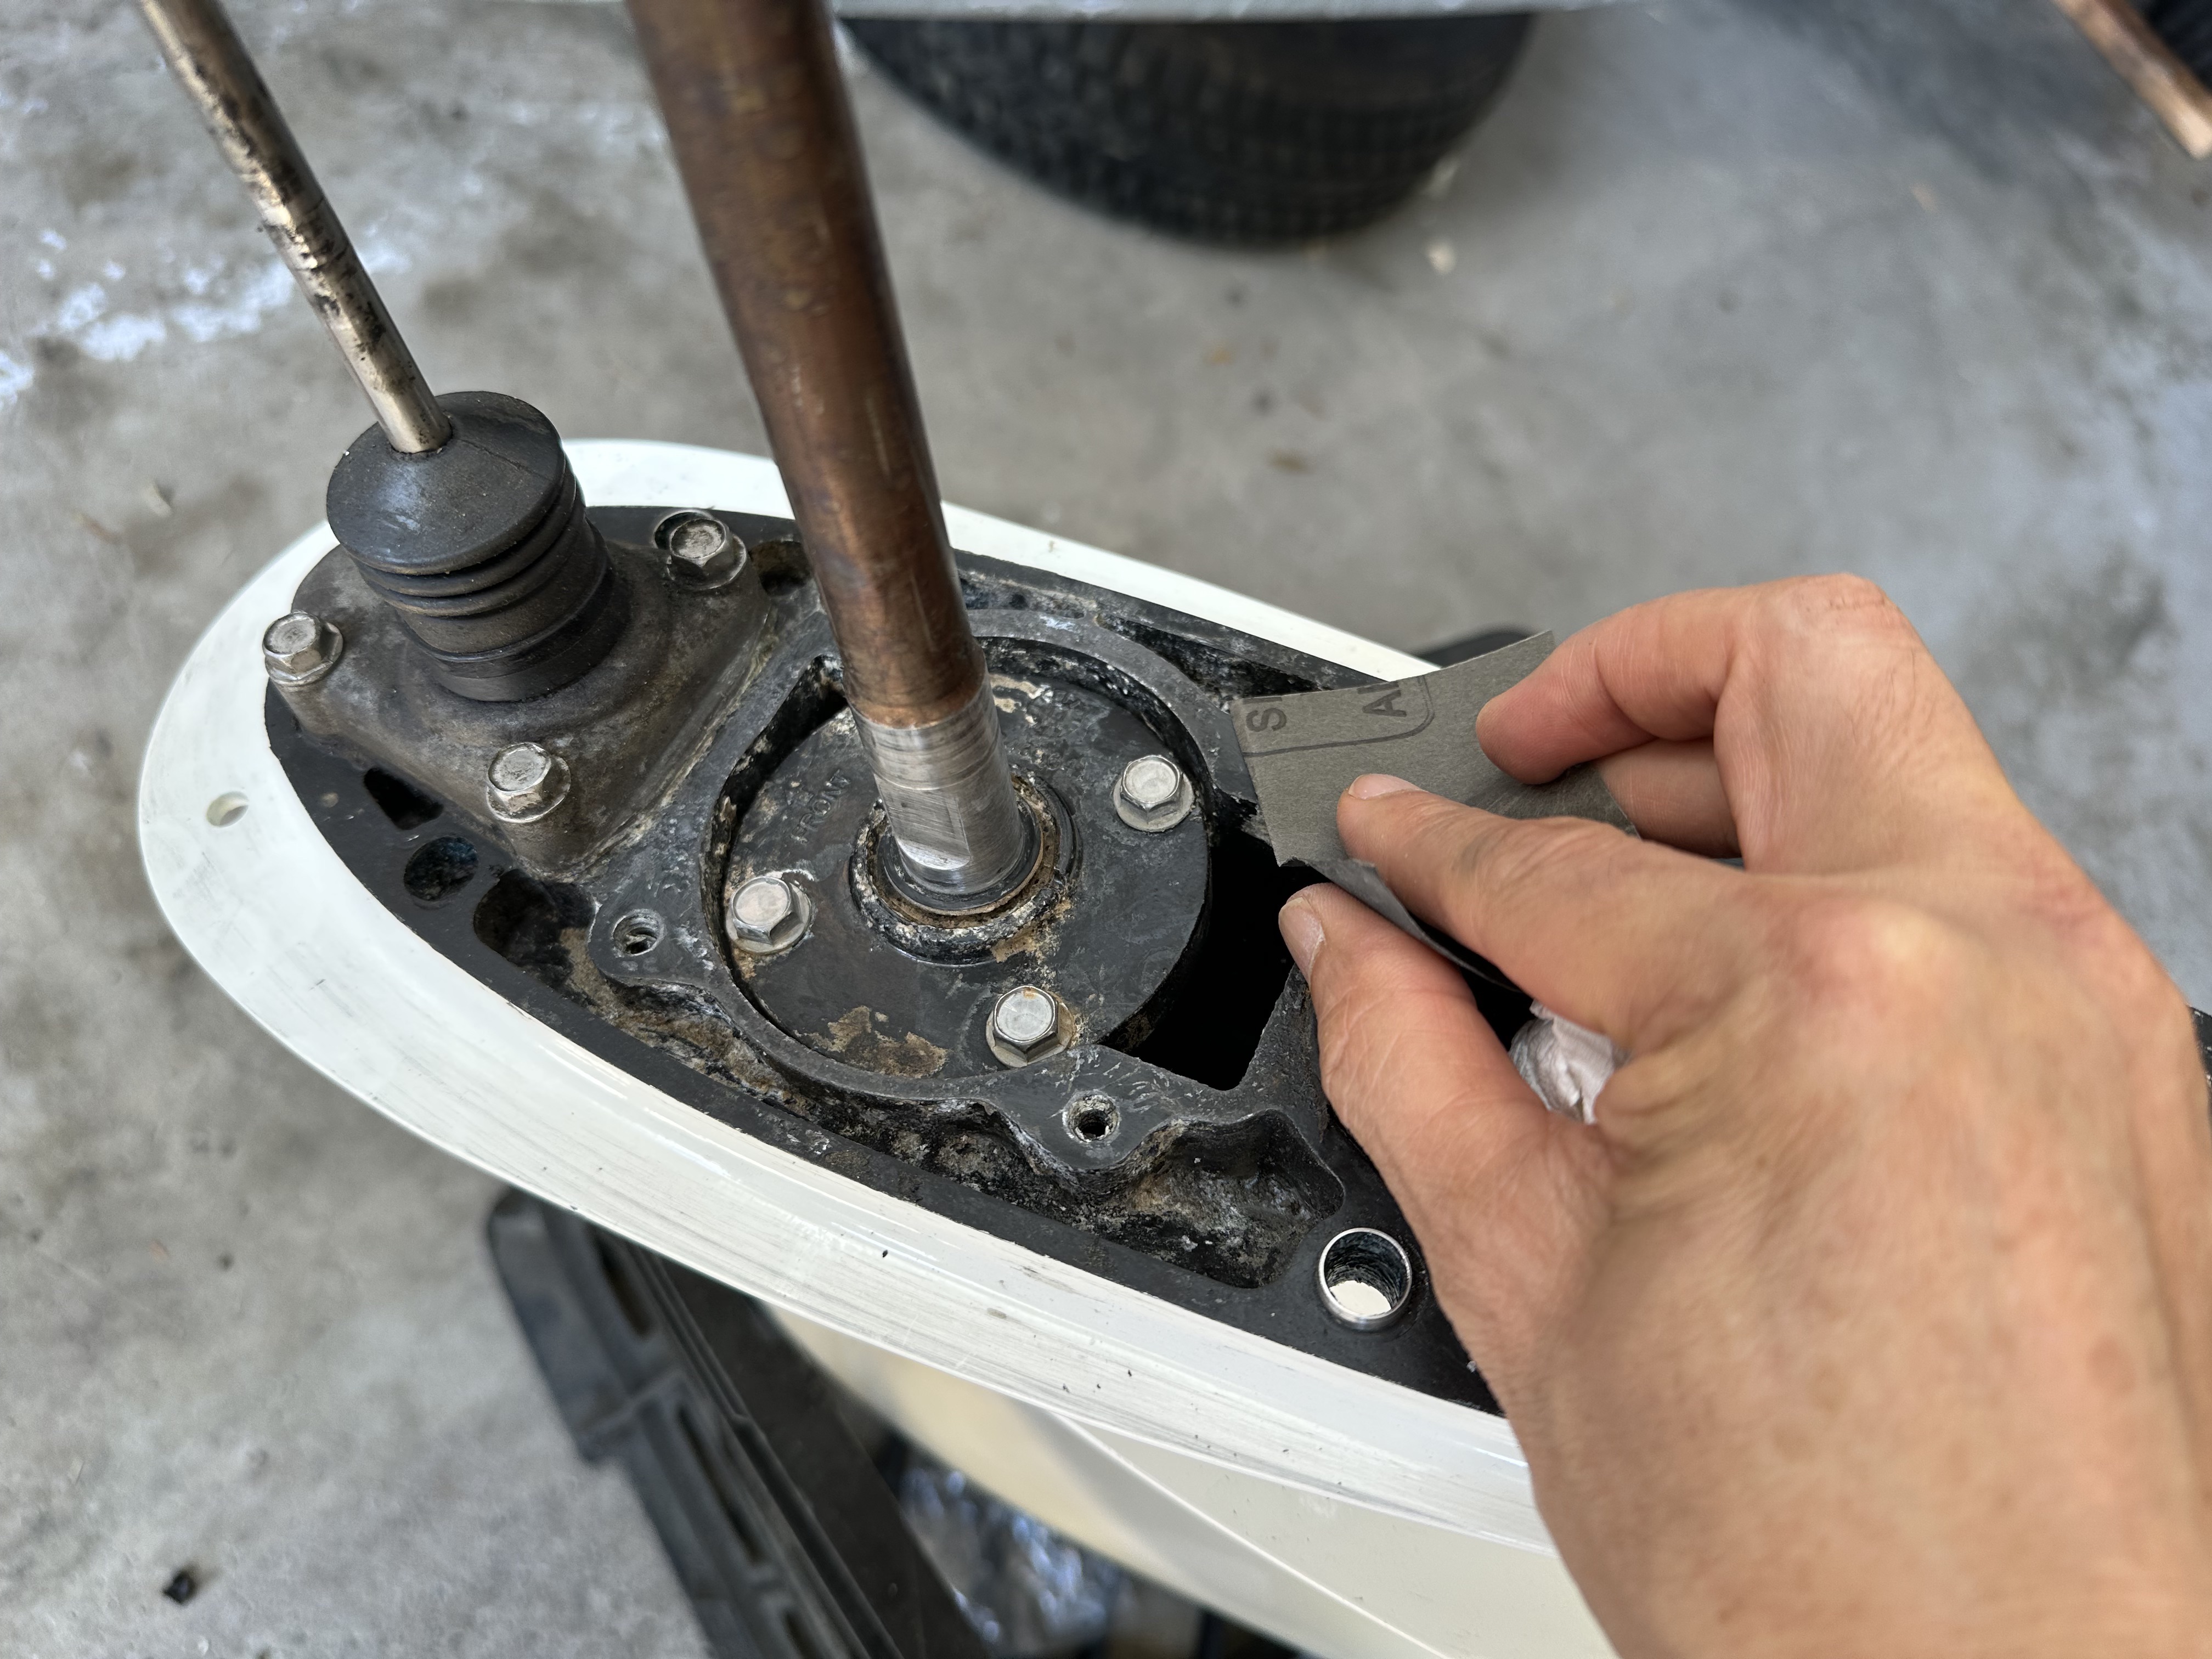
Water Pump Assembly
- First give it a clean, remove remaining gasket material and lightly sand mating surface and driveshaft with #600 git wet and dry.
- Remove the impeller cup from the housing.
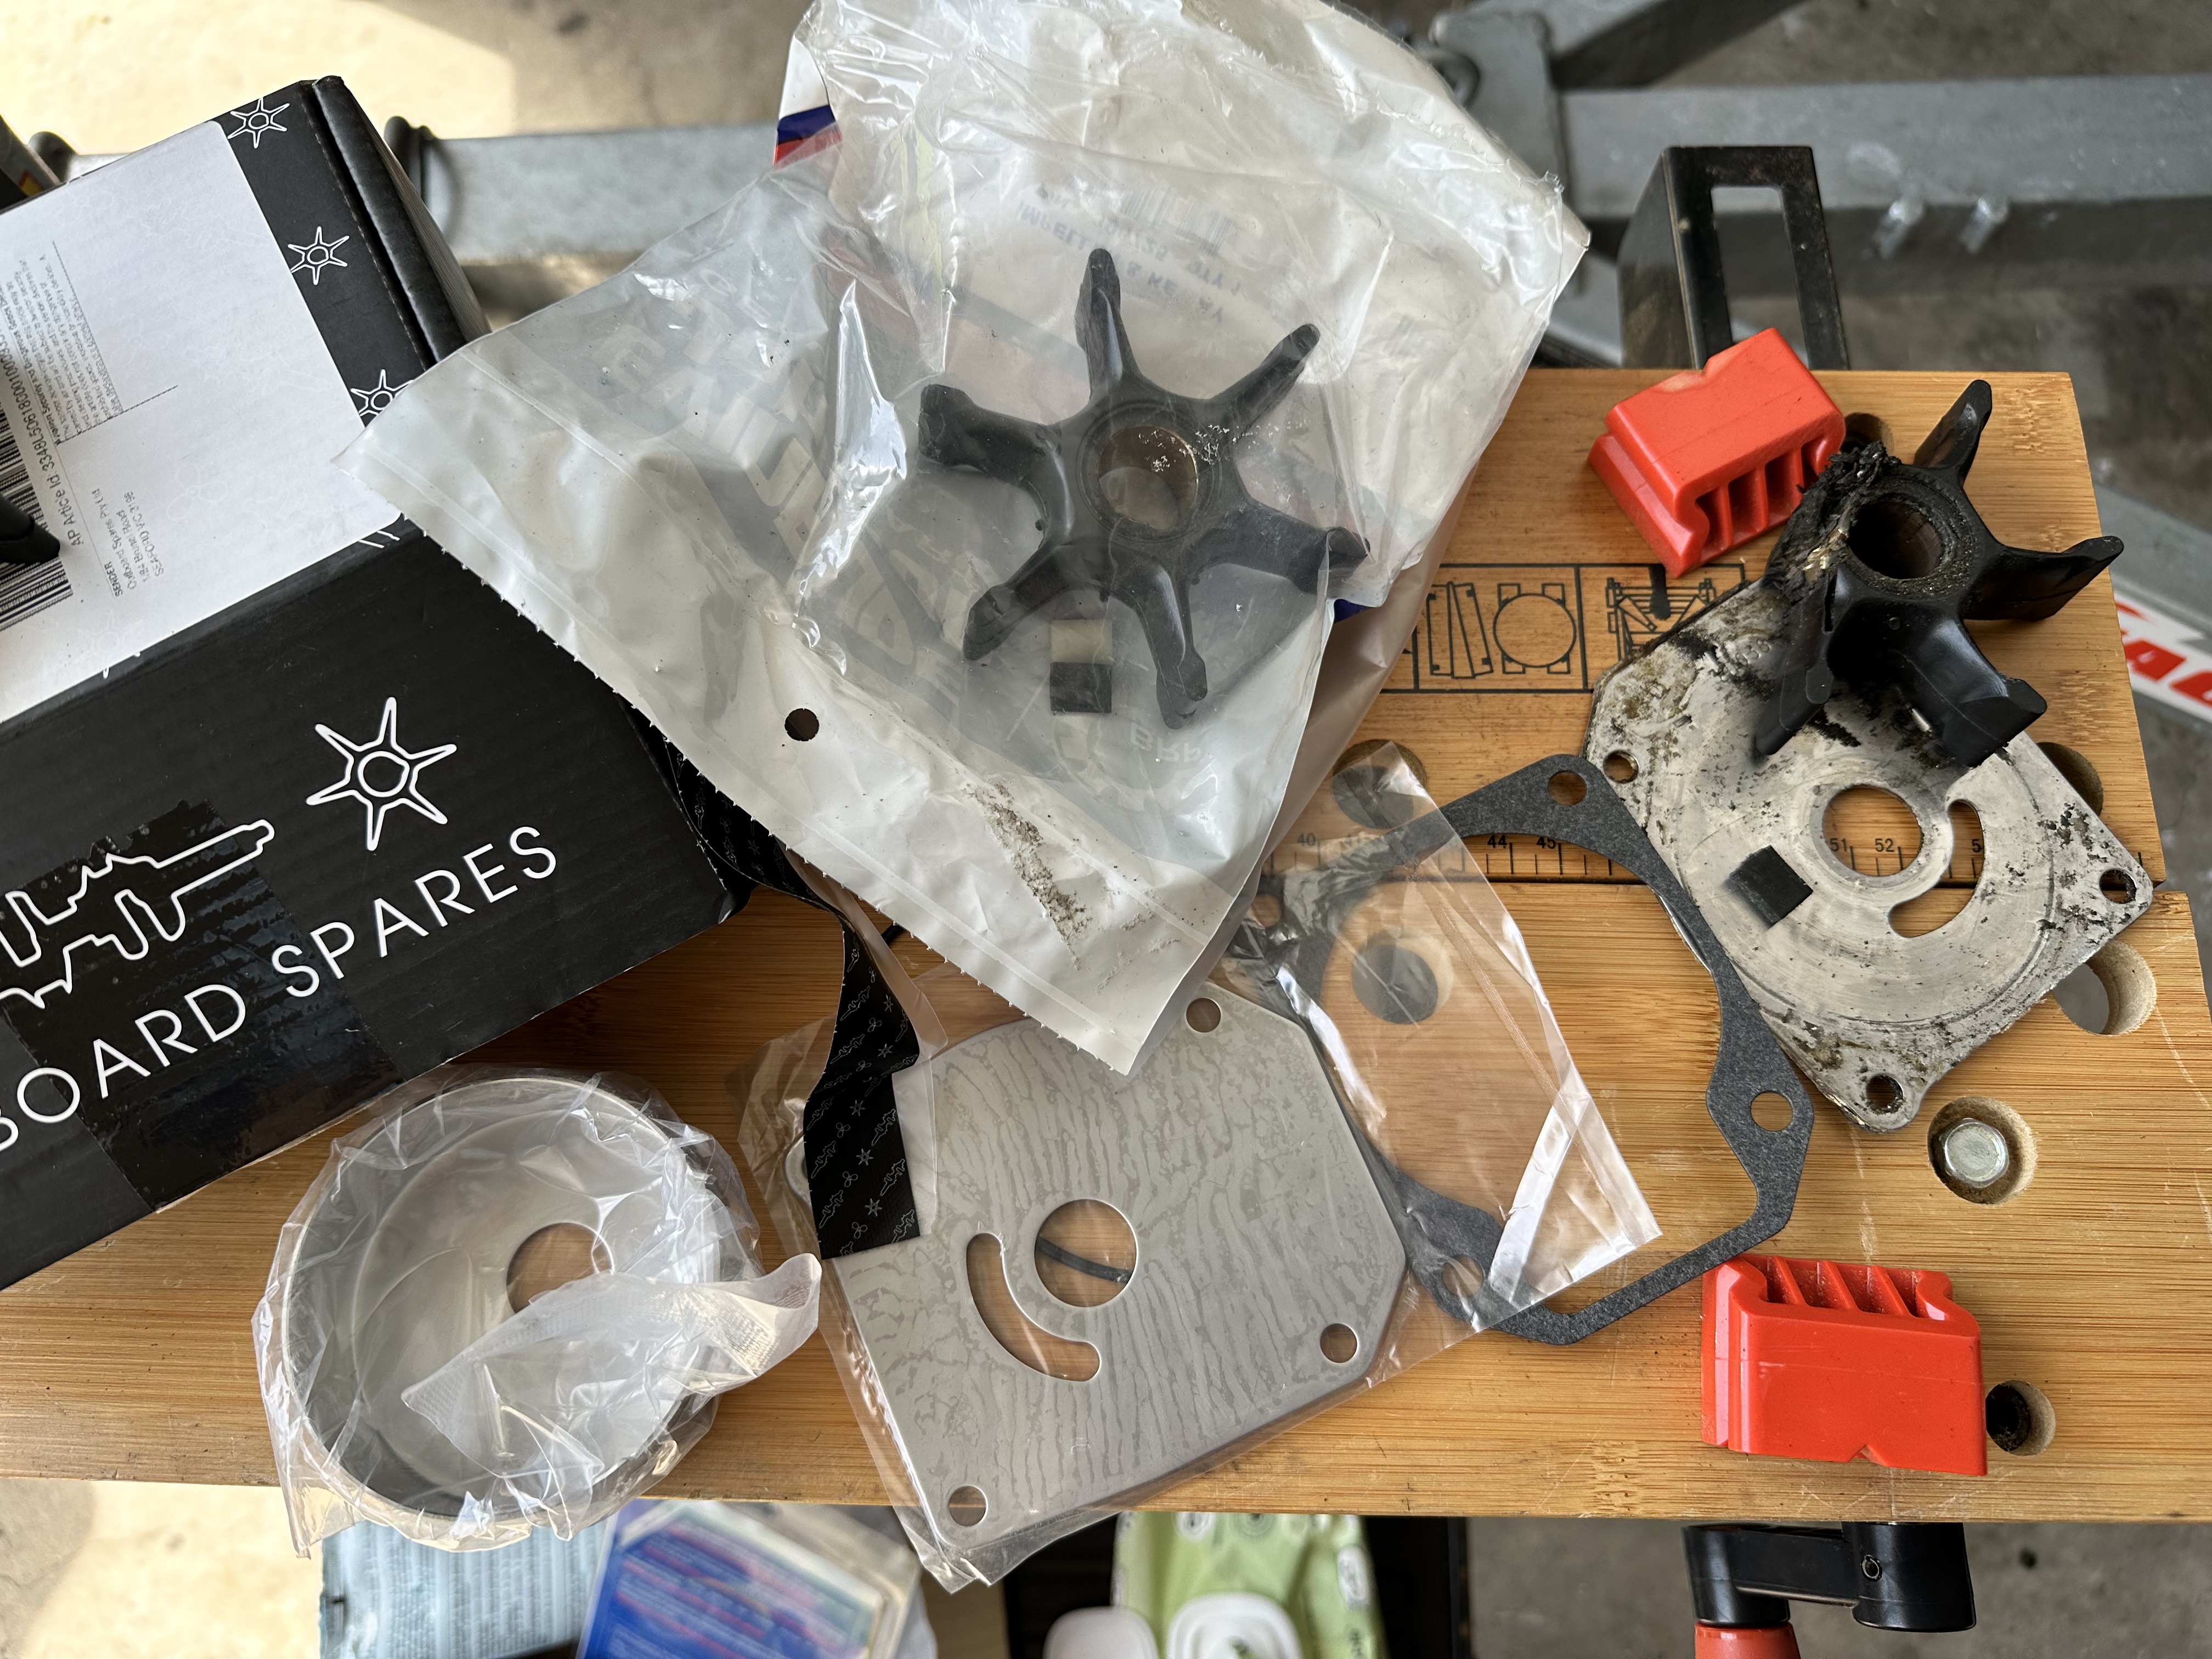
- Here are the old and new parts.
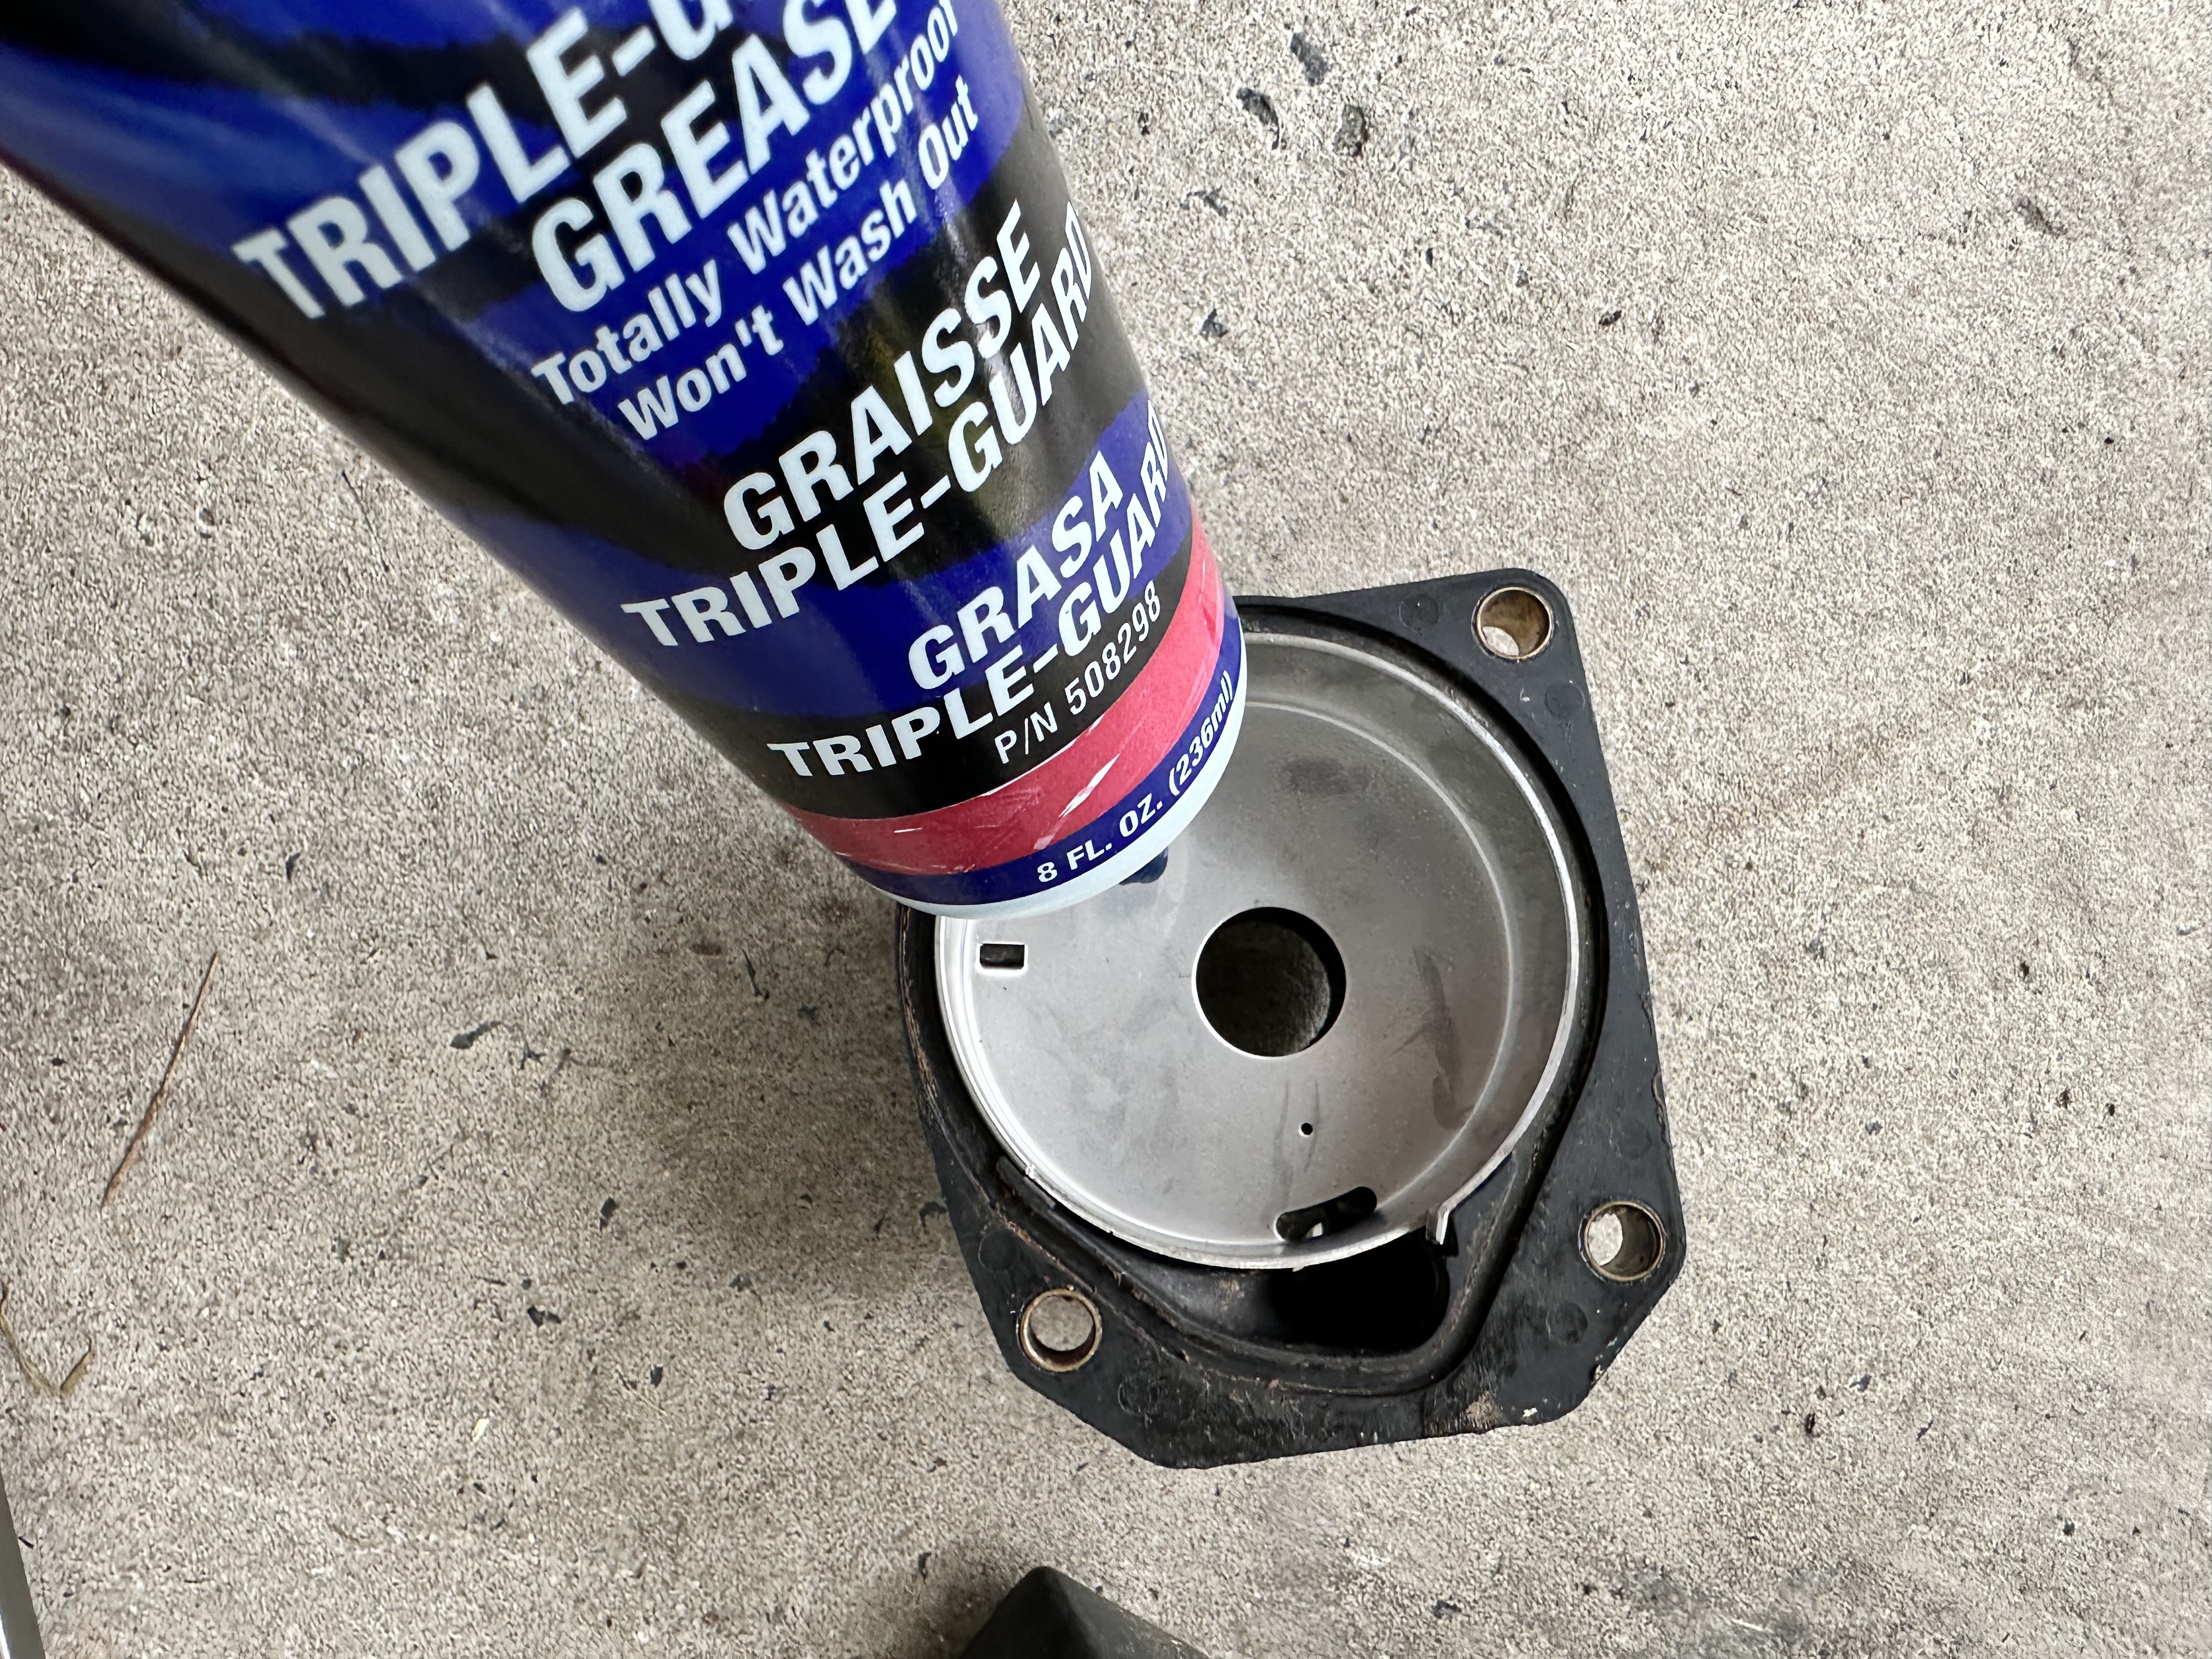
- Coat the inside of the impeller cup with Triple Guard grease.
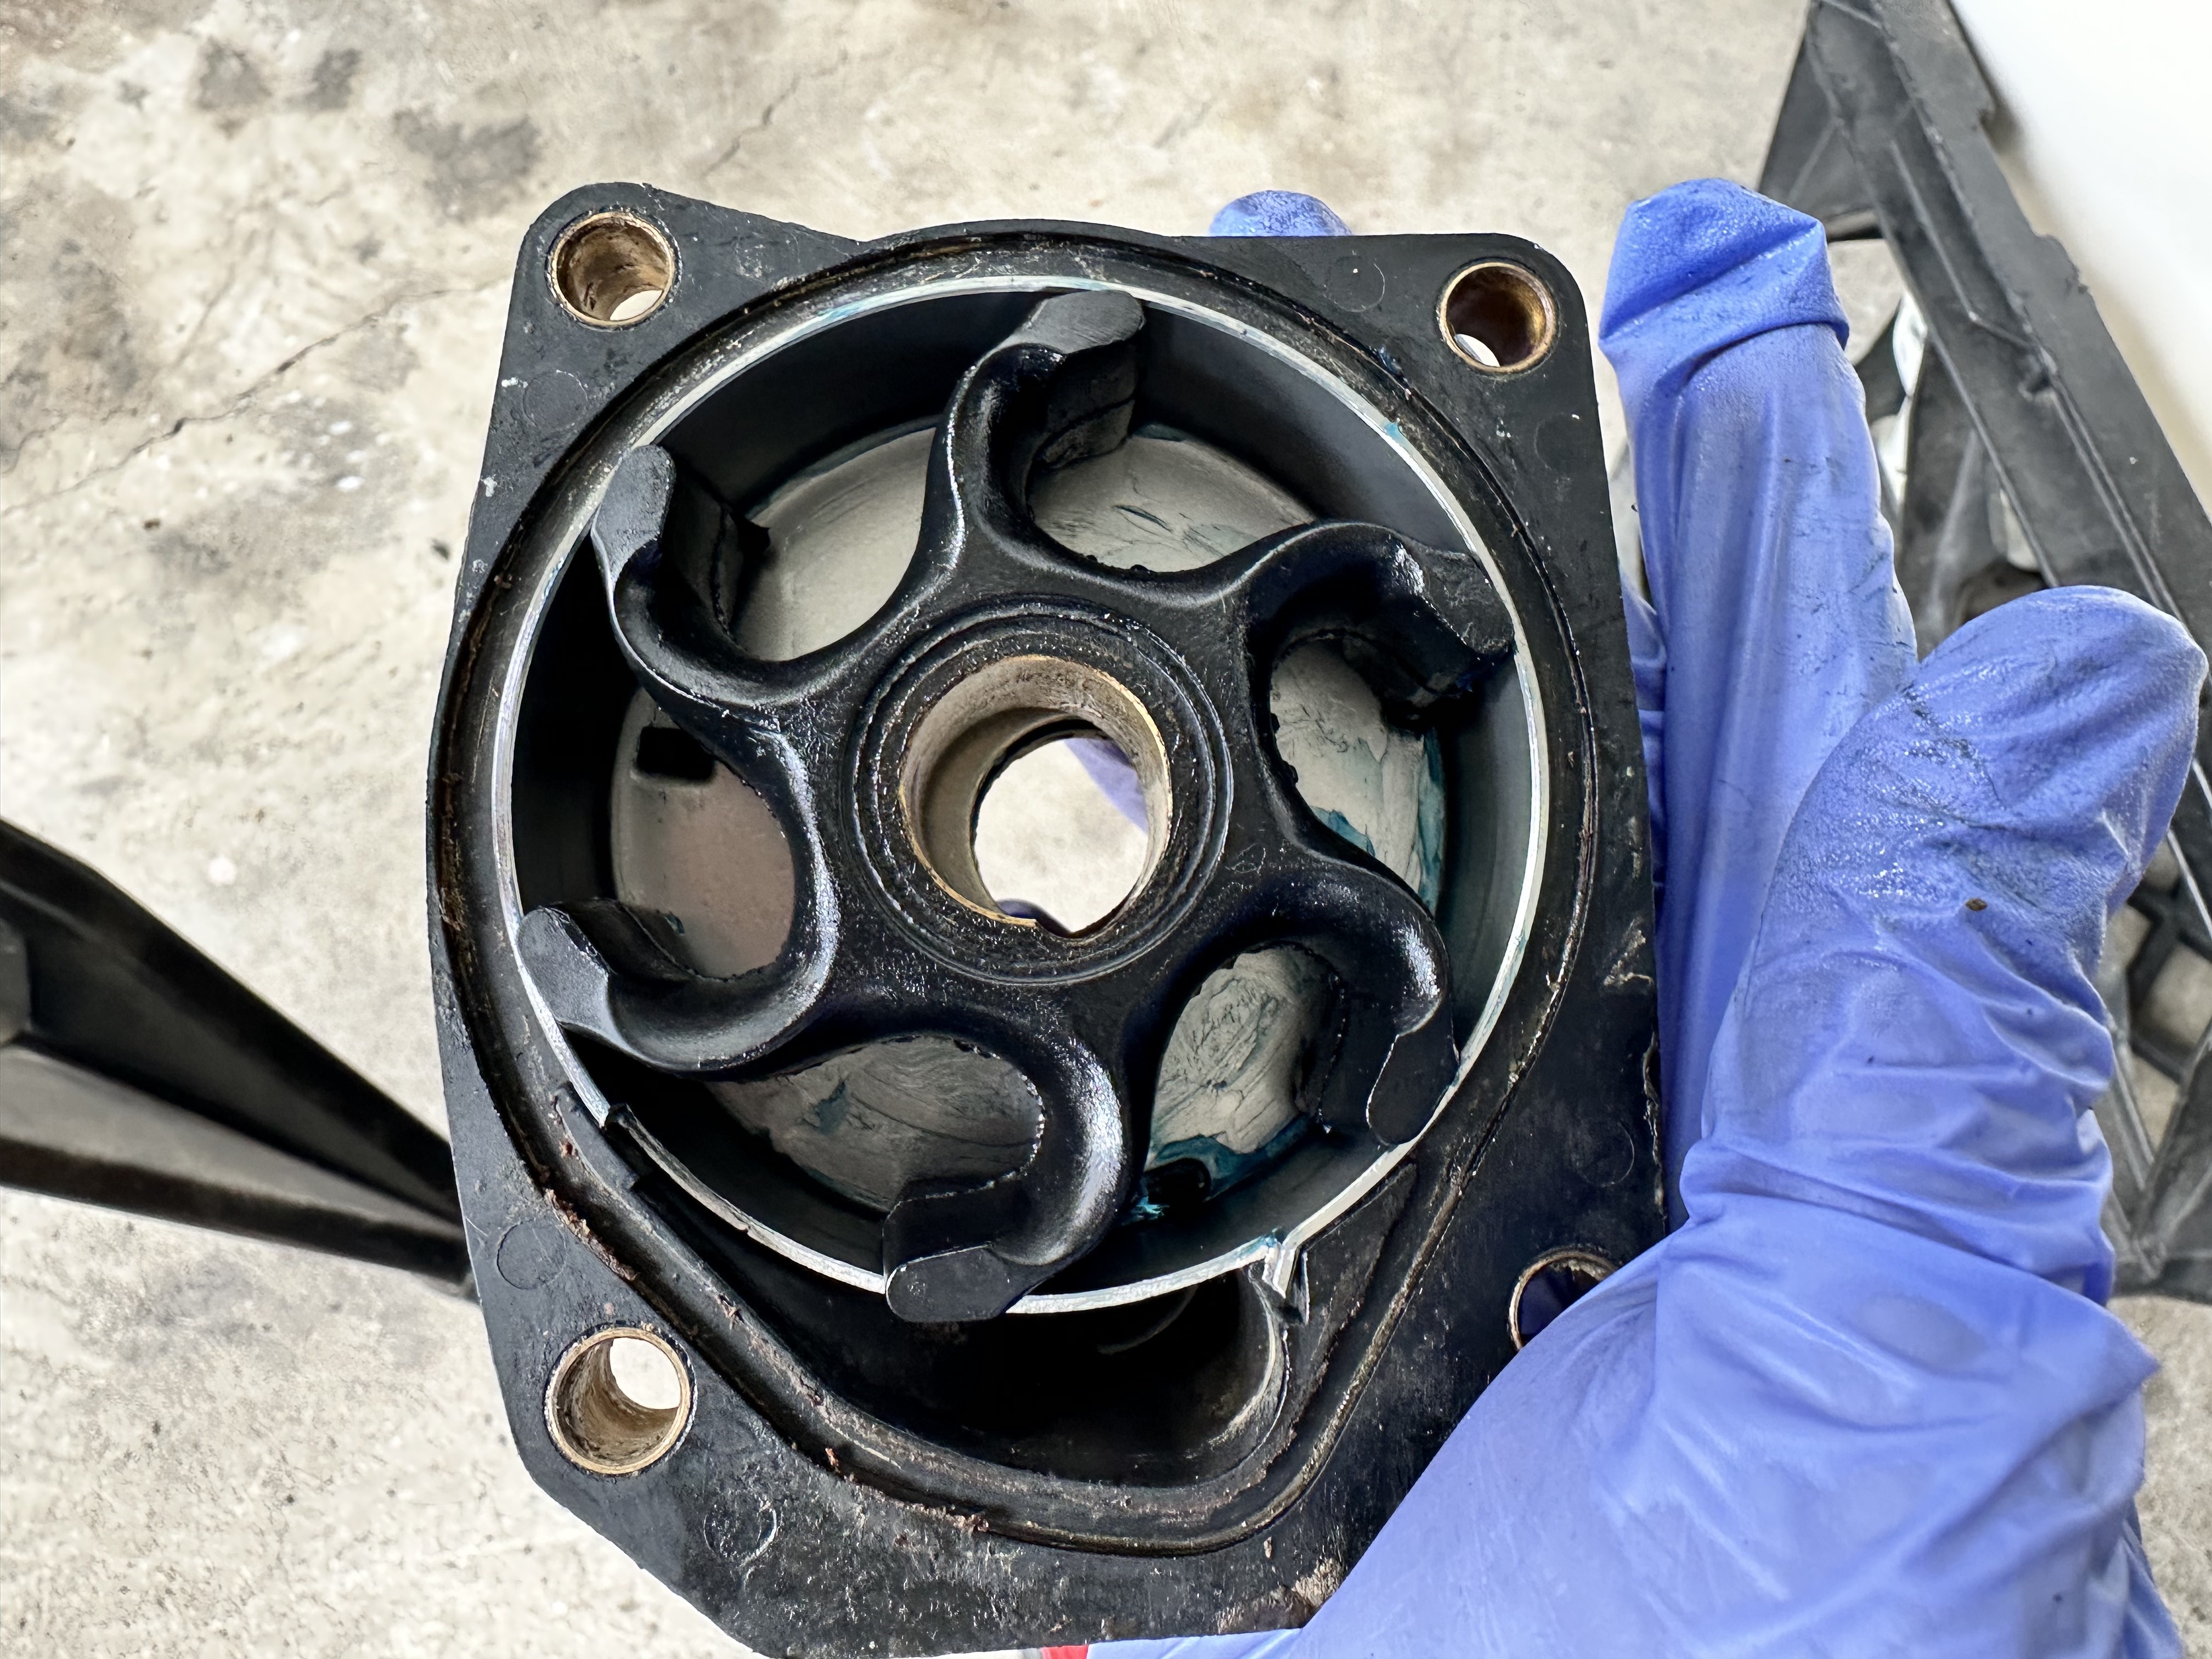
- Place the impeller in the cup making sure you have the orientation of the fins in the right way. This is done with anticlockwise rotation (normally you’re looking at it from the top and the driveshaft spins clockwise).
- Stick the drive cam in the driveshaft. The sharp edge is the leading edge in the clockwise direction.
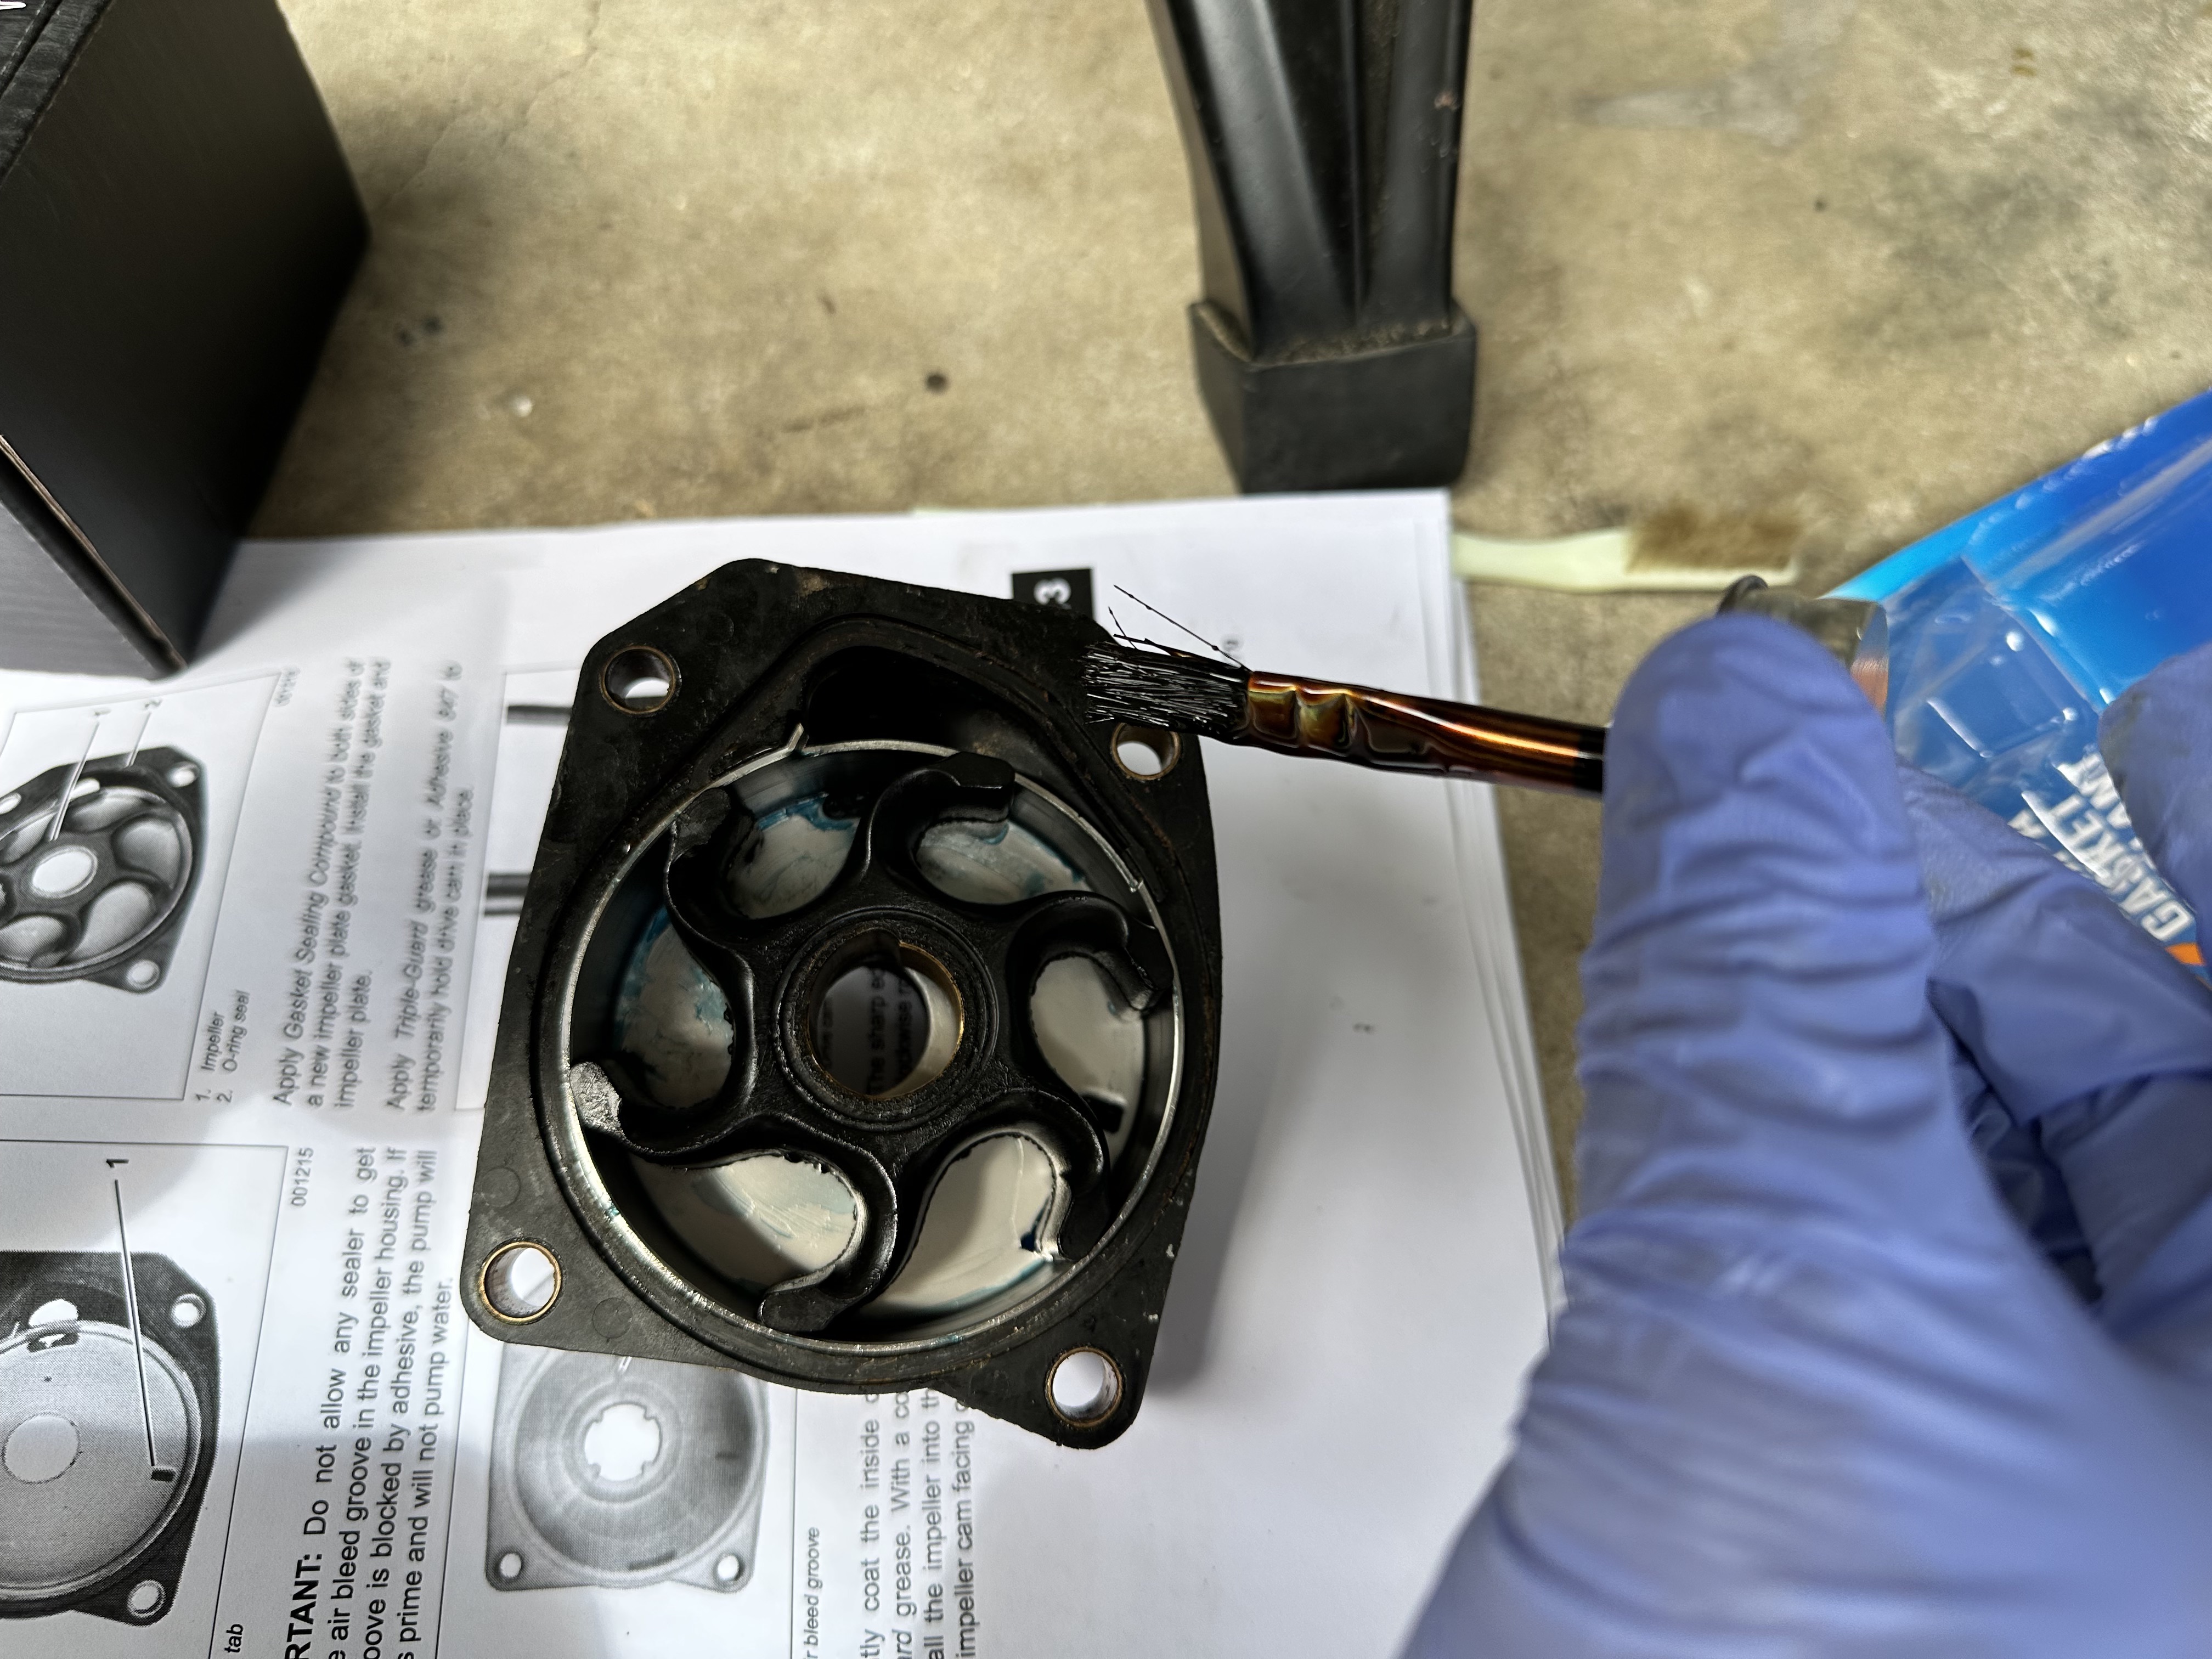
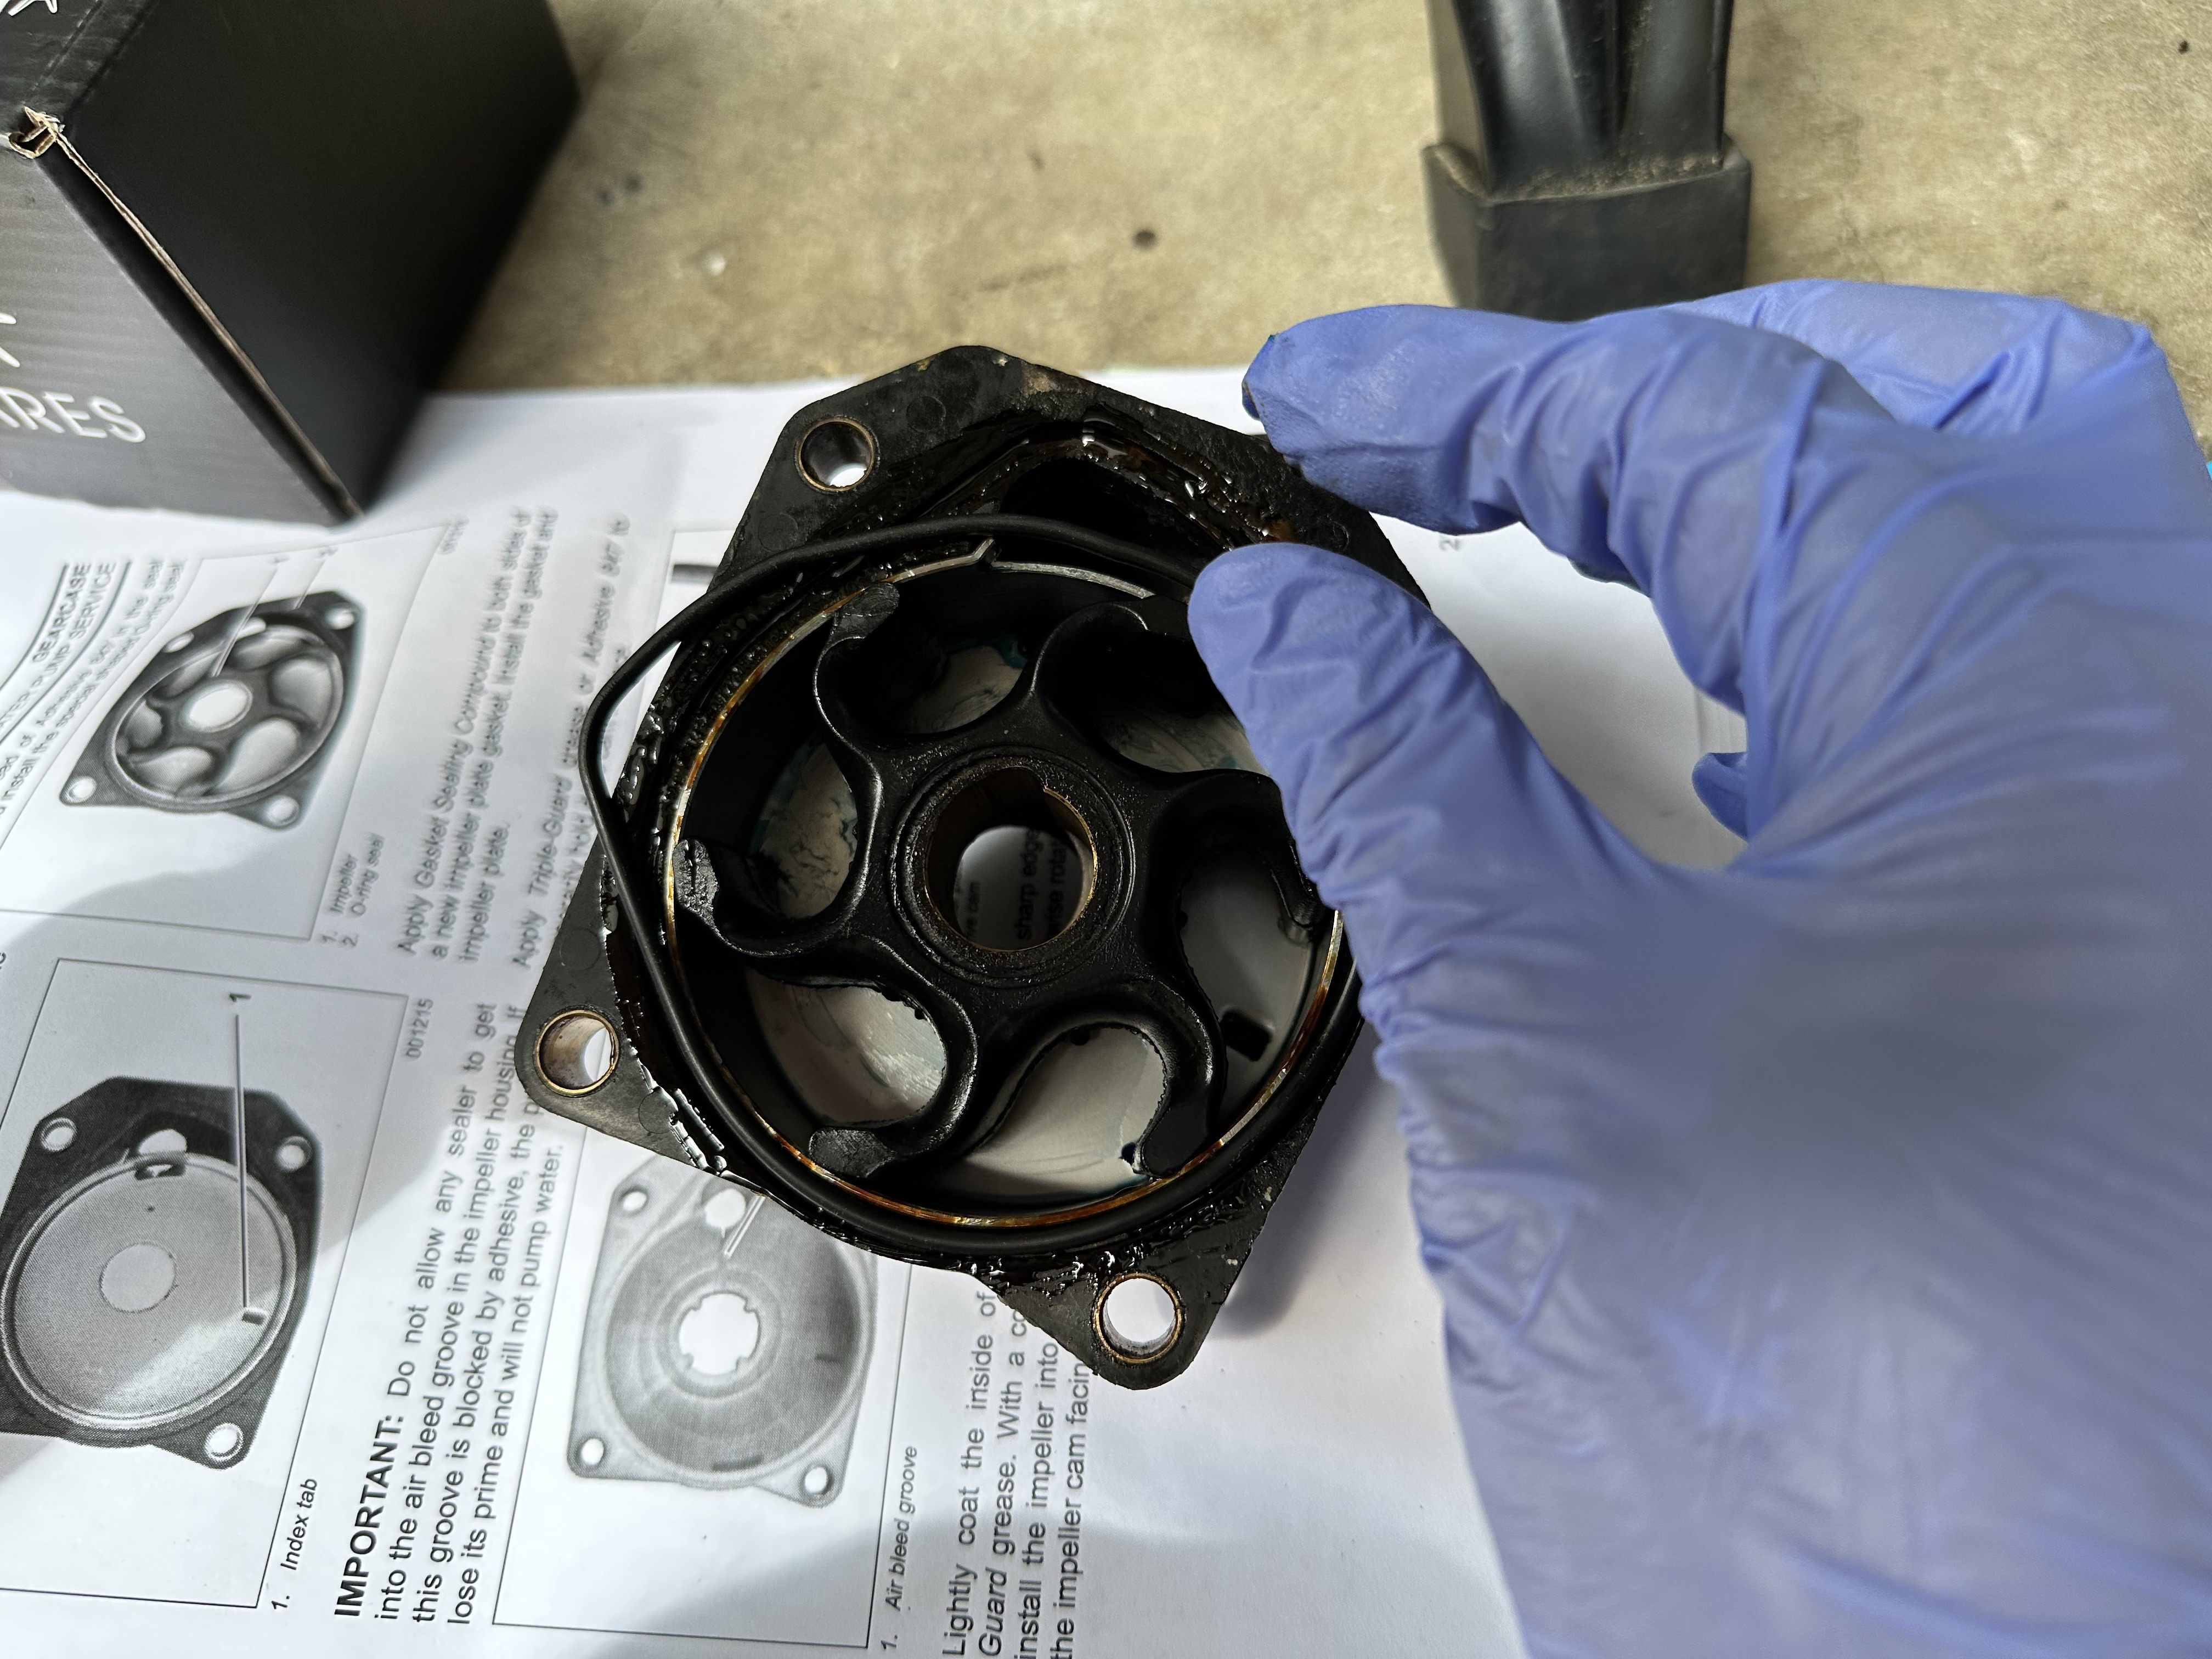
- (This should have been done before coating inside of impeller cup with grease), apply Gasket Sealing compound to the exterior rim of the impeller cup.
Install the cup in the impeller housing. The cup locks in place in the square index tab of the housing.
- Apply a thin layer of Adhesive 847 in the seal groove and install the O-ring seal.
- Apply Gasket Sealing compound to both sides of the impeller plate gasket. Install the gasket and impeller plate.
- Insert the waterpump into the driveshaft. Align impeller slot with impeller cam and rotate driveshift clockwise to engage the cam. Install the housing screws with torque wrench (7-9.5 Nm).
- Apply Triple Guard grease to driveshaft splines to make assembly easier. Do not coat top surface.
Gearcase Assembly
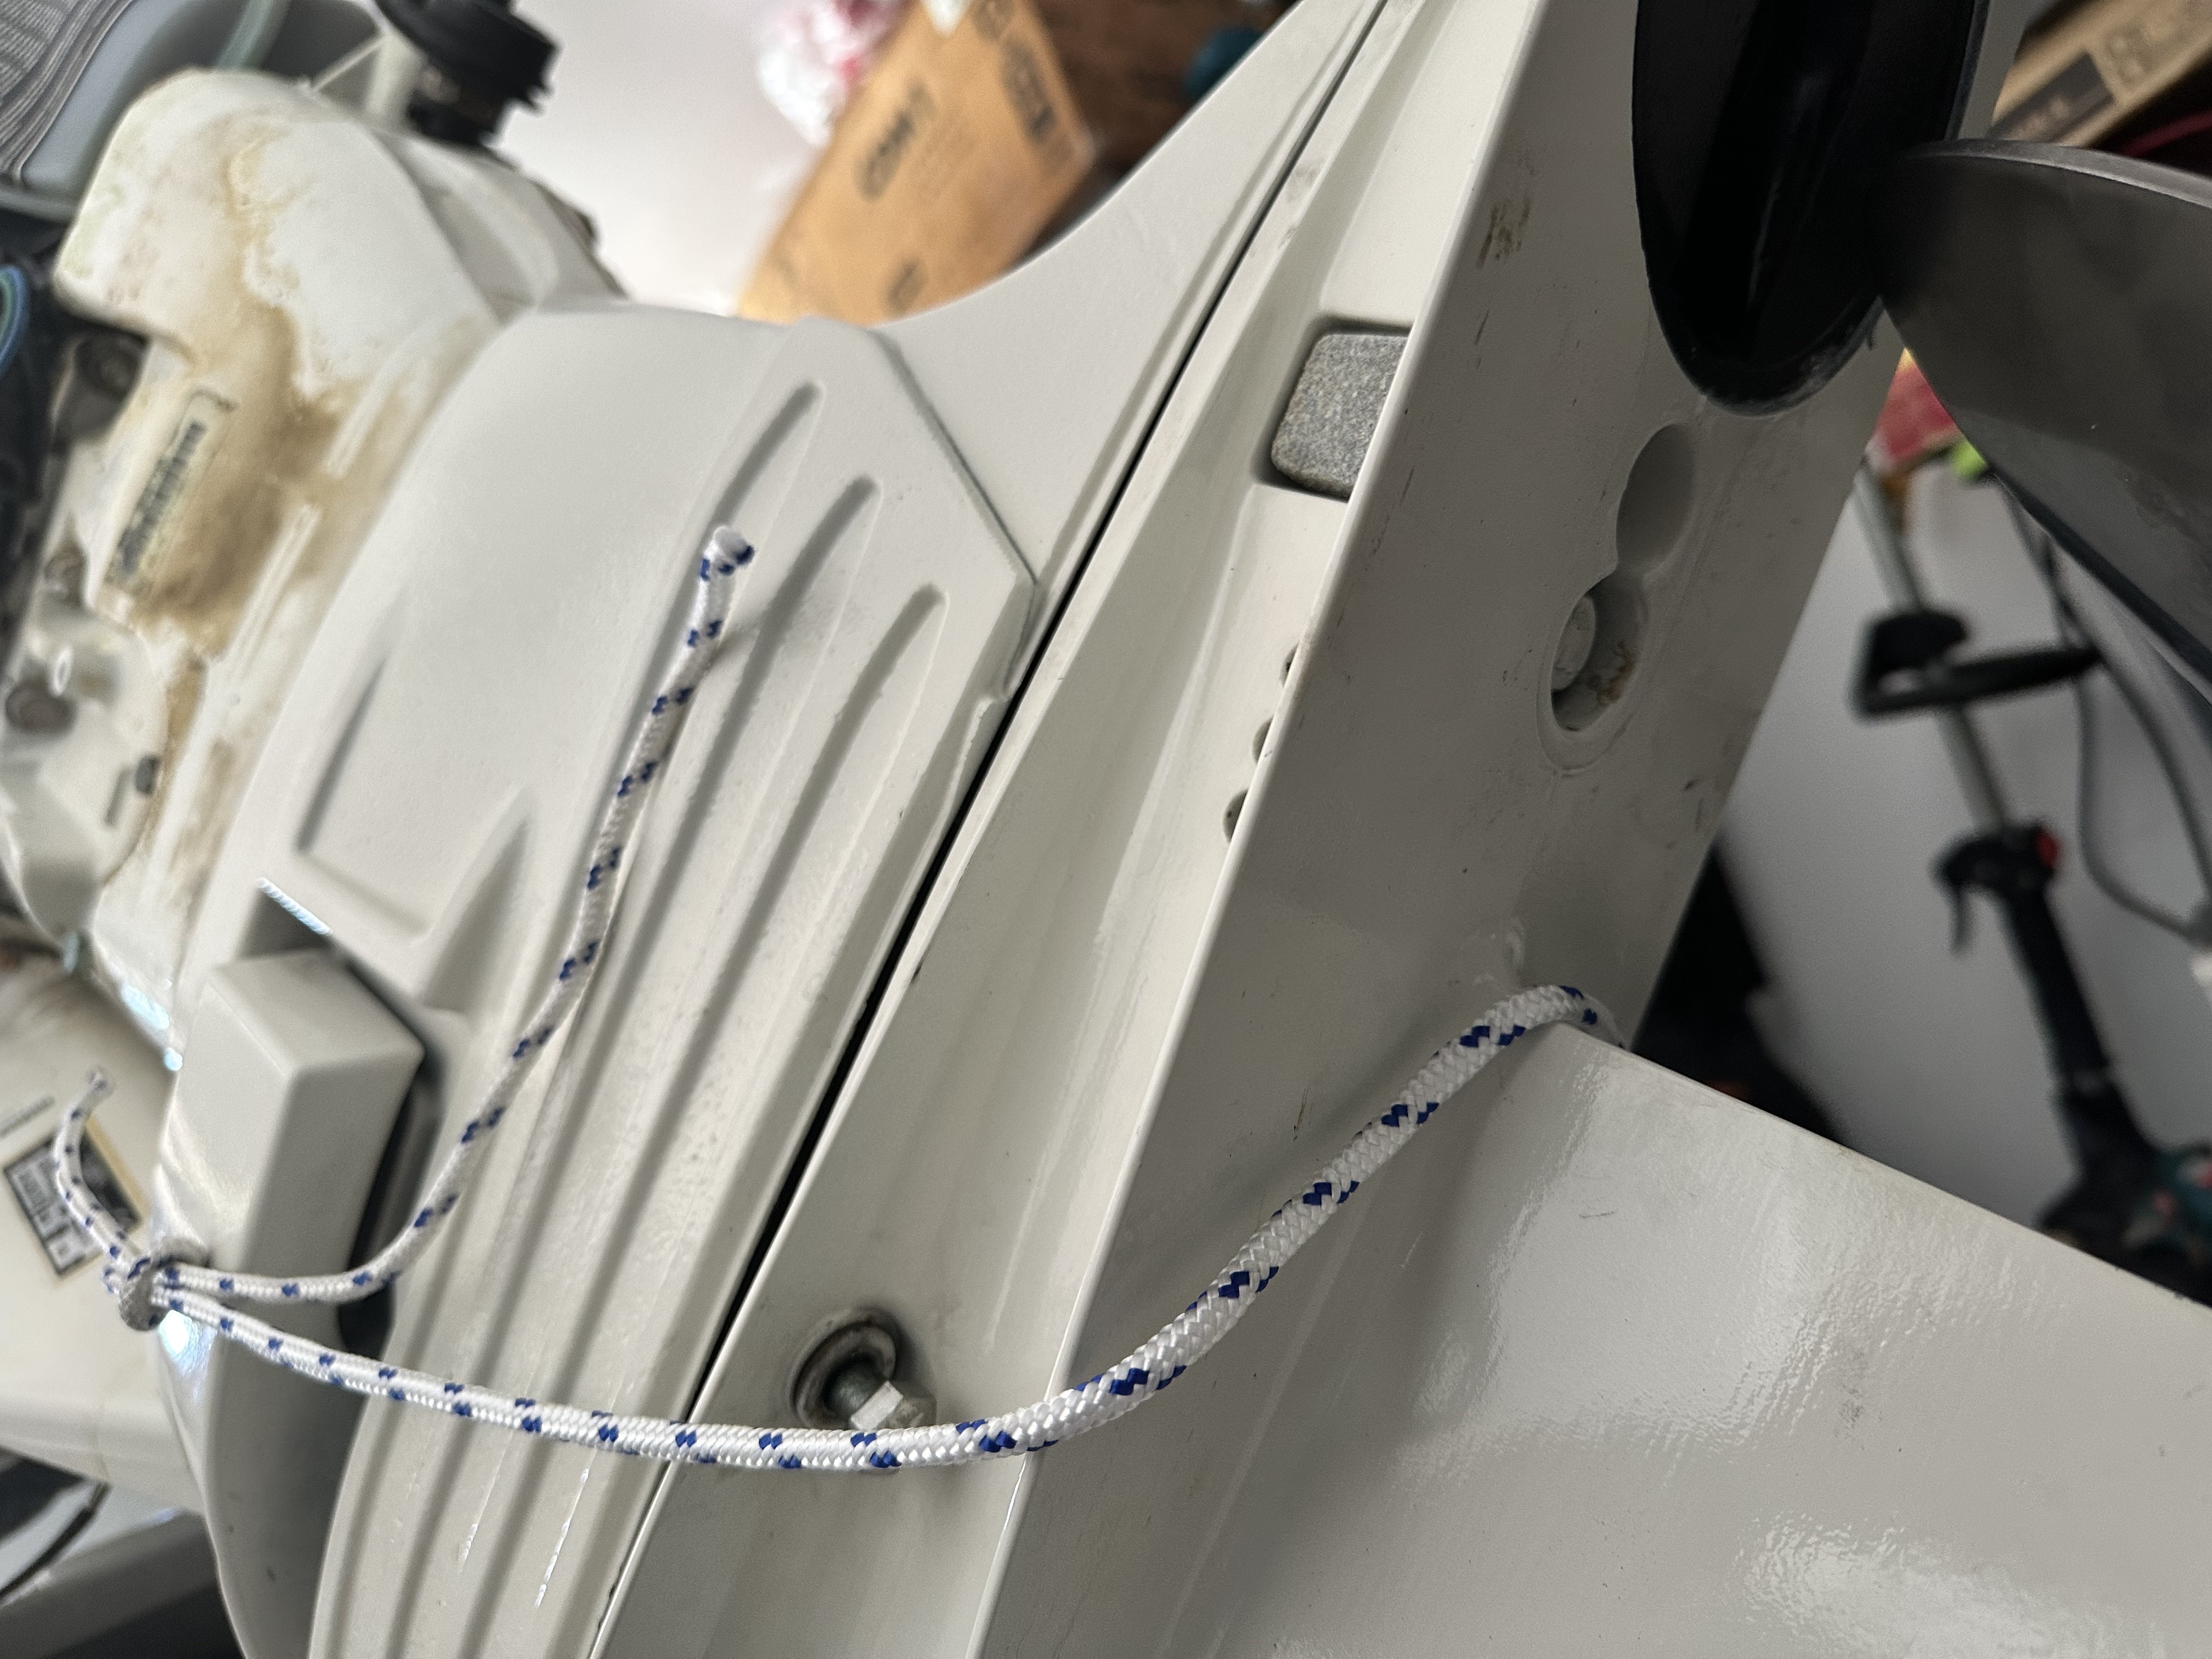
- I was expecting a fight in installing the gearcase. I had a rope ready to hold it in place but it slid in easily for me (in neutral).
- Install the all the screws in the reverse order to assembly. The service manual says to use Gasket Sealing compound but the last person that serviced this motor used Triple Guard grease which is what I used. The torque for the
- 5/16 screw is` 13.5-16 Nm
- 3/8” screws are 24-27 Nm
- 7/16 screws are 38-40 Nm
- trim tab screw is 47-54 Nm
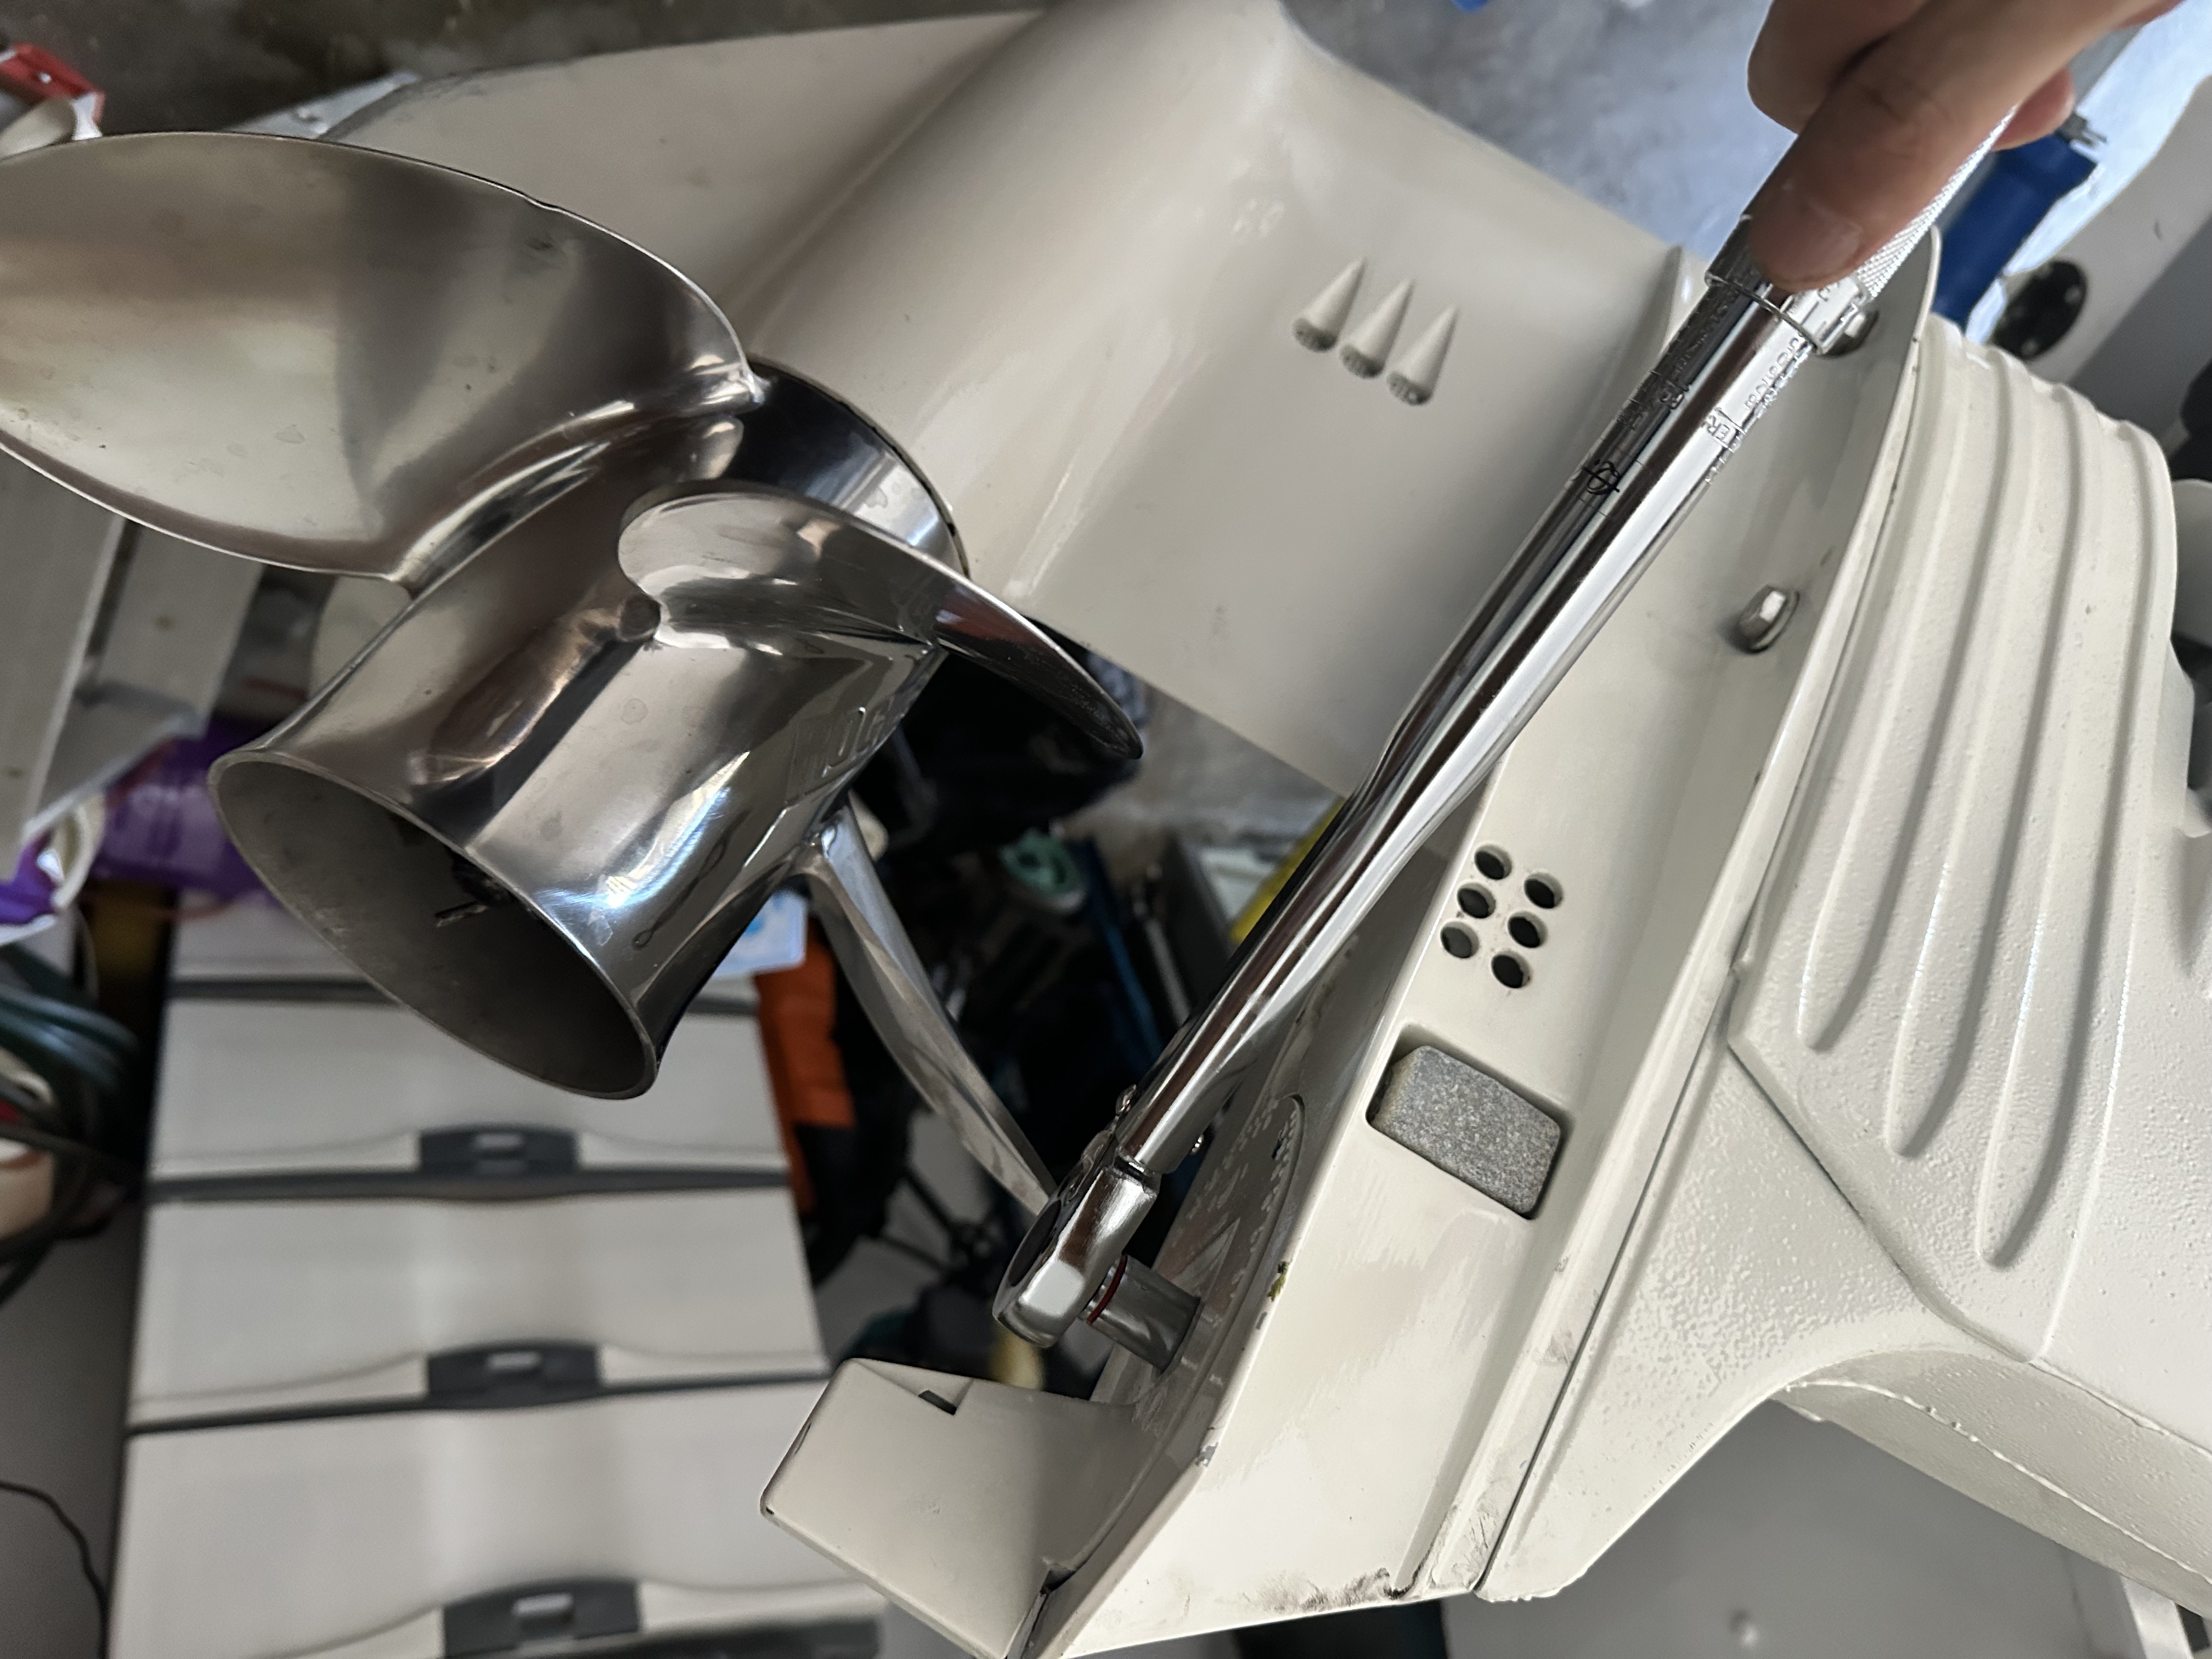
- Install the shift rod screw. I started with a screwdriver and tightened with a socket.
- Reinstall the outside housing.
- Don’t forget the rubber seals and trim connector or you’ll need to do it twice like me!
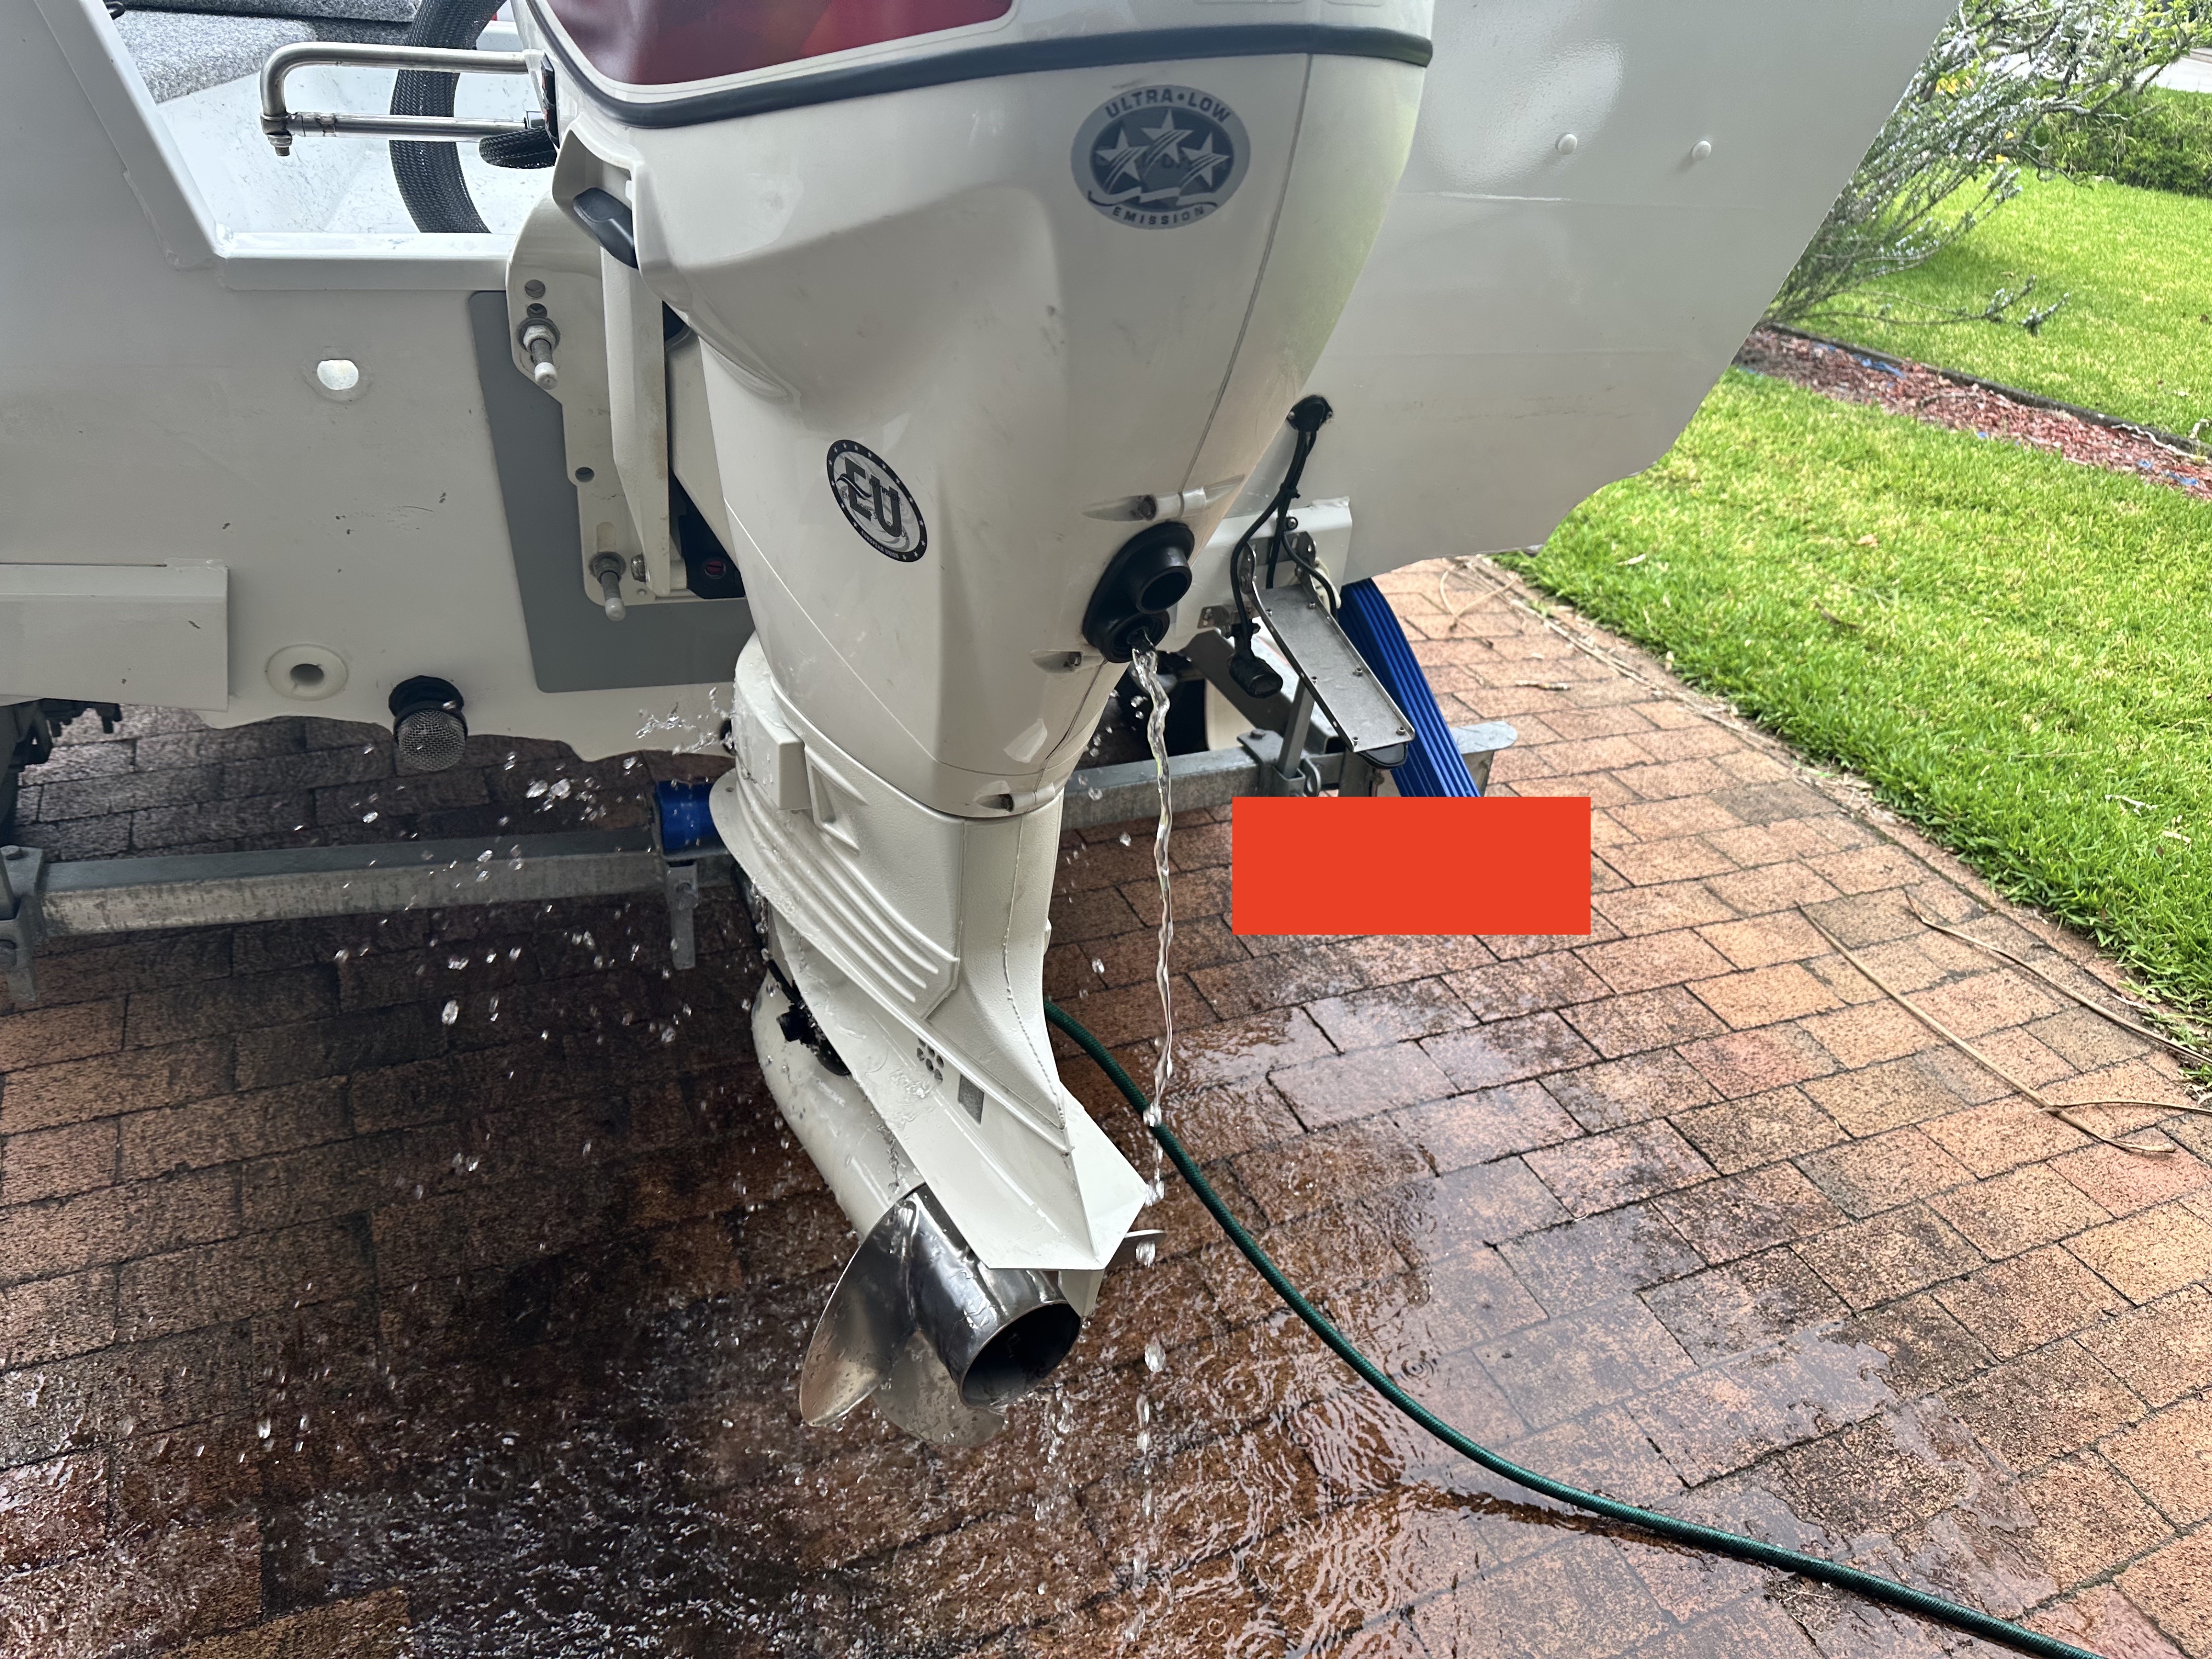
Testing
- Check everything works including forward and reverse gears.