Trailer Bearing Replacement
My boat trailer is about 10 years old and on the original set of bearings. I guess it’s time to change them.
Introduction
The reason for this post is that I wasn’t able to find a good, written description of how to change trailer bearings on the internet. There are lots of YouTube videos, and many leave out steps like changing the races (which is crucial).
Having said that, here are some definitive guides and good YouTube links:
- Timken Wheel Bearing Replacement Techtip describes best practices.
- Timken Tricks of the Trade: Trailer Wheel Bearing Maintenance, is another good explanation showing all the steps.
The TrailerSmith gives really good information on all aspects of trailer maintenance.
Here is an excellent figure showing the assembly. Although I tried, I couldn’t find the original source of this figure, please let me know if it is yours.

Hubs
To identify the hub type, you need to check the stud pattern. For hubs with an odd number of holes such as 5 stud patterns, measure from the centre of one stud, to the furthest edge of the most opposite stud (1 to 2 in the figure above). For even numbers such as 4 or 6 stud patterns, measure from the centre of one stud to the centre of the opposite stud.

Then match with the stud distance column in the table below. If you want to be extra safe, also check the pitch circle diammeter (PCD) which is the diameter of a circle going through the center of all the studs.

The most common hubs in Australia are Holden (LM) and Ford:
- The best way is to carefully check the stud spacing.
- Another differentiator is that Holden LM have 11mm stud diameter and Ford 12.4mm.
This photo below shows the new rims and tyres that I bought. They support both Holden HT and Ford hubs.

Bearings
The bearing set has inner/outer bearings with matching inner/outer race (also called the inner/outer cones and inner/outer cups).
The bearing type is best determined by reading the part number of the one being replaced. Round 39 mm and square 40 mm axles usually use Holden bearings and 45 mm square axles are usually Ford.
Stacer 429 trailer
The Stacer trailer has a Holden HT stud pattern and the bearings are:
- ¾” Cone – LM11949/10 Bearing
- 1 ¼” Cone – LM67048/10 Bearing. The original tyres were 155R13LT (light truck). The new rims/tyres were Galvanised 155R13C (commercial rather than light truck) and were $104 each. The new tyres came inflated to 46 psi.
Tyres
I’ve had my Stacer Outlaw 429 since 2015. I don’t do very many miles as I only drive to the local boat ramp. When I stop I always check the bearings aren’t hot. Anually, I jack it up and spin the wheels to check for noise or side-to-side play.
30/10/2024 Just was I was wondering whether or not I should replace the tyres (it is recommended to change them after 10 years, the right had a crack near the valve. Bought 2 new rims and tyres from https://sunriseint.com.au/). The reason I bought new rims was to use one of the old ones as a spare.

The lug nuts are 19mm and should be torqued to 70-80 ft lbs. The tightening sequence is here https://www.tirerack.com/upgrade-garage/how-do-i-properly-torque-my-wheel-lug-nuts-or-bolts and below.

Wheel and hub removal
First the Bearing Buddies come off. You tap them from side to side with a hammer to get them to come out. I don’t like these original ones, my grease gun always stuck to the nipple. For this reason I didn’t grease it very often.

The grease looks pretty old. I really should have repacked the bearings sooner.


Wipe off the old grease and then remove the split pin with pliers.

Now the wheel can come off. Undo the lug nuts first and make sure you chock the wheels on the opposite side before you jack up the trailer!


Take of the wheel. Then remove the axle nut.

The whole hub should come off now. Sometimes you need to lightly tap it from behind with a hammer. I had to do this on the other side.

Good, the old bearing is a LM11949 so I purchased the correct ones!

Gave the old bearings a quick wash in kerosene. They weren’t in bad condition, you can see some lines on the rollers but no deep scoring or chipping.

Note that these were Made in China. Many people rubbish Chinese bearings without any evidence. These ones couldn’t be faulted.
Clean out all the old grease on the spindle.
New Bearings
Huntsman Products on Ebay provide an excellent service and will press Koyo bearing races onto the hub prior to shipping. I purhcased:


It’s much less work to just buy these “Easy Hubs” and throw away the old ones. If you want to reuse the old hubs, see the section at the end. After removing the old races, you also need to drive in the new ones. Note that Timken say in the (Timken Wheel Bearing Replacement Techtip) “Never use a bearing cone assembly to drive a cup.”
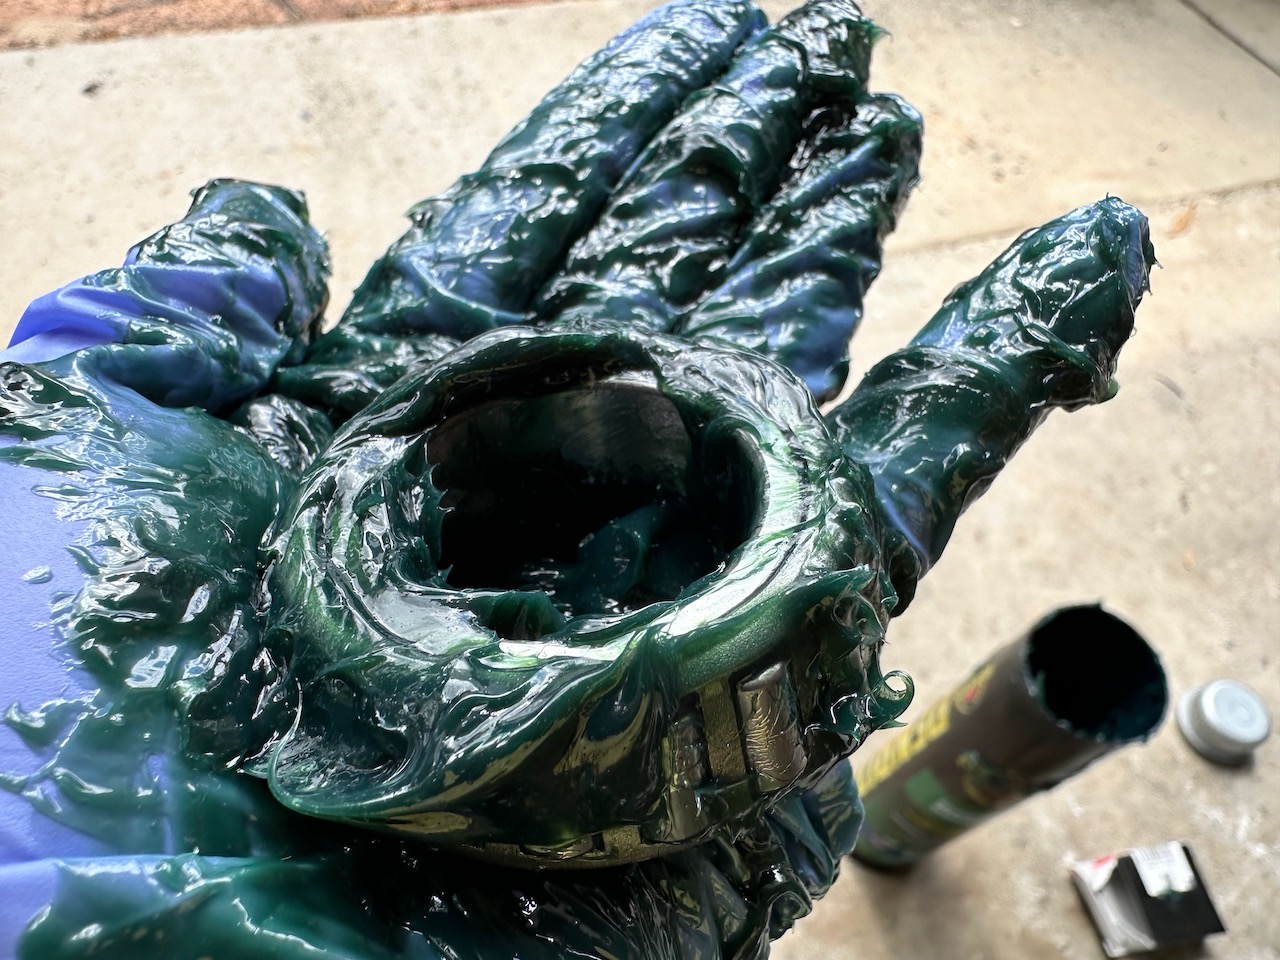
Then, put grease on your palm and then press it into each bearing from the bottom. What you want is for the grease to squeeze out to the top. Needless to say it’s a super messy process.

Here they are all done.

Grease the race and put in the inner bearing.

Put grease in the gap.

Now hammer the seal into the hub.

I use an old spanner to balance the force.

Now put the rubber part of the lip seal on the spindle.

Grease the outer race and insert the hub in the spindle. Then the outer bearing and spindle washer.

The Timken Wheel Bearing Replacement Techtip instructions say to use a torque wrench to tighten the adjusting nut to 50 ft lbs while turning the rotor . Back off the adjusting nut 1 full turn. Retorque the nut to 10 ft. lbs. while turning the rotor. Next, back off the adjusting nut 1/4 turn. Lock the nut with a new split pin. The video explanation also says to measure the end-play which should be between 0.001” and 0.005” but I don’t have a dial indicator. I wonder how many mechanics do this?
This other Timken video has a slightly different procedure which is to tigten the nut to 25 ft lbs and then back off by 1/6 to 1/4 turn and measure end-play.

Put in the split pin and bend.

Check for side-to-side wobble.

Now you can firm up (but not tighten the wheel lugs).

Set the trailer back on the ground and tighten to 70-80 ft lbs using a star pattern.

Tap in the Bearing Buddies.

Grease the Bearing Buddies with a grease gun.

Removing Inner and Outer Race from Hub
Place a punch on the lip of the race and smash it with a hammer from different positions to move it out. When you get near the end, you’ll need to support the hub so the race can fall out.


It takes a bit of work but here are the inner and outer races.


